Right. So this outfit started out as Flemish...but it really looks more English:
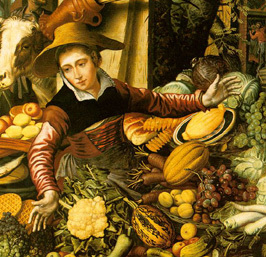 Flemish | 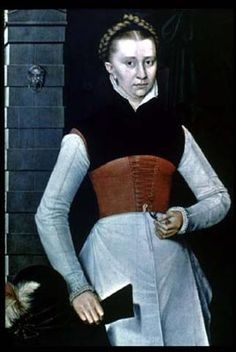 English |
I guess, since I really look much more English, that is fine. :) The main difference between the styles, from a cursory glance, is the width of the lacing.
Alright...to the details now!
I bought the red wool I used last year, intending on making this outfit then, but what with one thing and another, I didn't...and I ended up with my long, too big, mustard yellow kirtle instead.
Alright...to the details now!
I bought the red wool I used last year, intending on making this outfit then, but what with one thing and another, I didn't...and I ended up with my long, too big, mustard yellow kirtle instead.
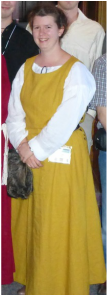
By the end of the day, I had managed to rip roughly half the hem out. But anyway, that is not of too much consequence for this tale, excepting that the kirtle is part of it.
I'll take you through the construction of this Flemish/English dress from the kirtle out (mostly). One of the first things I did was take up the kirtle. It was too big on me last year and I have gotten a little thinner since then, so it really looked like a sack of potatoes on me. In addition to that, in my research, I read that the kirtle was a tight garment, laced up the back. Well, mine laces up the side, so that didn't get altered, but I did sew up the front and back princess seams, as well as the center back. It's still not super tight (which is fine), but it doesn't leave me feeling like a slob either.
It was decided, that due to my stature (short, you know) and my personality, a shorter skirt would be fitting. The Flemish peasants wore their gowns anywhere from mid-calf to floor length. Well, I know what happens with me and floor length stuff. :D So the next step was hemming the kirtle up about 8 inches (or more). (By the way, this stuff isn't necessarily in chronological order; more in logical order.)
Ah...now we're getting to the pictures! I don't have any kirtle-in-process-of-alteration pictures, but I do have the actual "dress"...though it's more of jumper. I don't know exactly what to call my red-wool contraption, but anyway.
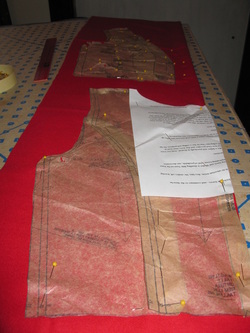
Savannah helped guide me onto the right pattern, which she then fitted on me. Believe it or not, it was the same pattern I used to make one of my '40's dresses in the spring!
I'll take you through the construction of this Flemish/English dress from the kirtle out (mostly). One of the first things I did was take up the kirtle. It was too big on me last year and I have gotten a little thinner since then, so it really looked like a sack of potatoes on me. In addition to that, in my research, I read that the kirtle was a tight garment, laced up the back. Well, mine laces up the side, so that didn't get altered, but I did sew up the front and back princess seams, as well as the center back. It's still not super tight (which is fine), but it doesn't leave me feeling like a slob either.
It was decided, that due to my stature (short, you know) and my personality, a shorter skirt would be fitting. The Flemish peasants wore their gowns anywhere from mid-calf to floor length. Well, I know what happens with me and floor length stuff. :D So the next step was hemming the kirtle up about 8 inches (or more). (By the way, this stuff isn't necessarily in chronological order; more in logical order.)
Ah...now we're getting to the pictures! I don't have any kirtle-in-process-of-alteration pictures, but I do have the actual "dress"...though it's more of jumper. I don't know exactly what to call my red-wool contraption, but anyway.
Savannah helped guide me onto the right pattern, which she then fitted on me. Believe it or not, it was the same pattern I used to make one of my '40's dresses in the spring!
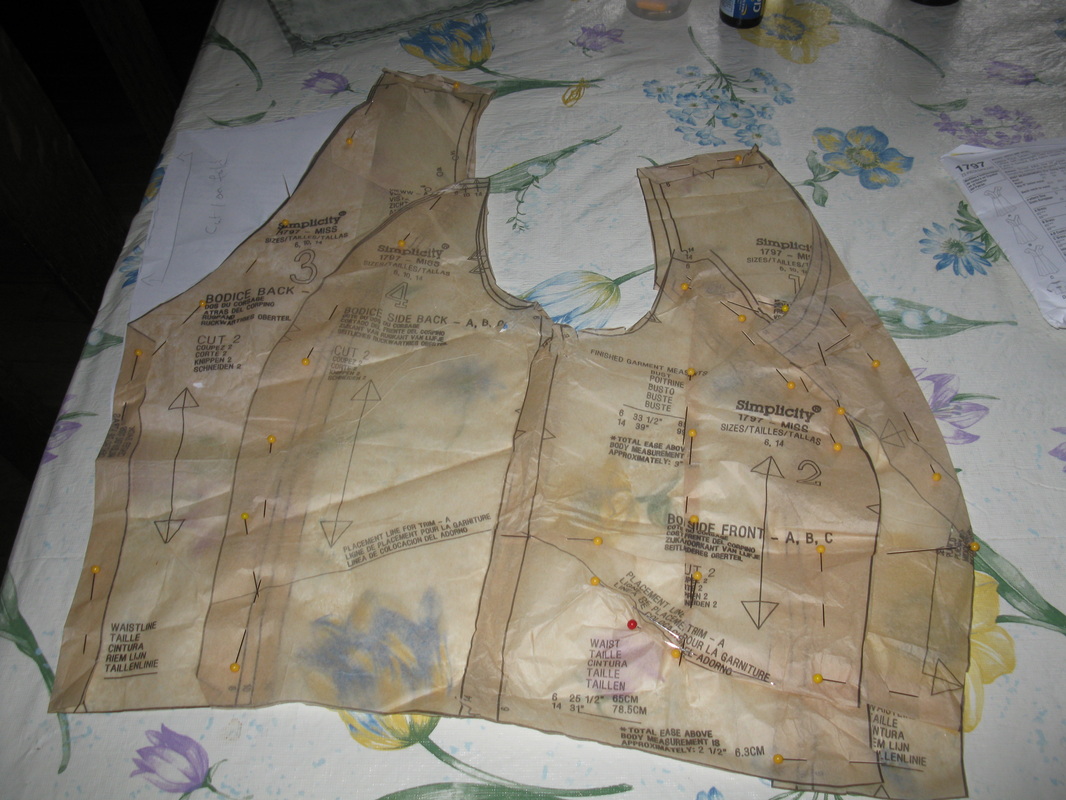
A piece of paper was added in the back to bring the neck-line up to match that of the kirtle.
I made a mock up out of brown felt first...
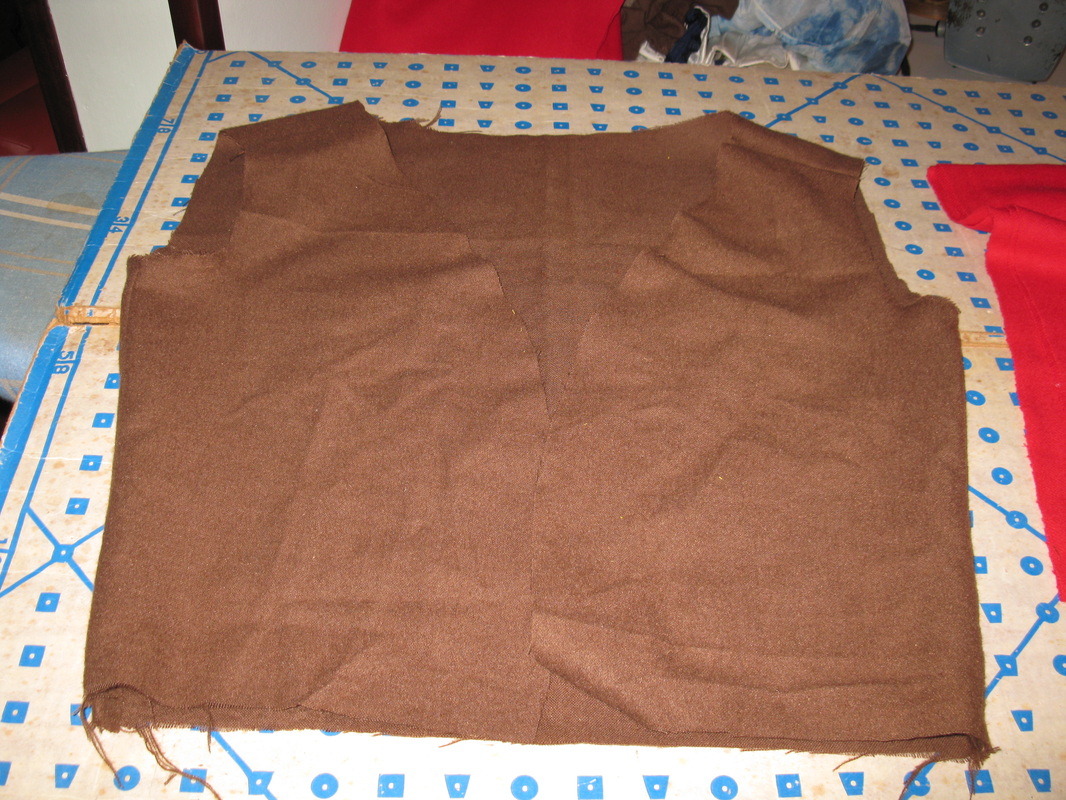
I didn't line the bodice mock up.
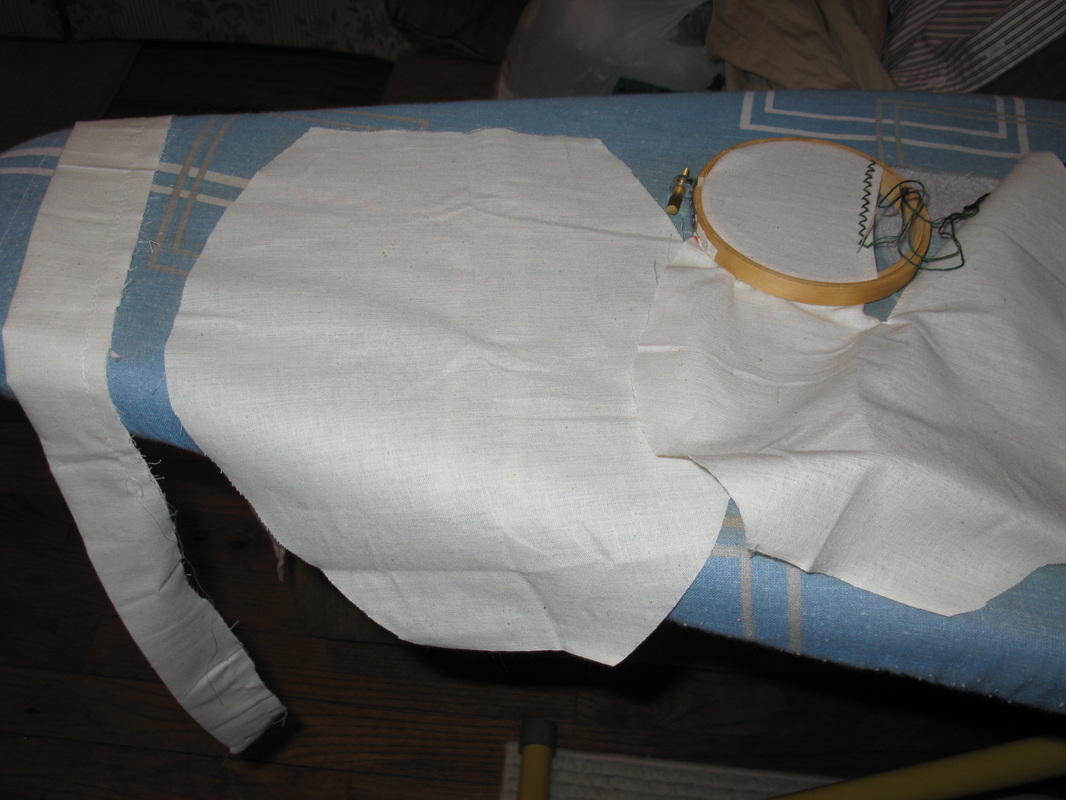
It fit perfectly, but due to where the lines fell, it was determined to move the front edges closer together--thus really morphing it into the English style. With this determined, I laid the pattern out on the wool and ran into a problem. I didn't have enough to line the whole bodice in matching fabric!
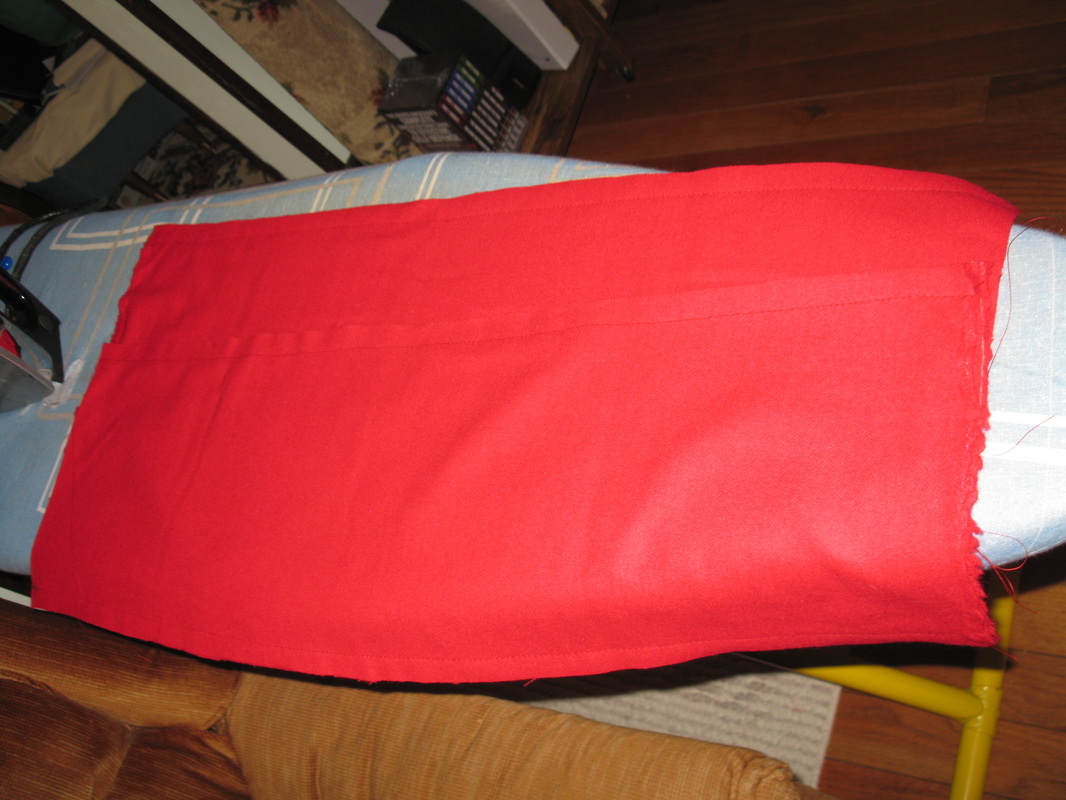
After conferring with my adviser (Savannah), I decided to rip apart my mock up and use the back piece for the lining. As the felt and wool stretch similarly, it worked pretty nicely. This way if the lining gets exposed at the front, it won't be noticeable since it's the same color as the outer layer.
After conferring with my adviser (Savannah), I decided to rip apart my mock up and use the back piece for the lining. As the felt and wool stretch similarly, it worked pretty nicely. This way if the lining gets exposed at the front, it won't be noticeable since it's the same color as the outer layer.
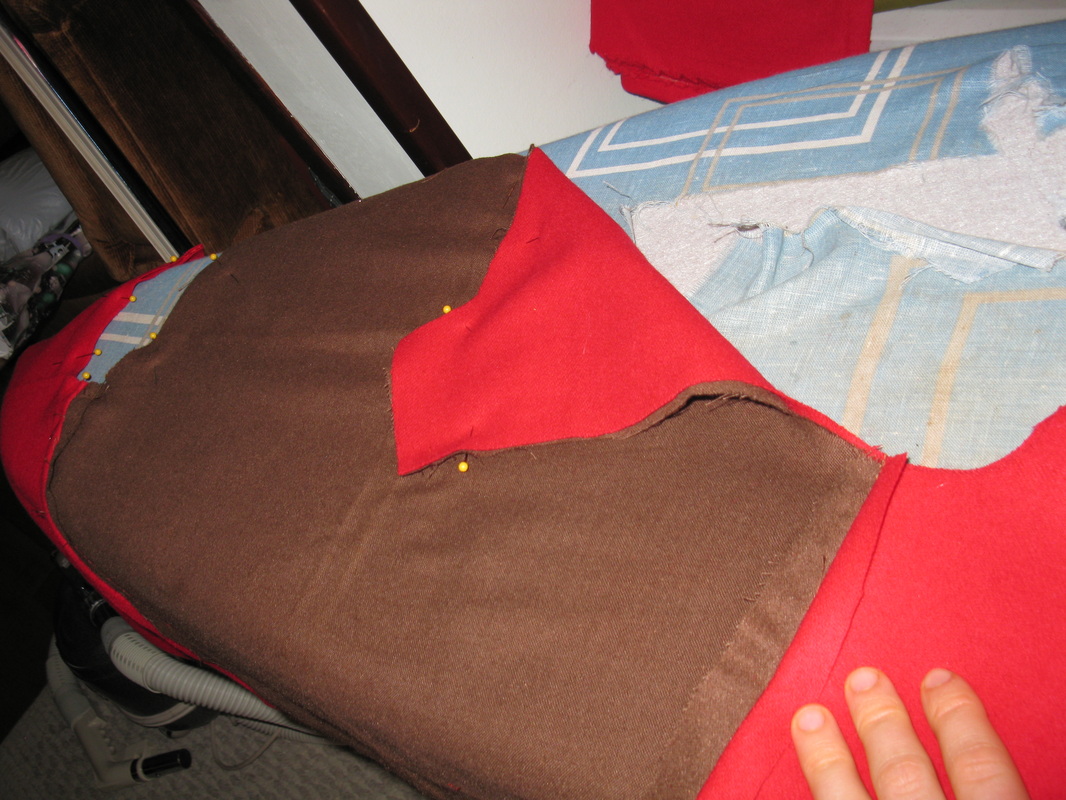
(I am aware that the ironing board cover is in bad shape.)
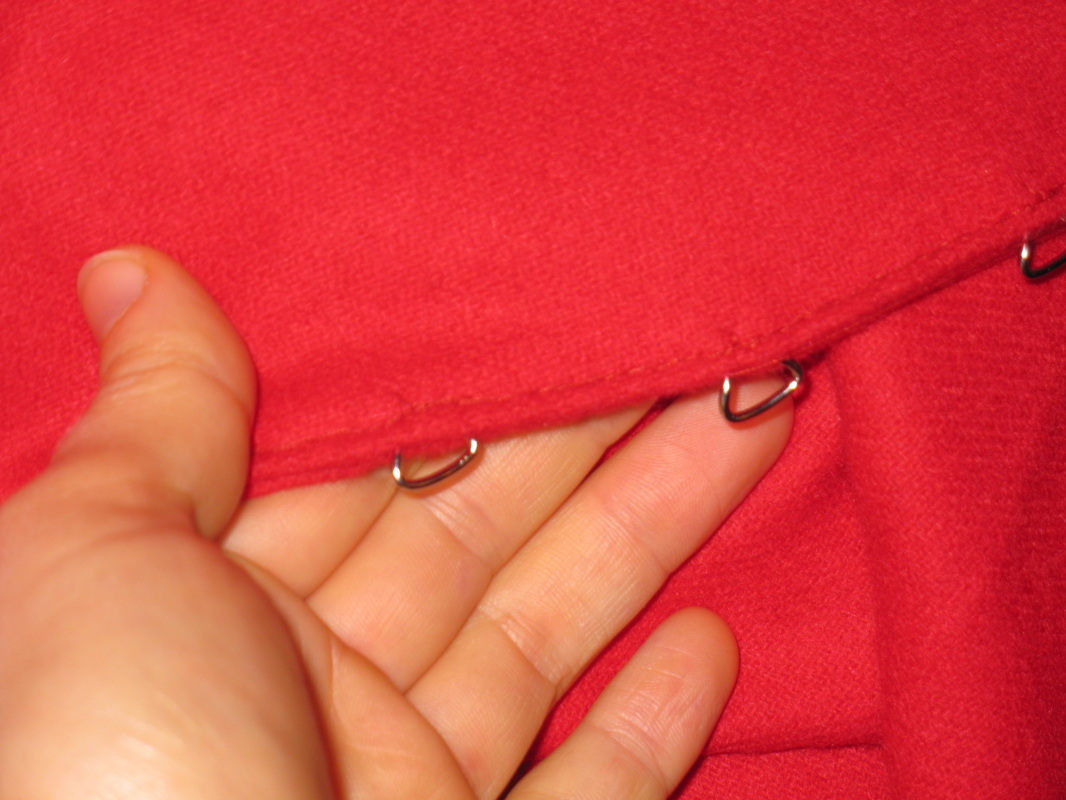
And then came the really interesting part...what to use for the metal loops the lacing was to go through? Mama found some coat hook and eyes at Jo-Ann's. The eyes worked perfectly!
 Markings for the lacing loops... | 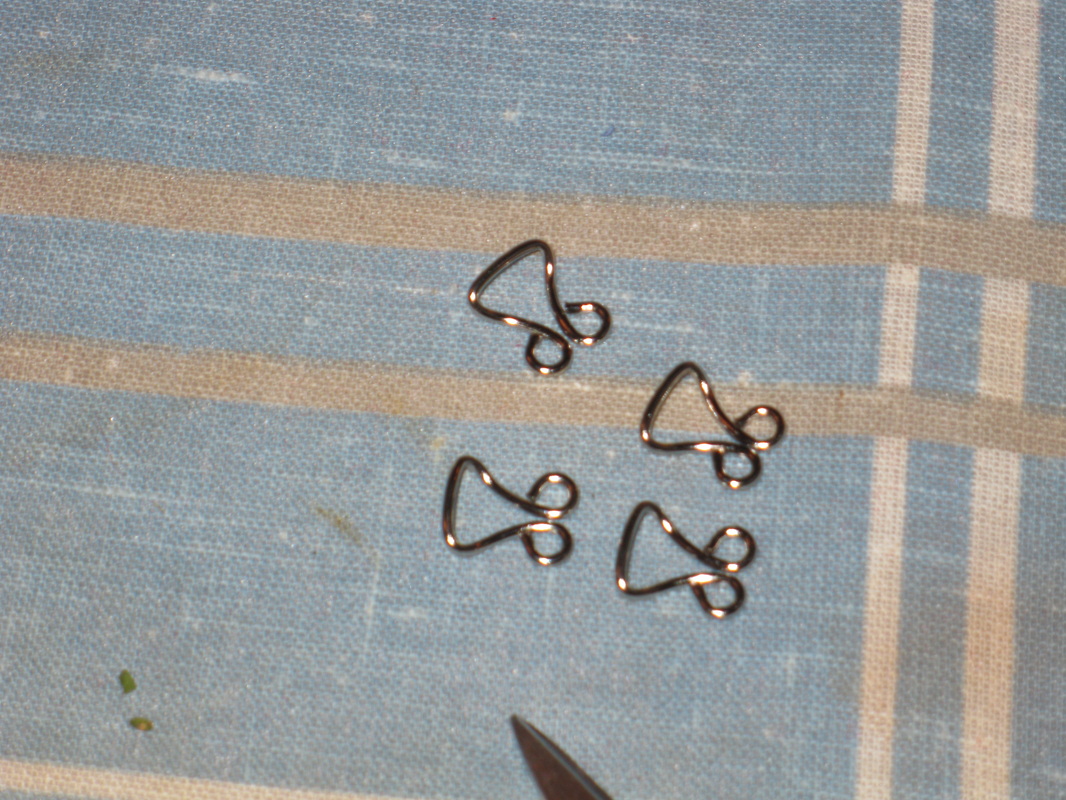 The eyes... |
By the way, the use of metal loops is authentic. In the past, we have always just done eyelets in things like this, but with the research that I did, this is much more authentic--at least for this time period.
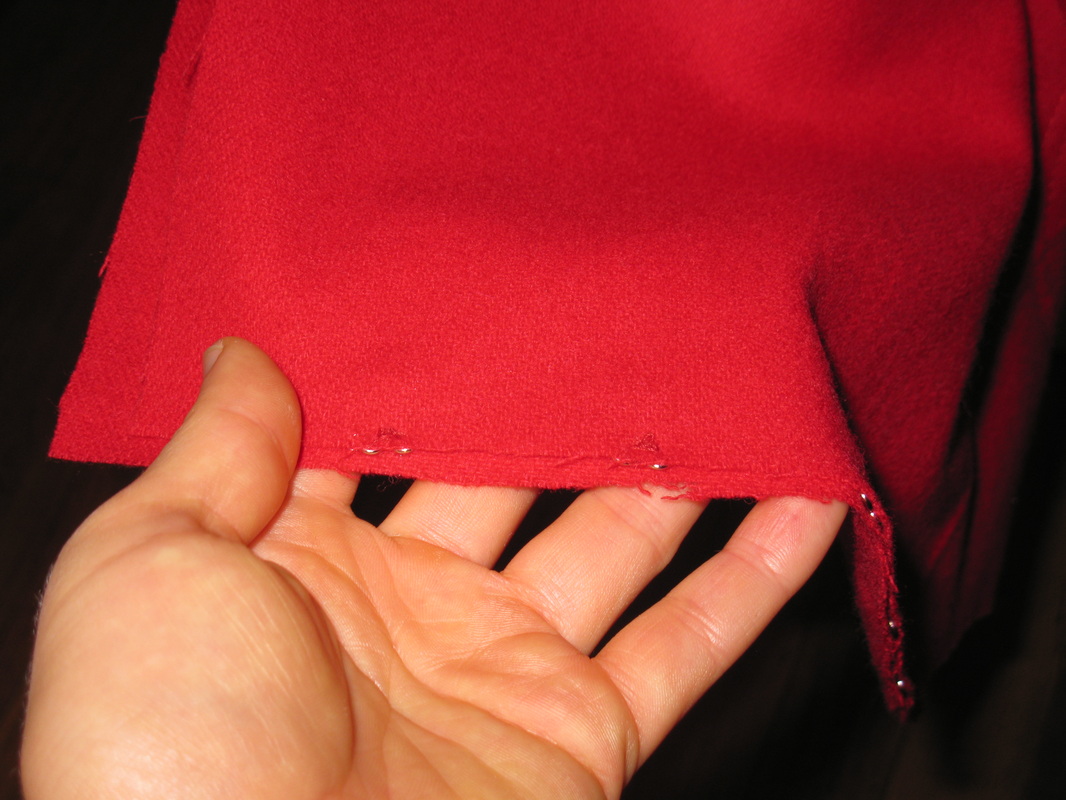
I stitched the eyes in by hand before I took them to the machine. There is no way that I was going to even TRY it without the prior stitching. Additionally, this gave them more strength and "holding power".
Not quite done with this yet...but you'll see. :)
The next step was closing the shoulders. Savannah showed me how to do it. I have done something similar before, but I needed the reminder.
Once this was done, it was time to move on to the skirt and the sleeves. The skirt was really straight forward. Savannah measured it, I chopped roughly 8 inches off the bottom of both skirt panels (outside and lining), stitched them together, turned them right side out, and ironed them. Then, I slid into the bodice and Savannah roughed in four inverted box pleats. After that, I took the whole to the ironing board and finalized the pleat placement. As is not unusual for me, I sewed the waist seam twice. Mama used to do that to all the clothes she made me as a little girl. Kept me from ripping the skirts off so easily. Anyway, she taught me the trick when she taught me how to sew.
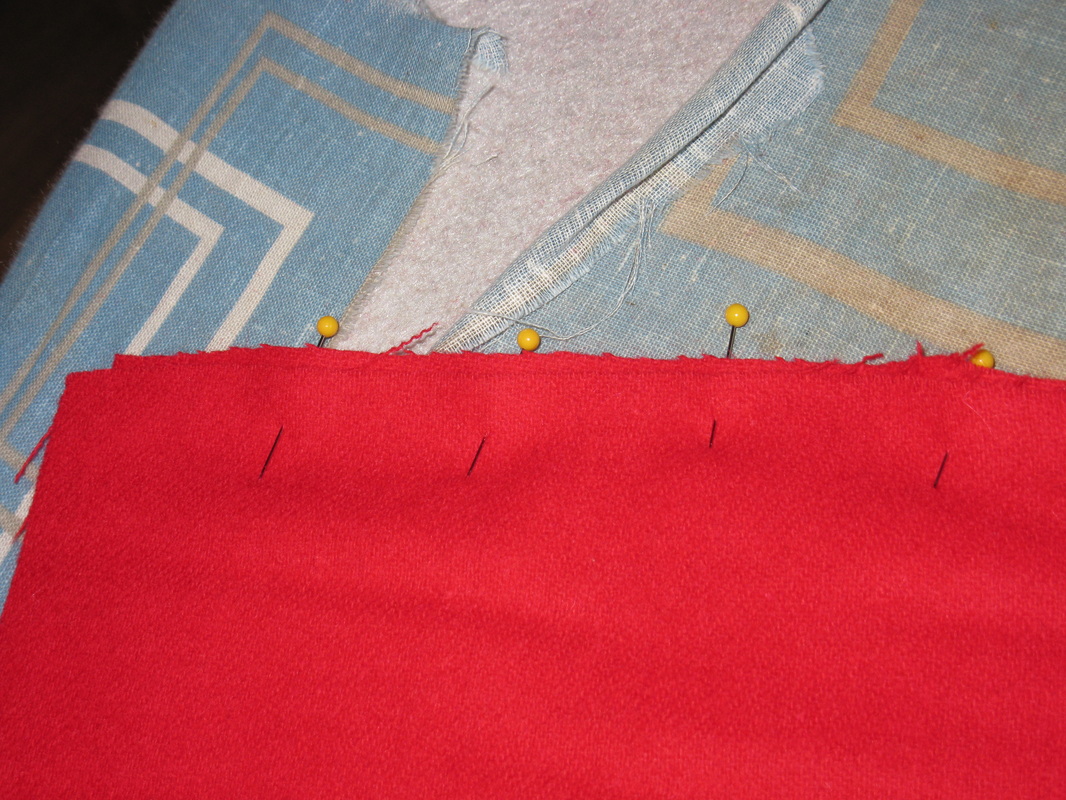
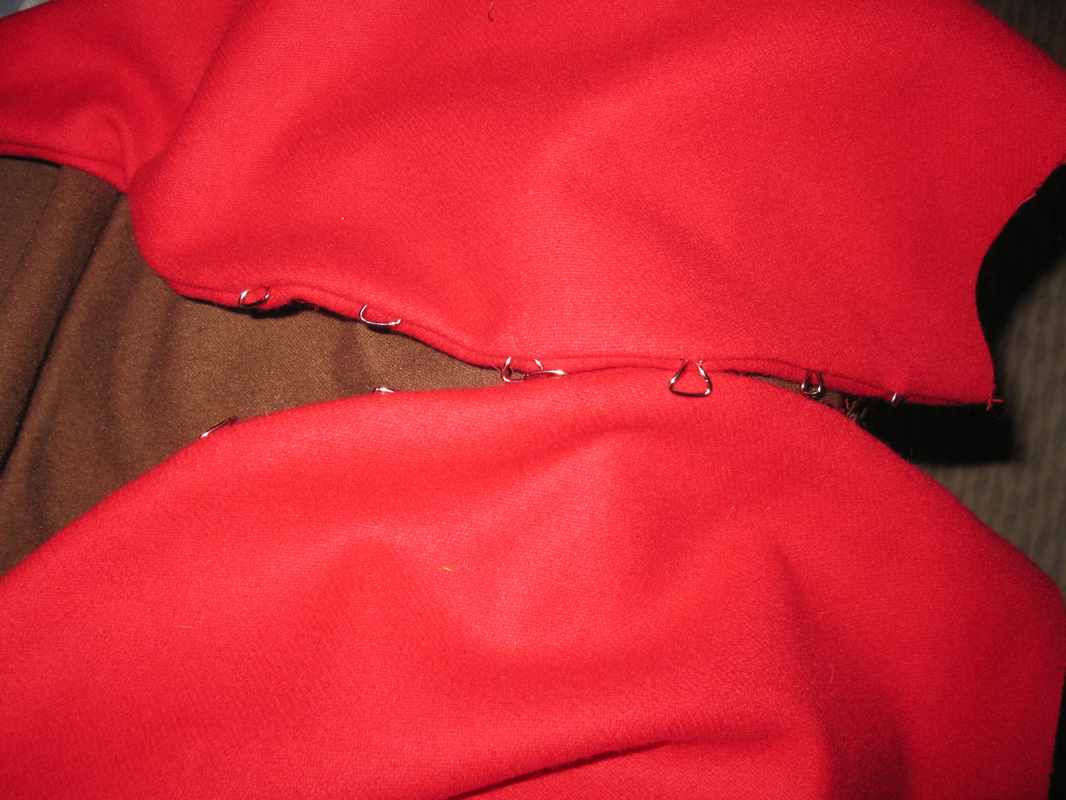
I pinned the lining over the waist seam...and all the way around the front opening.
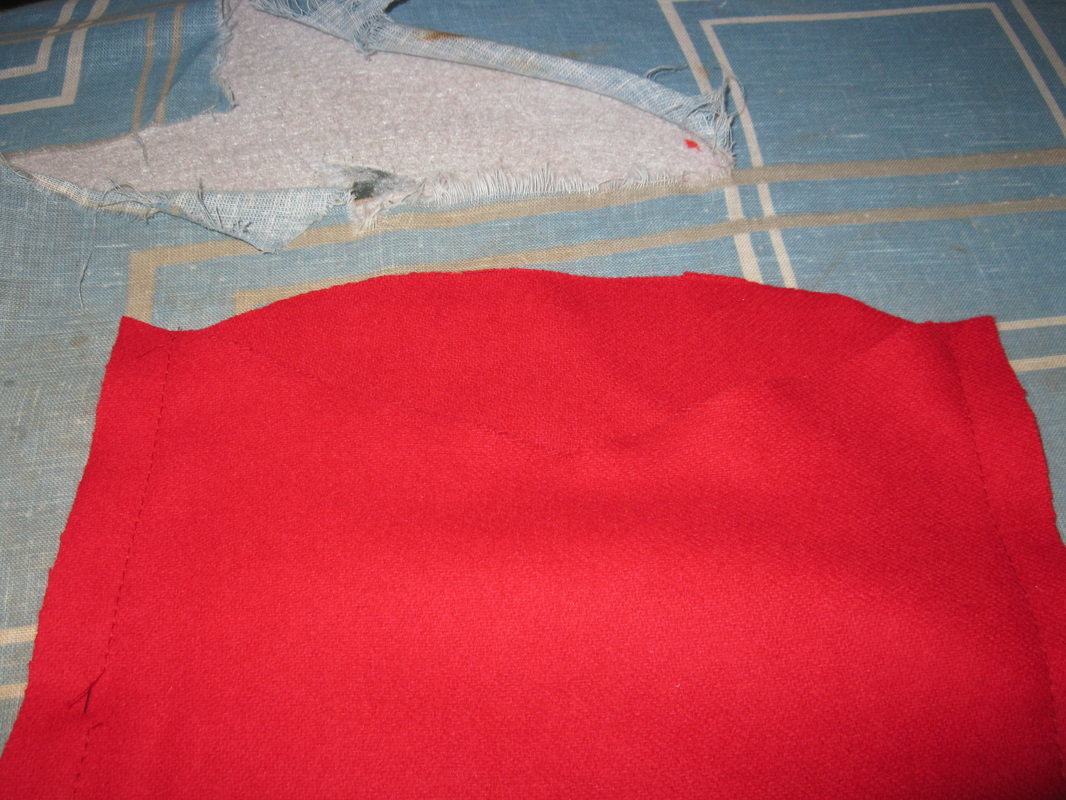
Then, I addressed myself to the sleeves. Plain and simple, the sleeves are the scraps from the bottom of the skirt panels. I had four pieces, so I stitched them together to form two tubes.
Once this was done, it was time to move on to the skirt and the sleeves. The skirt was really straight forward. Savannah measured it, I chopped roughly 8 inches off the bottom of both skirt panels (outside and lining), stitched them together, turned them right side out, and ironed them. Then, I slid into the bodice and Savannah roughed in four inverted box pleats. After that, I took the whole to the ironing board and finalized the pleat placement. As is not unusual for me, I sewed the waist seam twice. Mama used to do that to all the clothes she made me as a little girl. Kept me from ripping the skirts off so easily. Anyway, she taught me the trick when she taught me how to sew.
I pinned the lining over the waist seam...and all the way around the front opening.
Then, I addressed myself to the sleeves. Plain and simple, the sleeves are the scraps from the bottom of the skirt panels. I had four pieces, so I stitched them together to form two tubes.
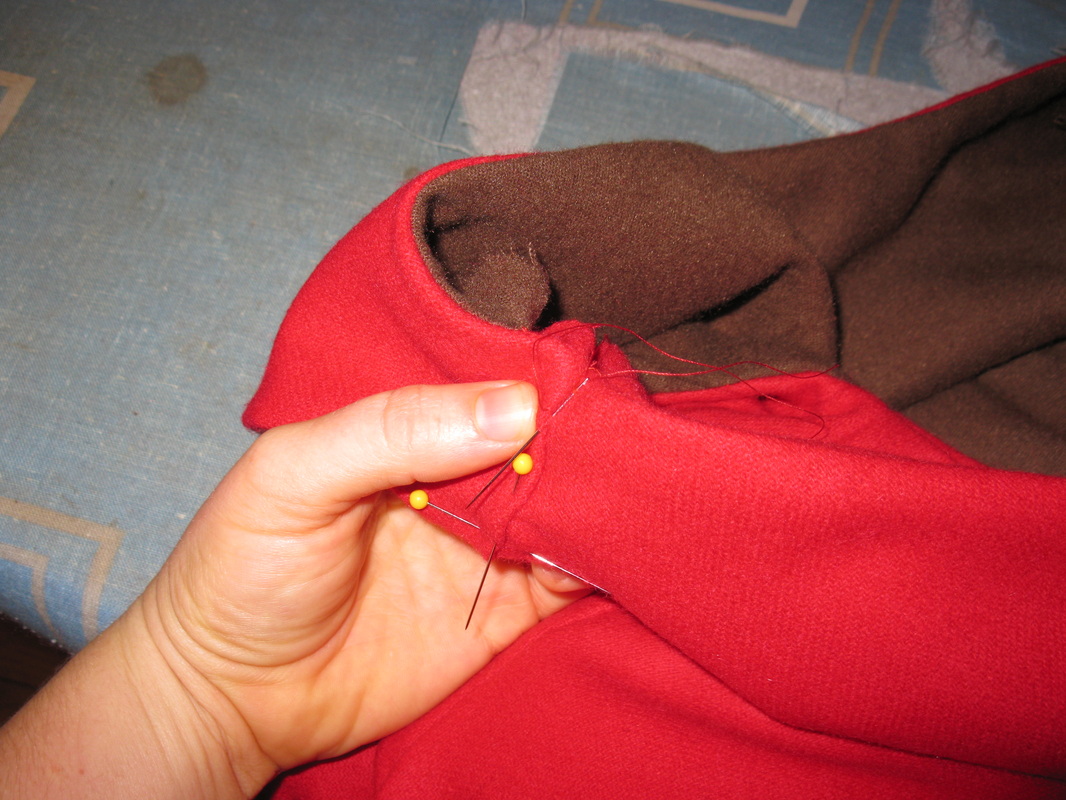
After that, I slid them on my arms and had a problem. I was not going to be able to pin them up at the shoulders like I was supposed to--so Savannah came to the rescue.
We basically cut a big notch into one side (the under arm)...
In the end, they looked something like this:
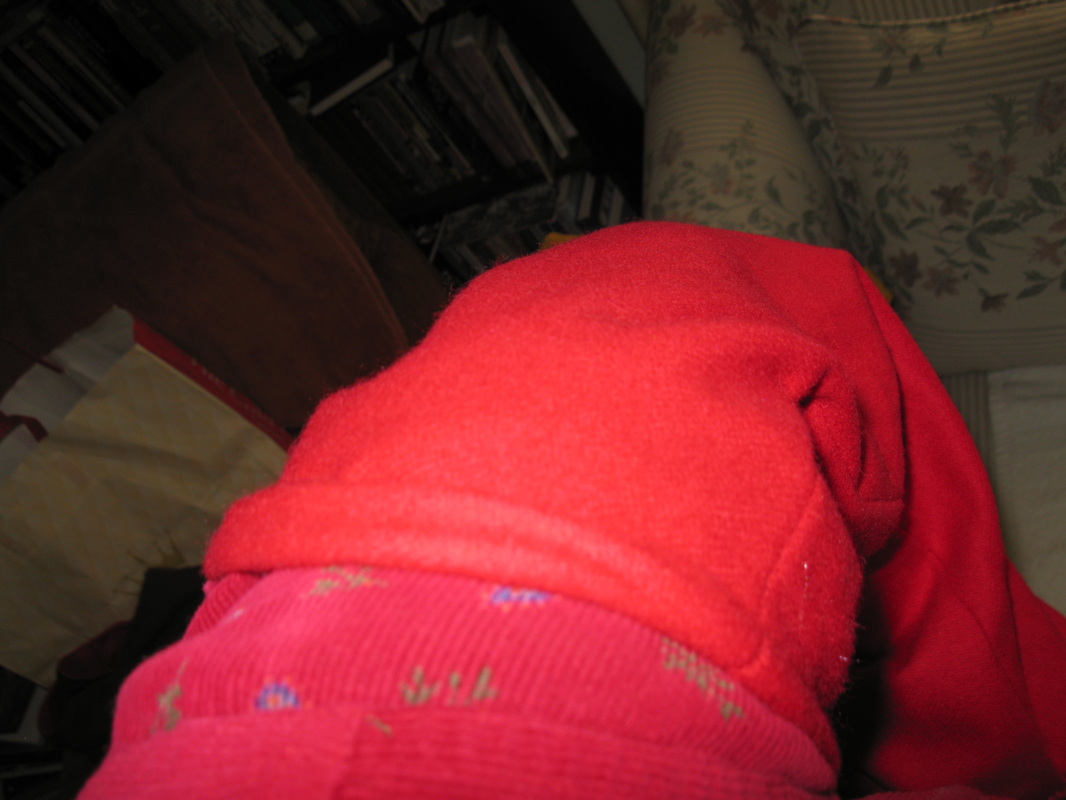
I took this picture myself--that is why it is blurry. Anyway, I hand stitched the top. Savannah thought I had put a band on it at first!
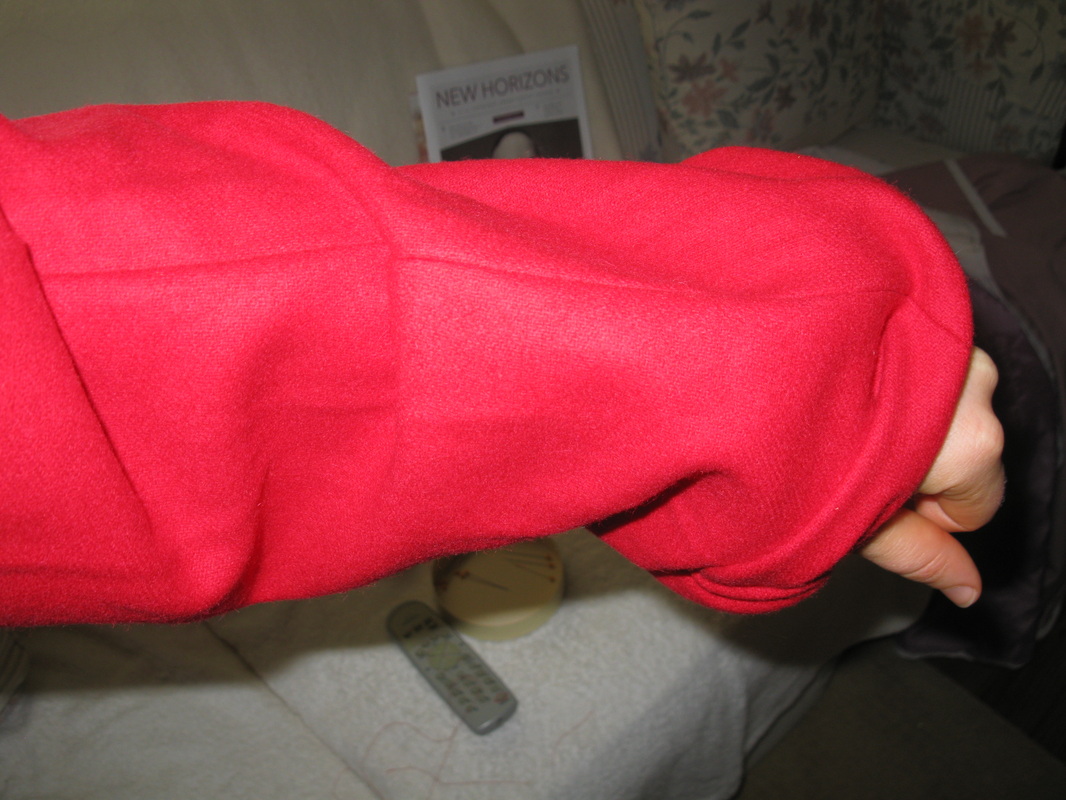
The sleeves are really long. If I roll them down they come down well over my hands. However, once again, if you look at the pictures, they appeared to be long like that and the women just rolled them up (or completely removed them) depending on the weather and what they were doing.
In addition to hand top-stitching the sleeve tops, I did the entire front opening of the outer-dress. I was just going to do the bodice at first (for the main reason of securing the lacing loops better), but it was determined that it would look better if I did the whole thing. So I did.
I think, for not having a huge amount of (visible) hand-stitching practice, that it looks pretty decent.
Now, before we get to the pictures of the completed ensemble, I'd like to show you one other piece that I made in a single morning (yesterday). I have wanted one of these "things" for several years now (probably could even use it with my WBtS outfits) and so I determined to stick to ol' chin out there and do it.
Yes, I am talking about a pocket.
I roughed out a pattern on a piece of scrap paper, cut that out, did a little measuring...and el-bam-o! It actually looked like it was going to work!
Yes, I am talking about a pocket.
I roughed out a pattern on a piece of scrap paper, cut that out, did a little measuring...and el-bam-o! It actually looked like it was going to work!
Well, I wanted a wee bit of decoration on said pocket--but I know diddly-squat about actual embroidery (cross-stitch doesn't exactly count) and when I tried I decided that under the circumstances, it wasn't going to be worth the effort. But as I told Mama, "I know how to do straight stitches and French knots!" So I did.

Take that, non-decorated pocket!
I didn't have time to do anything fancy, like these (from 1796, I believe the stitching says, but hardly a new concept at the time), so I contented myself with the somewhat wiggly geometric design around the slit opening.
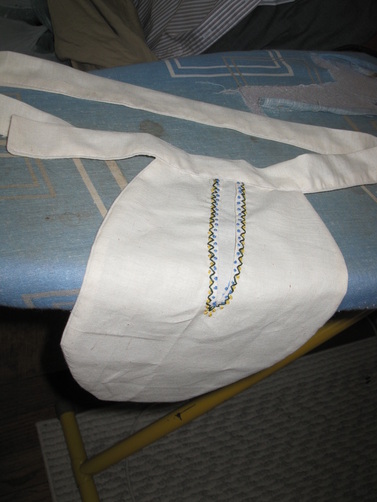
I had yet to do it when this photo was taken, but I put a button on to close it the waist band.
I did a wee bit more research, looking for whether or not these ladies wore leather belts and specifically, belts with buckles. I found a few, but all of them still had long tails that hung down to the knees. Now, I don't have any belts quite that long in my collection, nor even soft enough to tie the way the did them...so I am borrowing Daddy work belt. It's not quite long enough either, but it is soft enough. (You do know I'm rather addicted to my belts, right?)
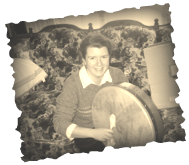
Alright, so with that said, how about some pictures of the finished outfit? (I would still like someone to give me a good explanation as to why photographs make one look wider than one does in the mirror...)
Alright, so with that said, how about some pictures of the finished outfit? (I would still like someone to give me a good explanation as to why photographs make one look wider than one does in the mirror...)
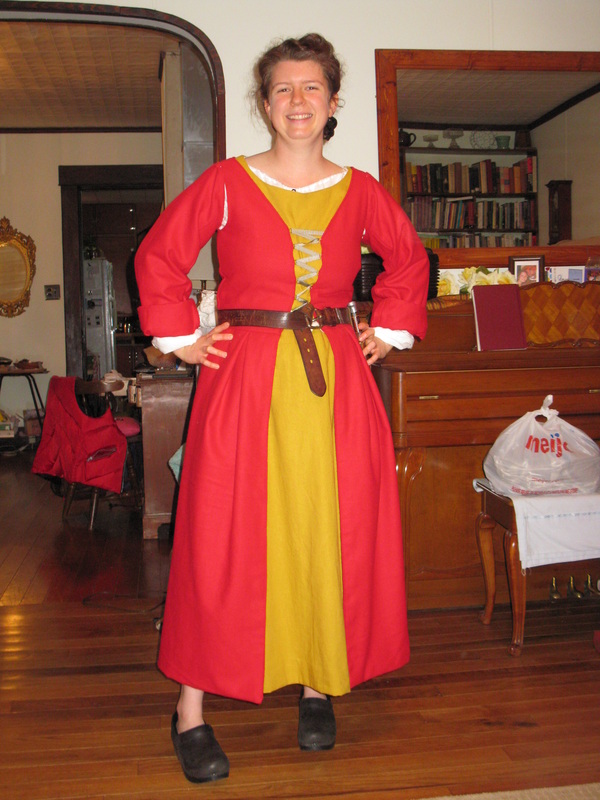
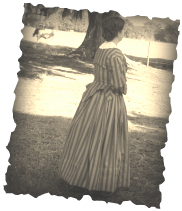
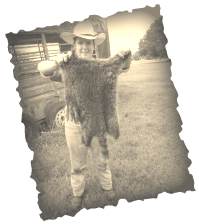
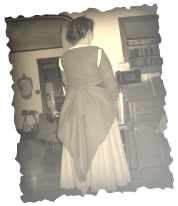
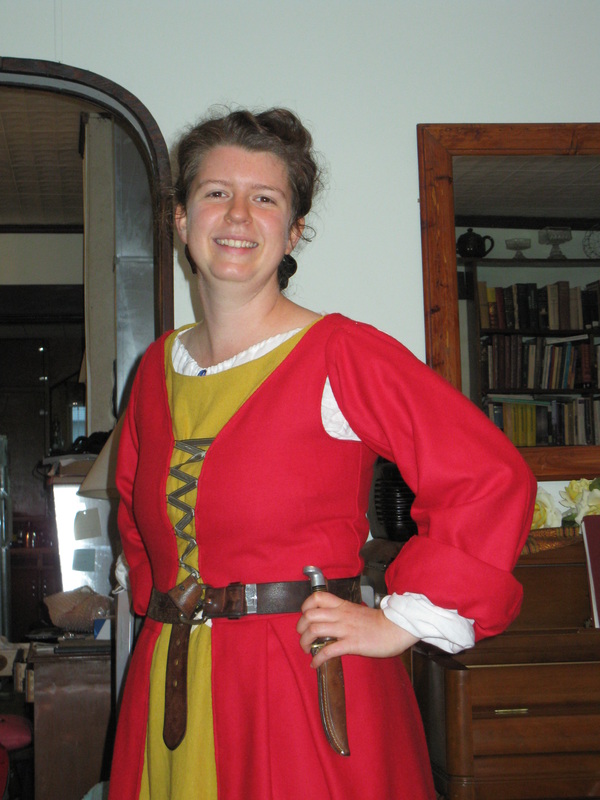
Full front view.
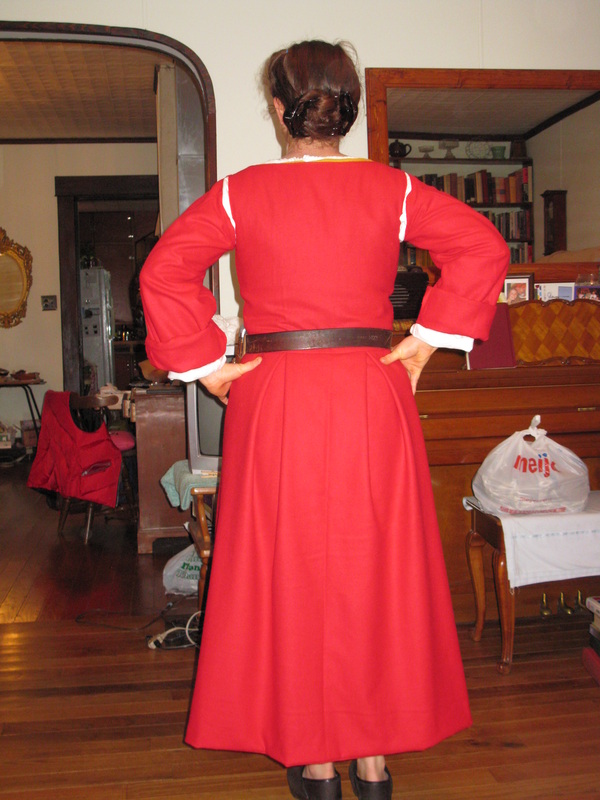
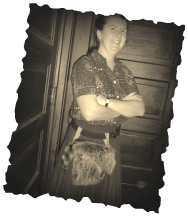
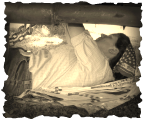
Full back view. (No, I will not wear my hair in the plastic clips.)
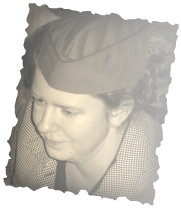
(If I look glassy-eyed, it was because I hadn't eaten supper yet.) The sleeves literally just get pinned with straight pins to the shoulder straps.
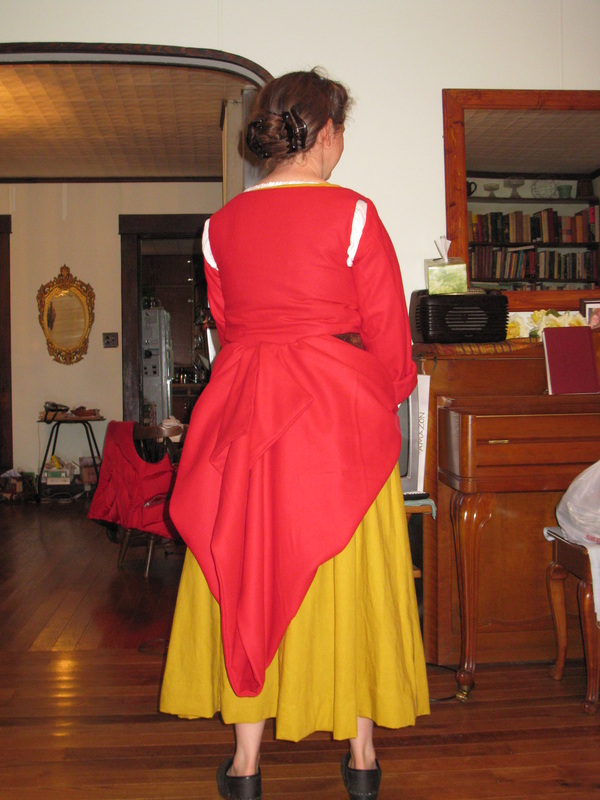
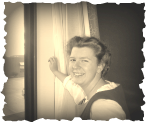
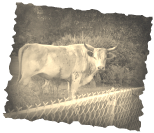
And here is an alternate version of how the ladies wore their skirts; rather than pinning it though I was able to just tuck it into my belt. I rather liked the way this looked/felt, but Mama thought it looked silly...and Katherine pronounced that I had my rooster's tail. :D
Well, that's it. I will probably wear those shoes (and please don't laugh too hard when I fall off them outdoors) since they are the closest looking thing I have to "authentic" shoes. I will not be bare-legged either...I have this lovely pair of brown angora wool knee-socks Mama bought me last year that I intend on wearing. I would have worn my home-made ones, but trotting around in just one sock would probably cause me to be of more amusement than I'd really like to be. ;)
I am SO looking forward to this weekend's adventures!
I am SO looking forward to this weekend's adventures!


 RSS Feed