I wrote this post last week, before we attended the Family Covenant Ministries Conference. We had a wonderful time and I hope to share with you some of the best things about it in a blog post very soon (like tomorrow!), but I thought I would go ahead and post my "Hat post" for your amusement...
*Note: Do not treat this post as a tutorial... :D
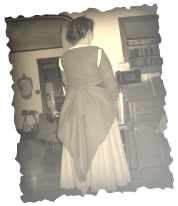
So...I tried my hand at some millinery work. I made myself a 1940's inspired hat. I say inspired, rather than "style" because I have never actually seen a hat from that period with the frippery I put on mine. I did use a pattern, but I did my own decoration to go with one particular outfit.
For a first try, I think it came out alright. It is rather time consuming adventure...I did have quite a bit of fun making mine (I got to use wire cutters as well as fabric and thread! :D)...but you'd probably like to see the pictures.
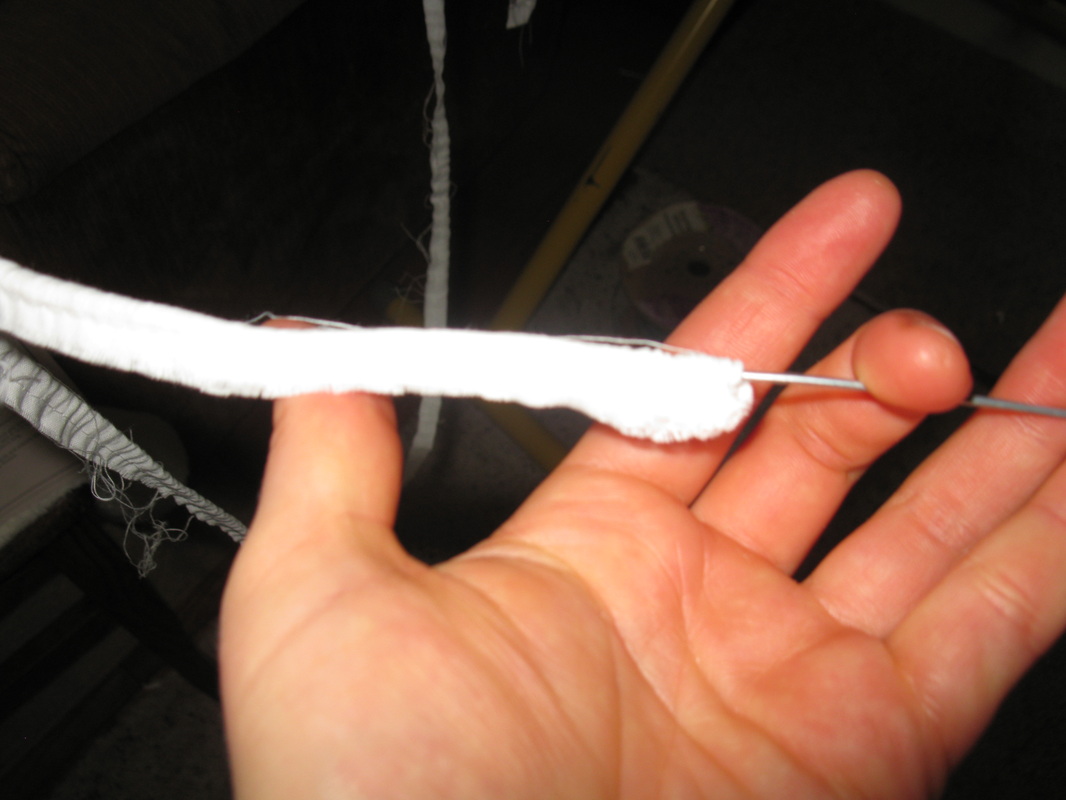
Before I get there though, here's a little "overview": I started with plastic coated copper automotive wire. Don't do that. Copper is over pliable for the job. Once I brought in the electric fence-wire, things went better. I spent almost all morning trying to get the automotive wire into the casing...and I still ended up like this:
So...I tried my hand at some millinery work. I made myself a 1940's inspired hat. I say inspired, rather than "style" because I have never actually seen a hat from that period with the frippery I put on mine. I did use a pattern, but I did my own decoration to go with one particular outfit.
For a first try, I think it came out alright. It is rather time consuming adventure...I did have quite a bit of fun making mine (I got to use wire cutters as well as fabric and thread! :D)...but you'd probably like to see the pictures.
Before I get there though, here's a little "overview": I started with plastic coated copper automotive wire. Don't do that. Copper is over pliable for the job. Once I brought in the electric fence-wire, things went better. I spent almost all morning trying to get the automotive wire into the casing...and I still ended up like this:
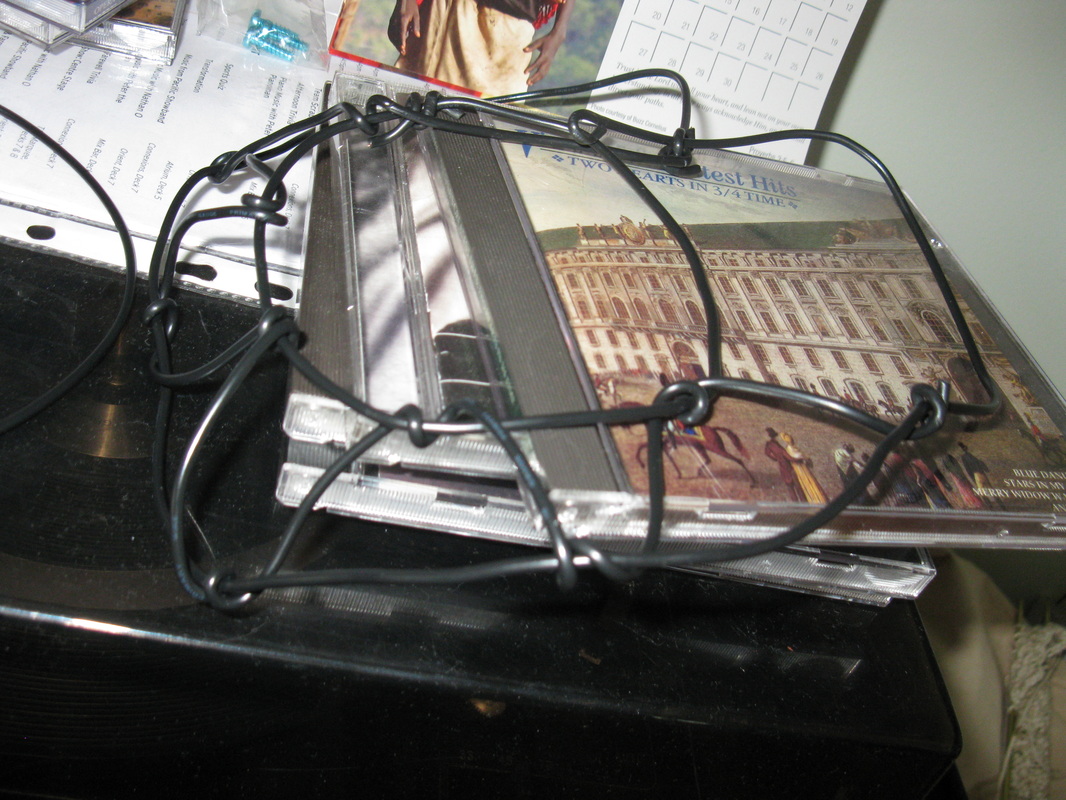
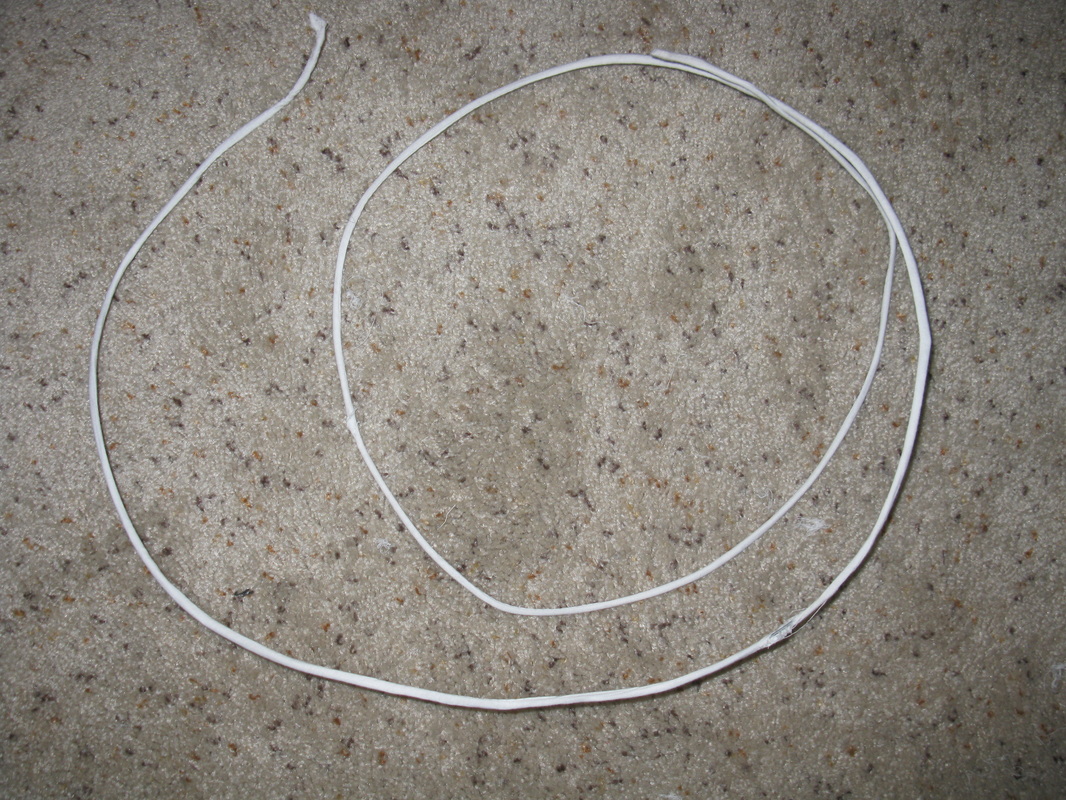
If you pick that mess up, it flops out of whatever shape it might have had...
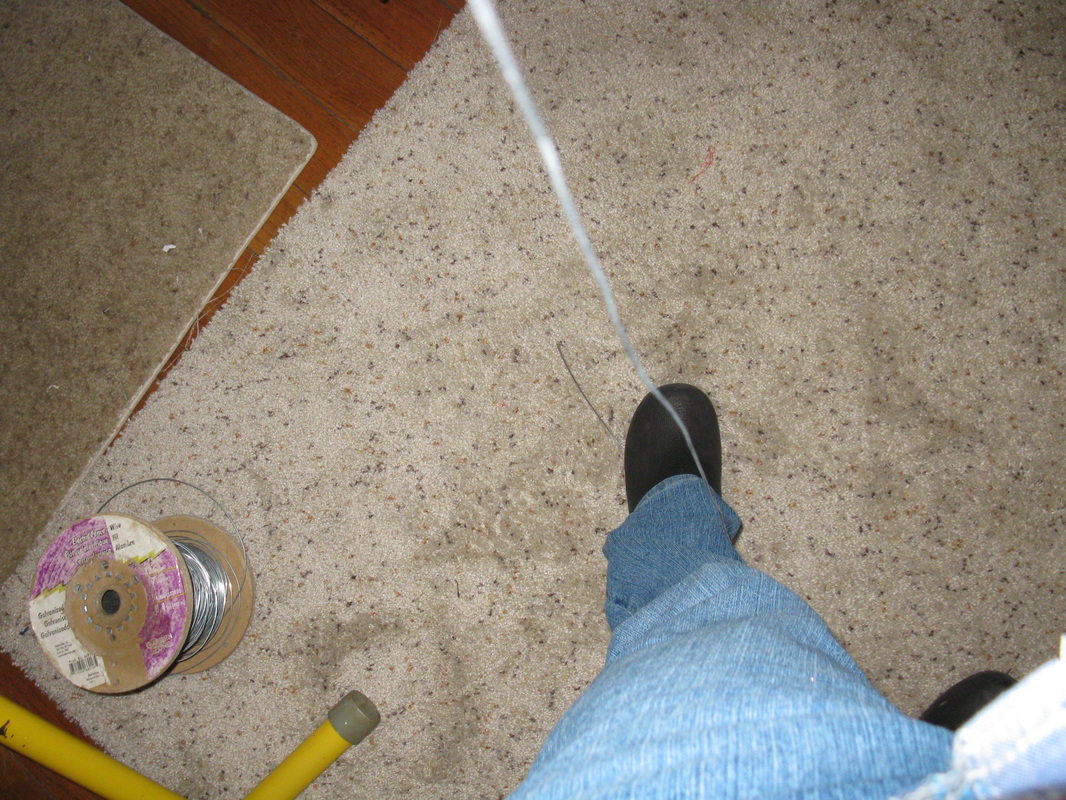
With that frustration staring me blackly in the eye, first the impossibility of casing the wire and then the wire being quite limp, I listened to the wise someone (which one I cannot recall) who suggested I use the electrical wire. Therefore, I dashed to the old garage, and returned with this:
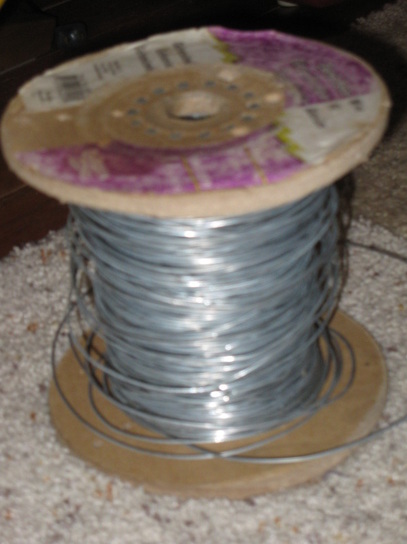
Ah! Now I could really get to work! I turned to with the rest of my supplies and thing started happening.
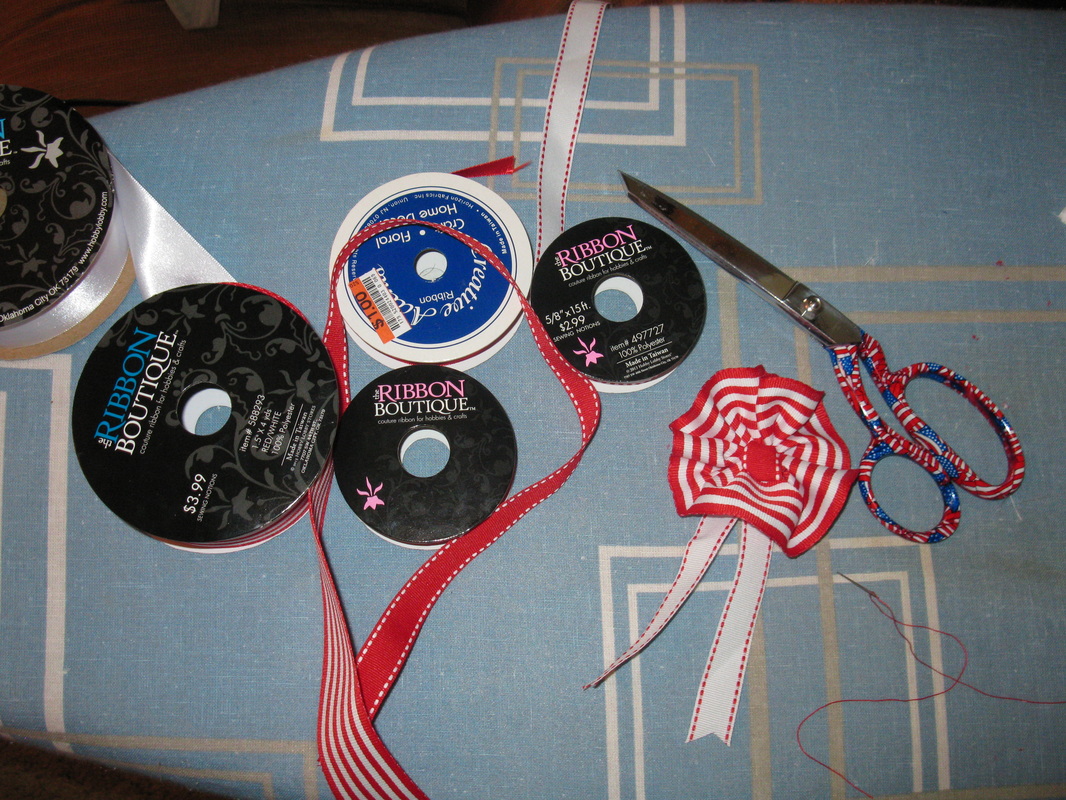
Ribbon (aka "notions")
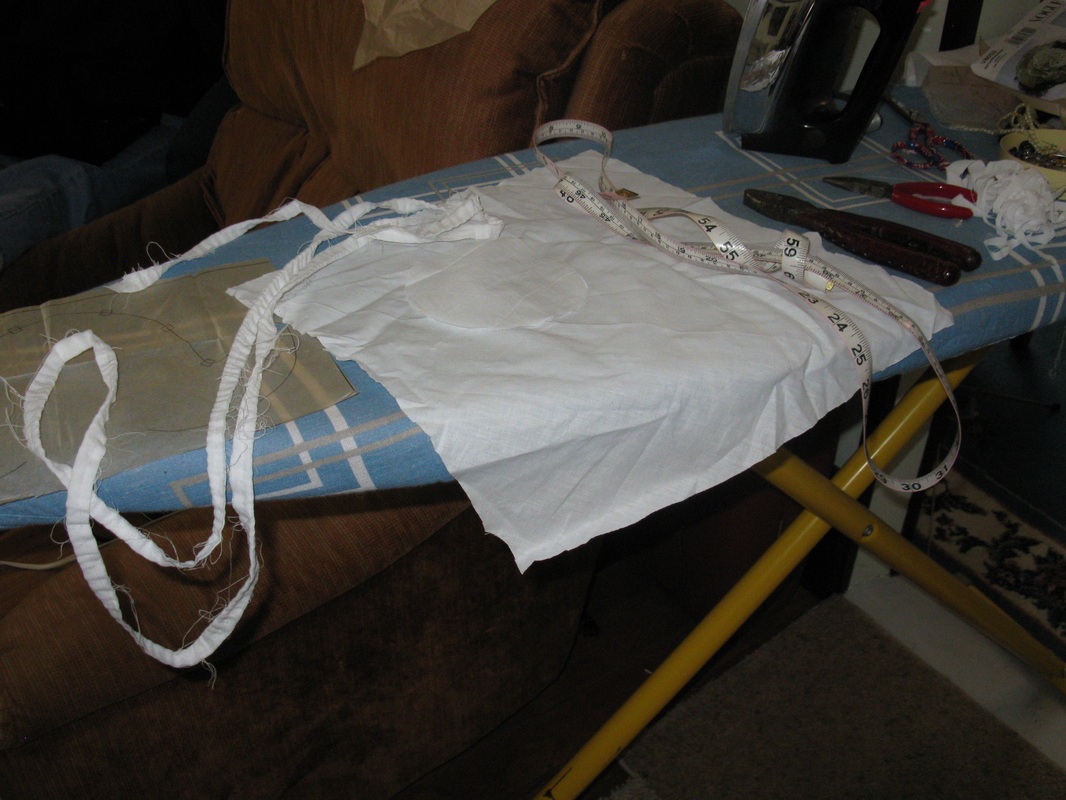
The fabric: casing to the left, cover to the right.
I did not get a picture of just the tools. ;)
It took a little, but I did get the electric wire in the casing. (Next time, presuming there is a next time, I think I shall make the casing a hair wider...)
It took a little, but I did get the electric wire in the casing. (Next time, presuming there is a next time, I think I shall make the casing a hair wider...)
Partially cased wire...
Stretching the wire as straight as possible (it was longer than I am tall almost) before starting the next stage.
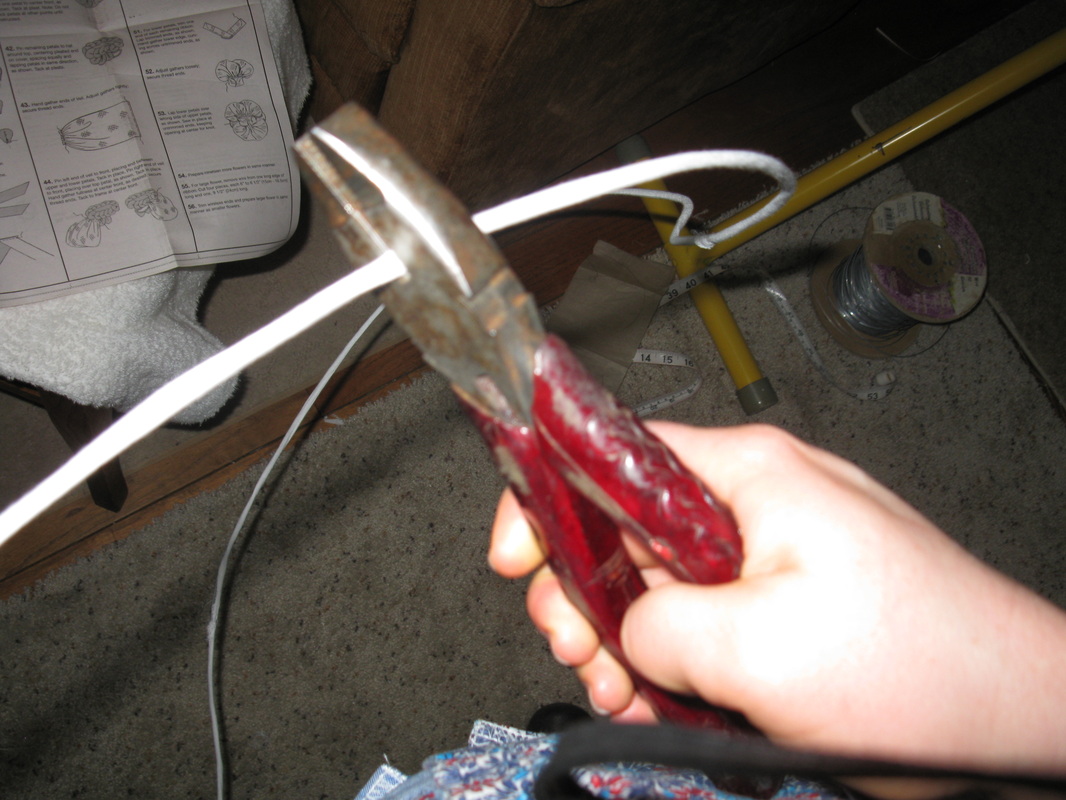
Once I got the wire stretched out some, I could start the measuring and cutting for the actual frame construction. For this, a slightly more "bendy" wire would have been easier, but I have fairly strong hands and have worked with electric fence wire in tight spaces before, so I managed without too much trouble. Besides which, in the end I wanted a pretty stiff frame.
Cutting. You can see the measuring tape on the floor next to the roll of wire. Oh, and that sheet of directions? I pretty much ignored them after a short perusal...
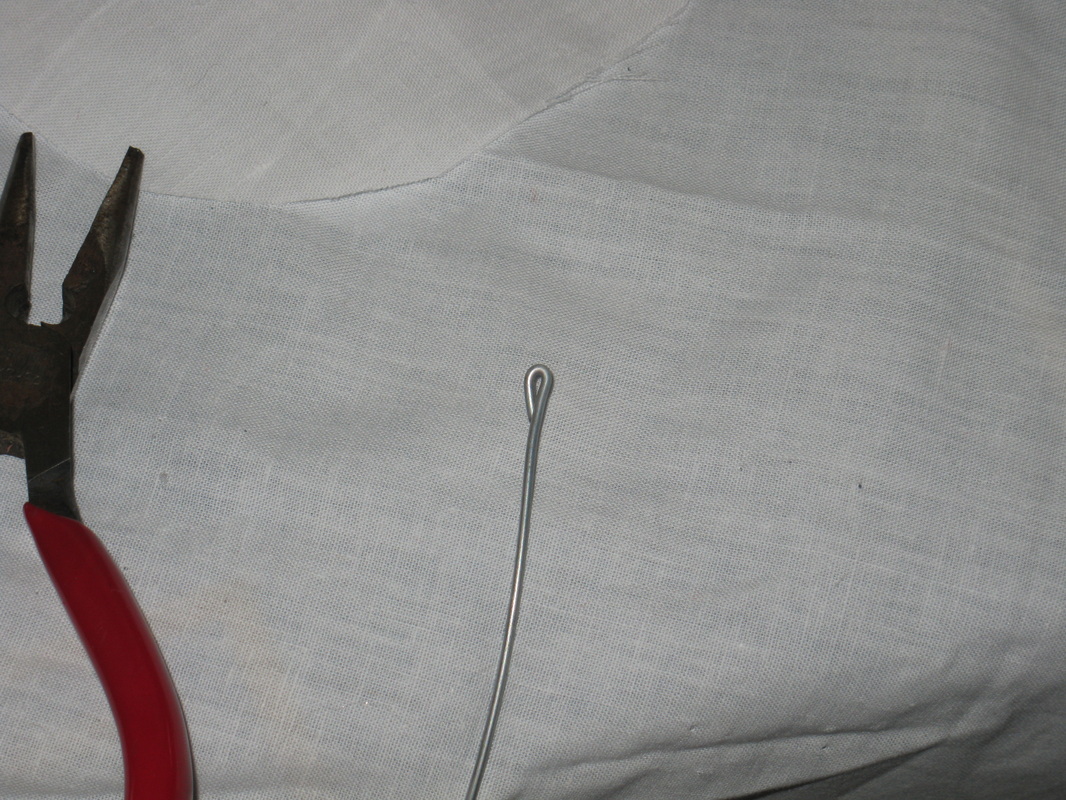
Once the wire was cut for the first piece, I made a loop in one end with the needle-nose pliers. It was to be to this loop that the other end of the wire would eventually be attached.
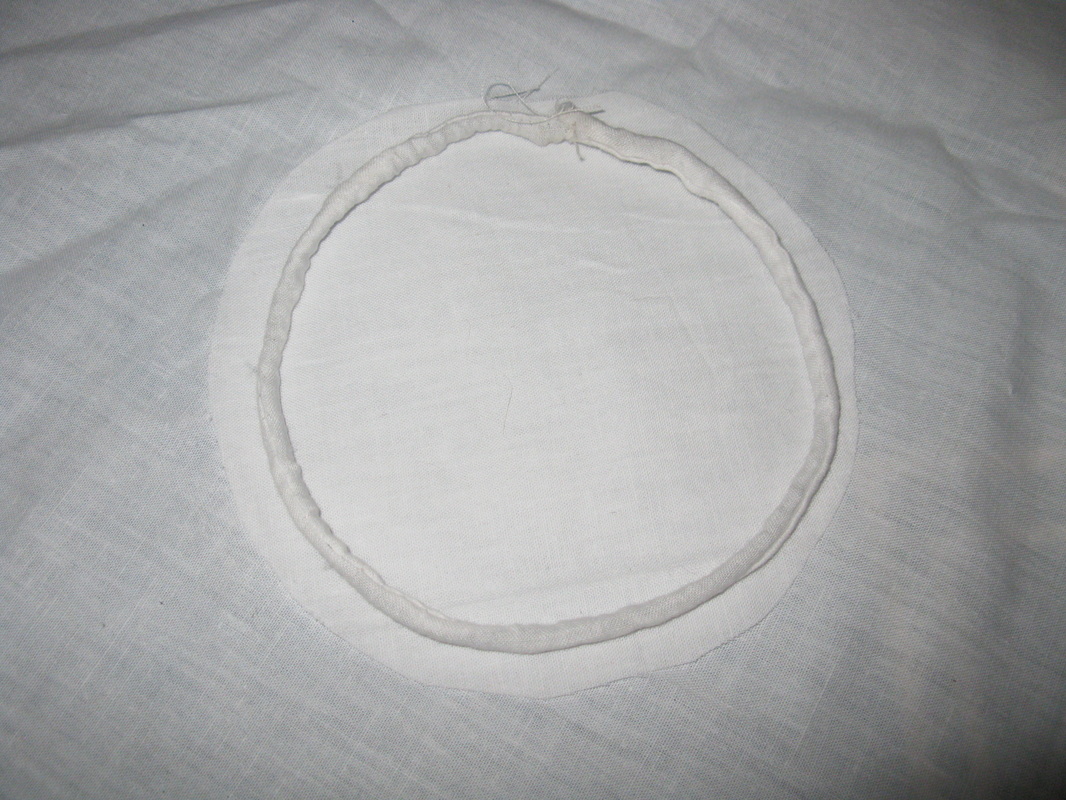
First, I made a circle (or something that resembled a circle) for the top of the frame. [I ended up completely ignoring the step in the pattern that utilized that round section of fabric.]

Next I took a minute to stare at this odd-looking design...
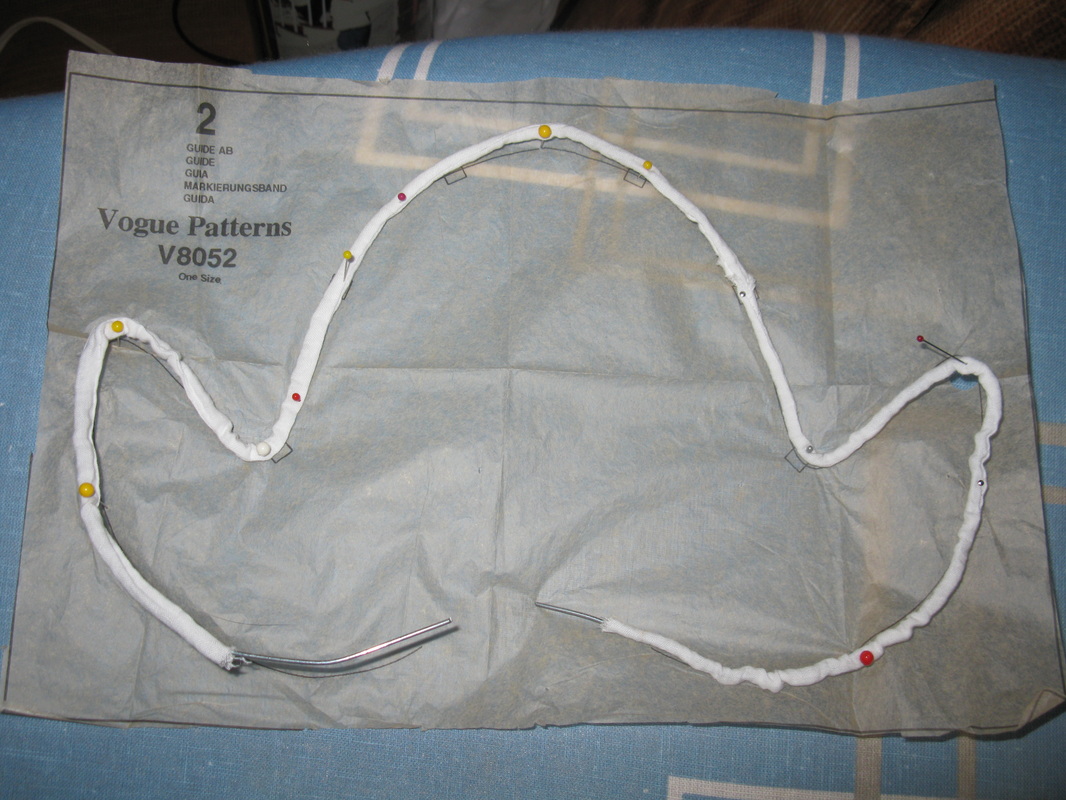
And then everything fell into place...
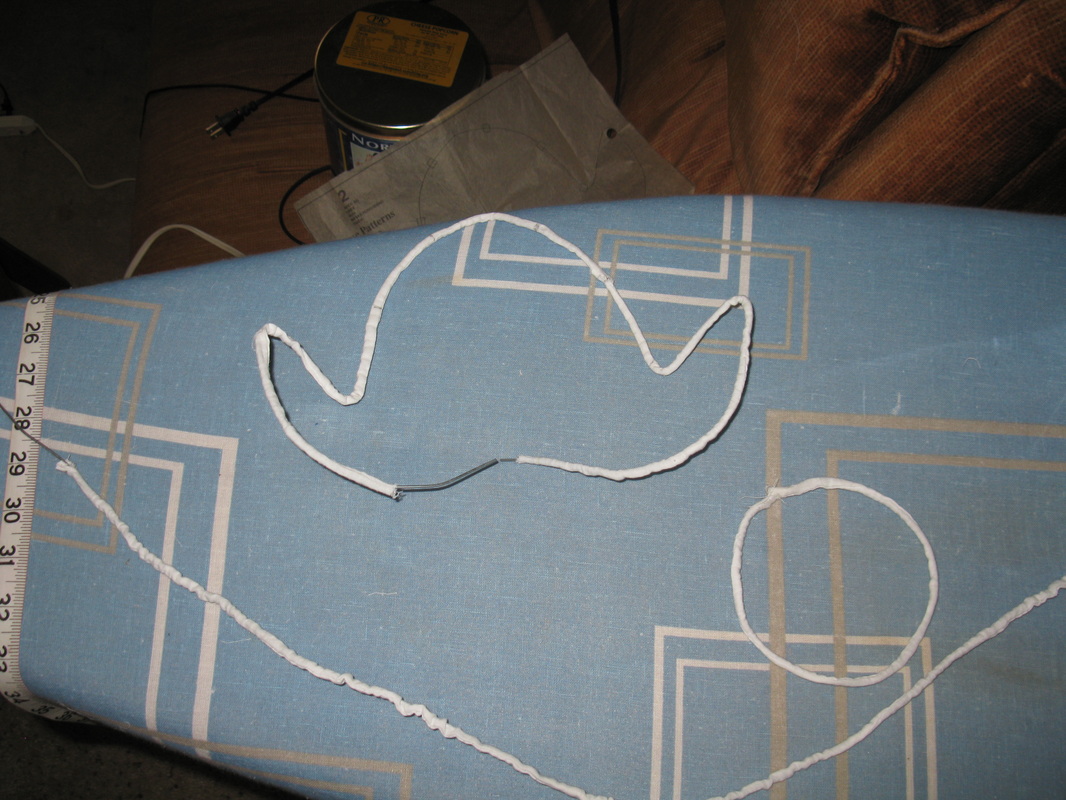
The circle got placed within the "Dutch-cap" shape and the long (humor me) "straight" wire became the tie between the two. Once they were connected, I took the whole mess in my hands and bent it.
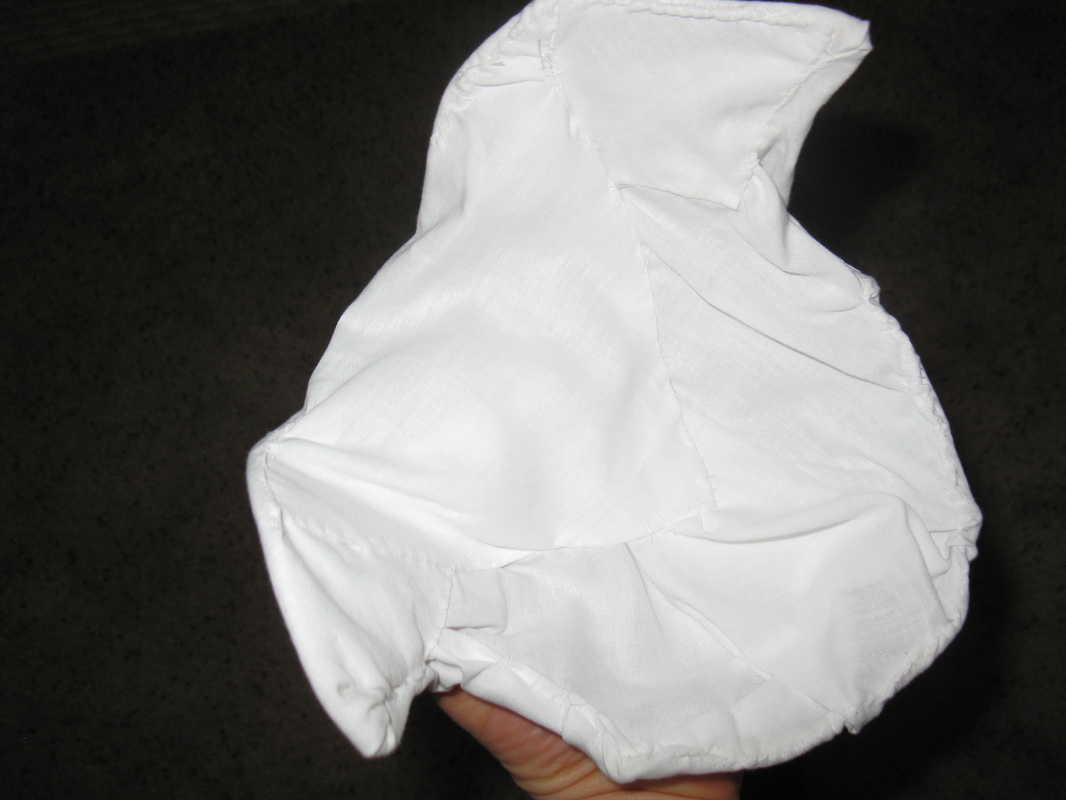
The next issue caused me a little confusion. The cover was simply nothing more than a square hunk of material. I did figured out that one just drapes it, re-arranges it, pokes and prods it until one is happy with it.

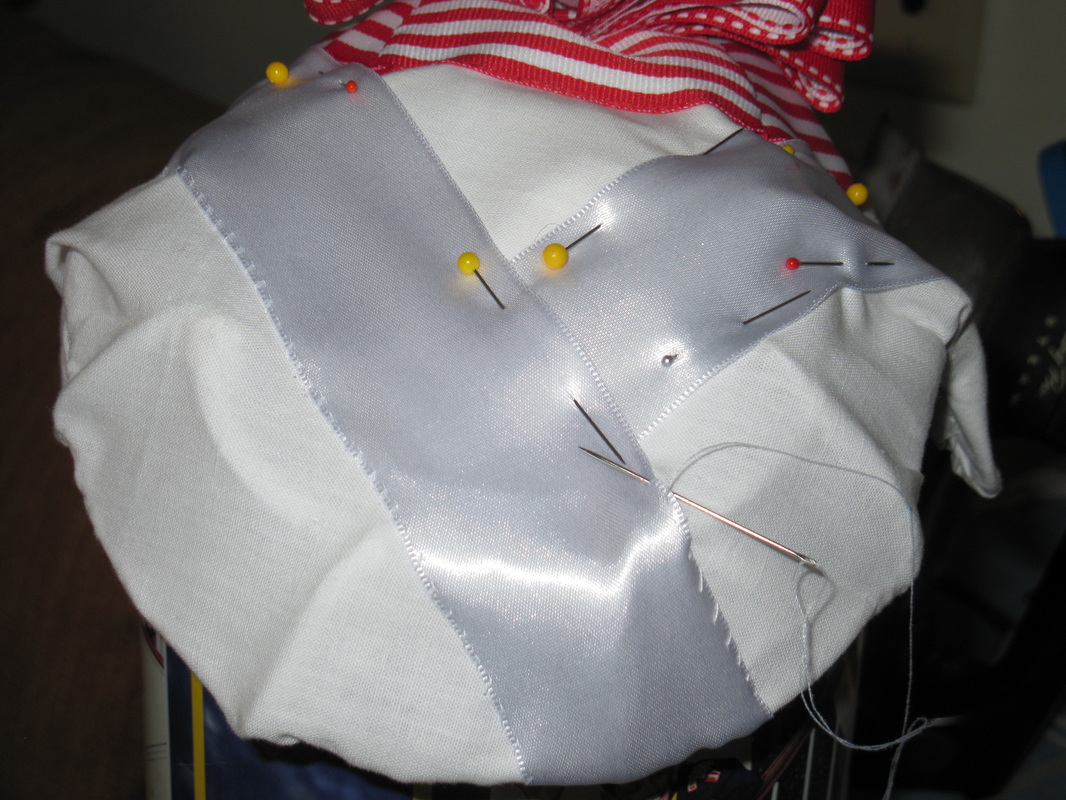
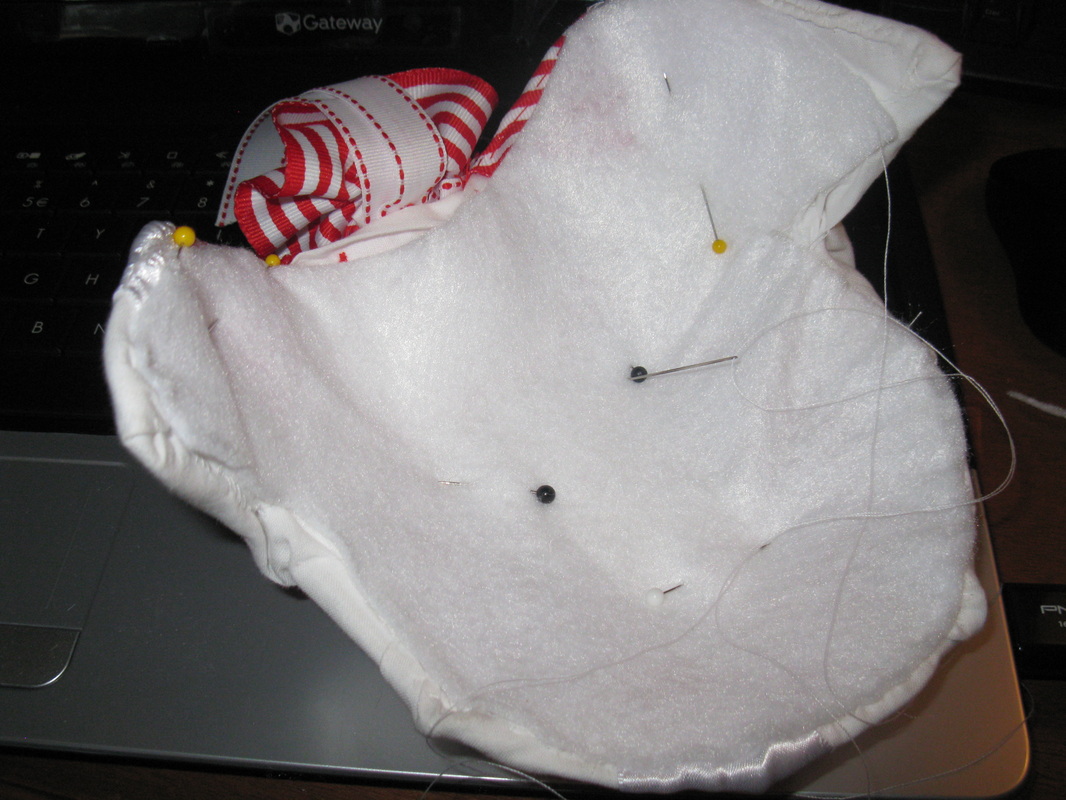
The initial pinning of the cover. I had Mama photograph it so I could see what it looked like on a little better.
After I was happy with how it was pinned, I took my thread, needle, scissors, and the pins, of course, and sat on the front steps to stitch the cover into place. It was nice and sunny and spring-day-ish out there and I really enjoyed it even though I had to squint practically the whole time.
Mmm, yes...something like that...not very professional, I suppose, but it was my first try after all.
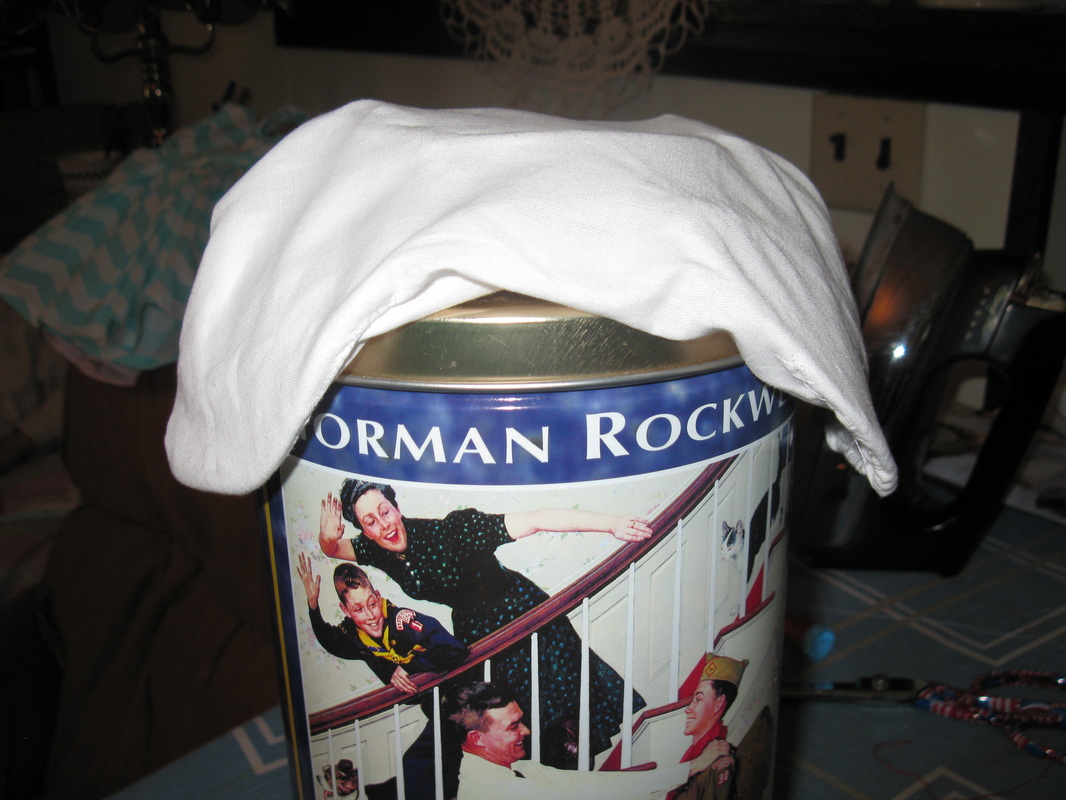
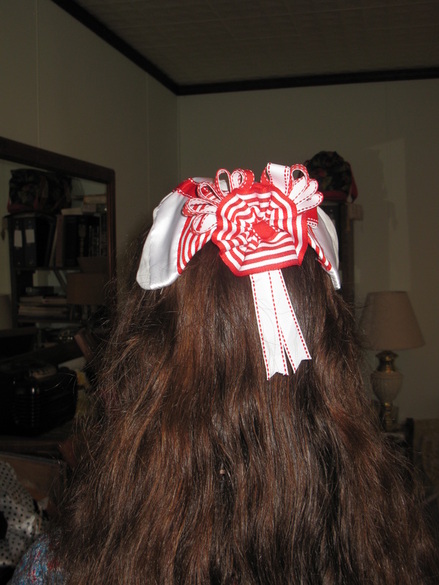
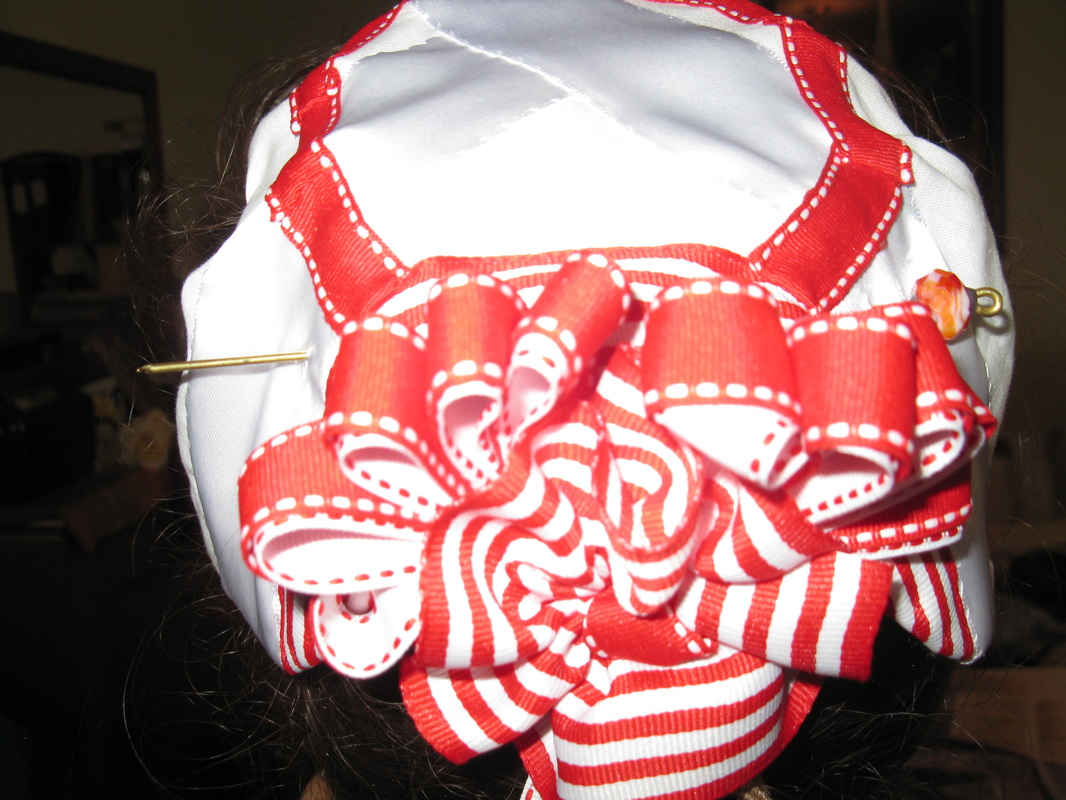
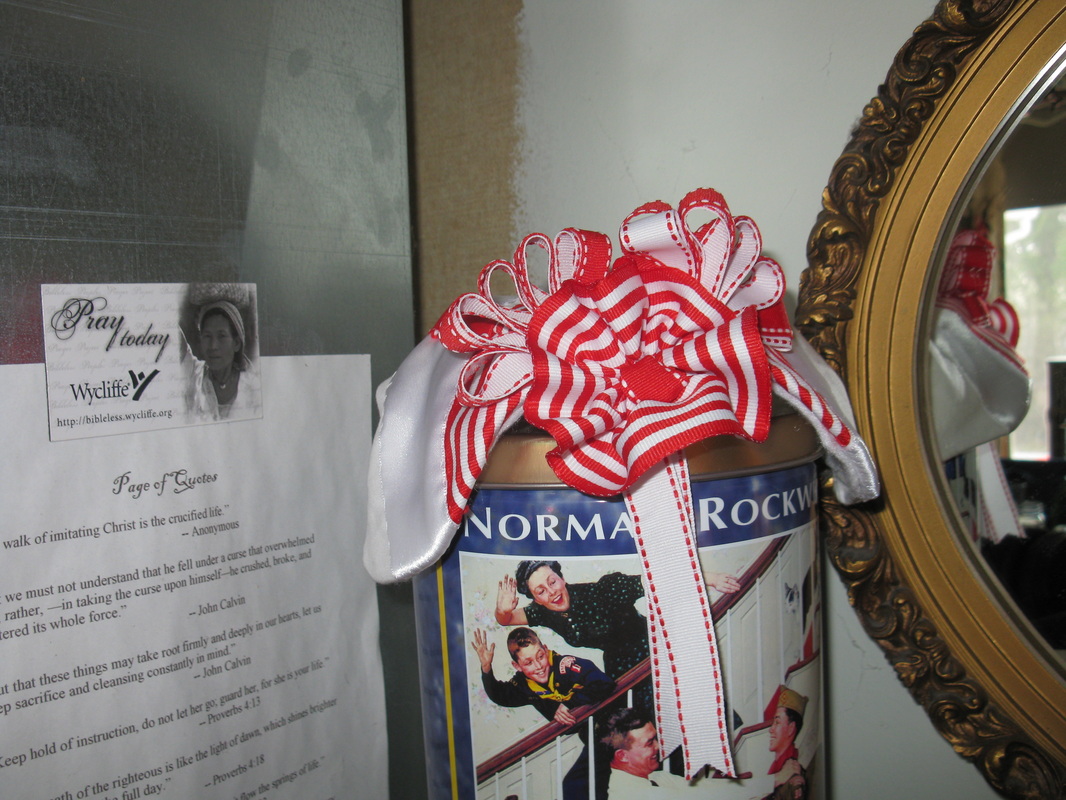
The back. (Don't you just love my Norman Rockwell tin? It didn't work as a "head" as well as I had hoped...)
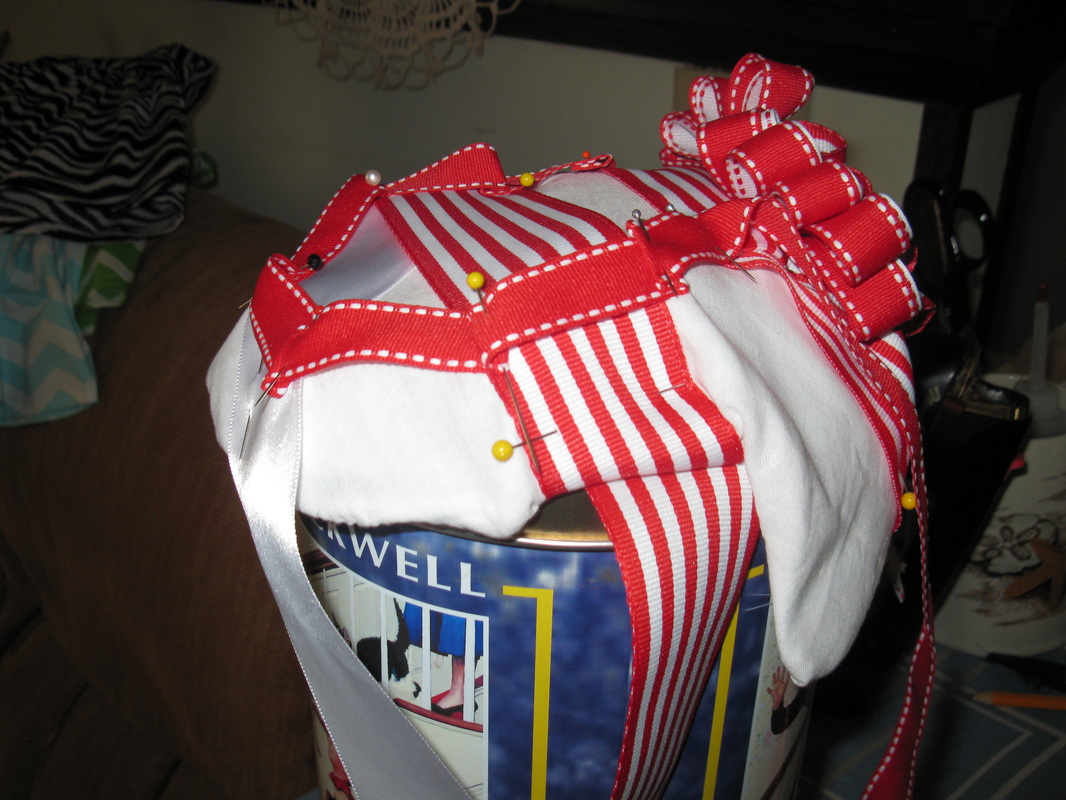
It was at this point that I got really creative. I had an idea as to what I was going to do with it, but I ended up doing something rather different than what I intended. I was going to put cockades all around the edges, but the ribbon I had was either too wide or too narrow (I am incapable of making cockades out of half-inch ribbon). I did put a cockade on the back, but if I had made more, they would have been the same size and it wouldn't have had the look I was going for...so instead, I did some other things.
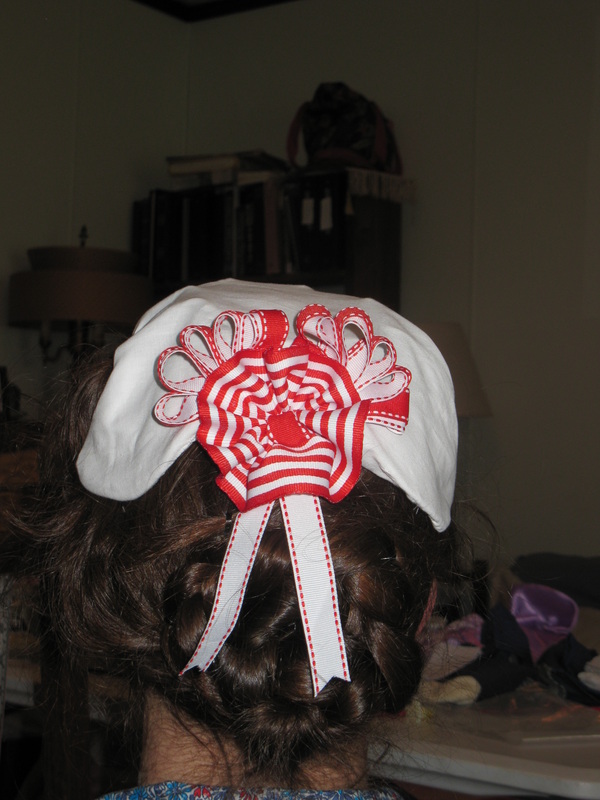
I added the "flourishes" on either side of the cockade...
Then I went back to the ironing board and did a little more designing. I tried this:
| 
|
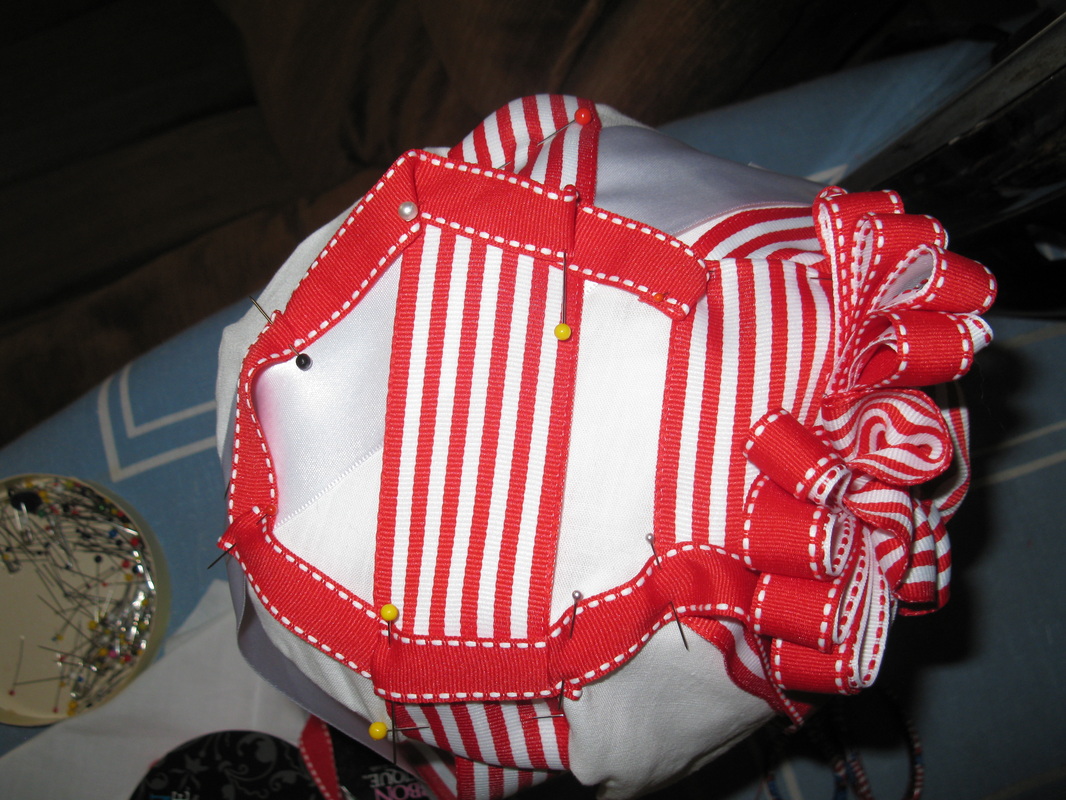
However, I decided that it was a little too busy. I really liked the a-symmetrical strip of white satin ribbon...so I kept that aspect. The final product began to come together:
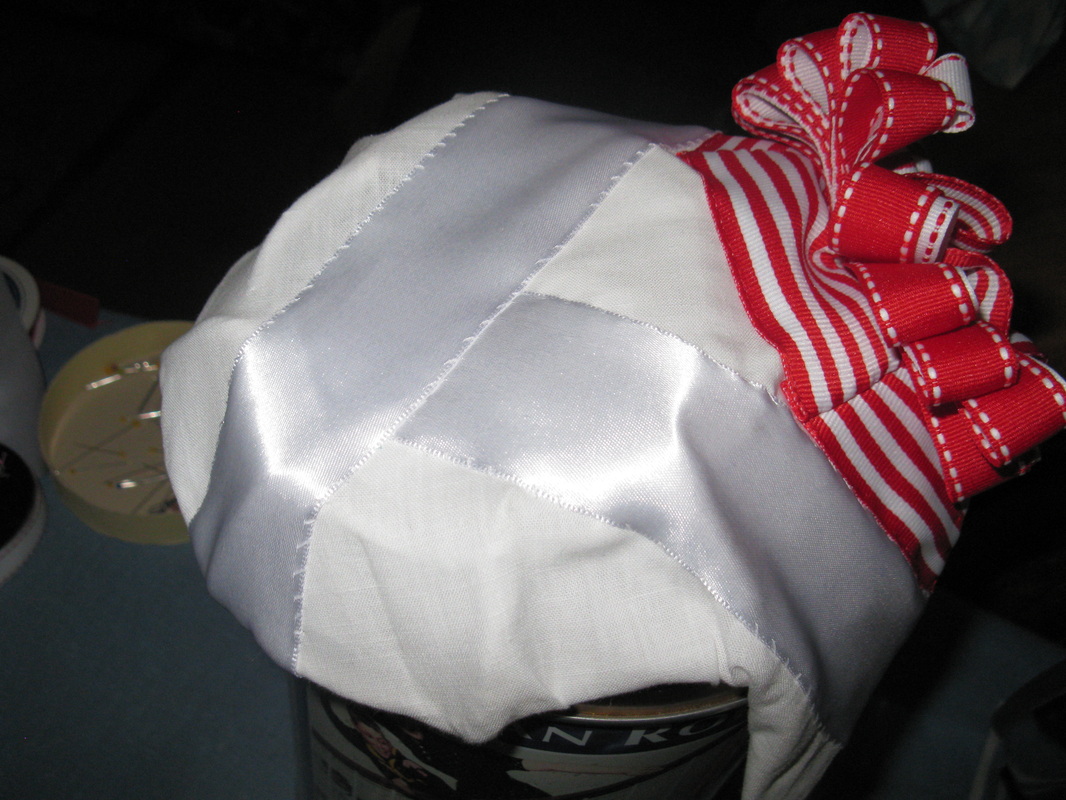
As you can see, I kept the a-symmetrical white stripe, but I also added a secondary strip of satin ribbon. I tried it all the way across, but I didn't like that.
With the frame being somewhat more visible than I would have liked, I tried this, then that, and finally settled on red ribbon around the crown.
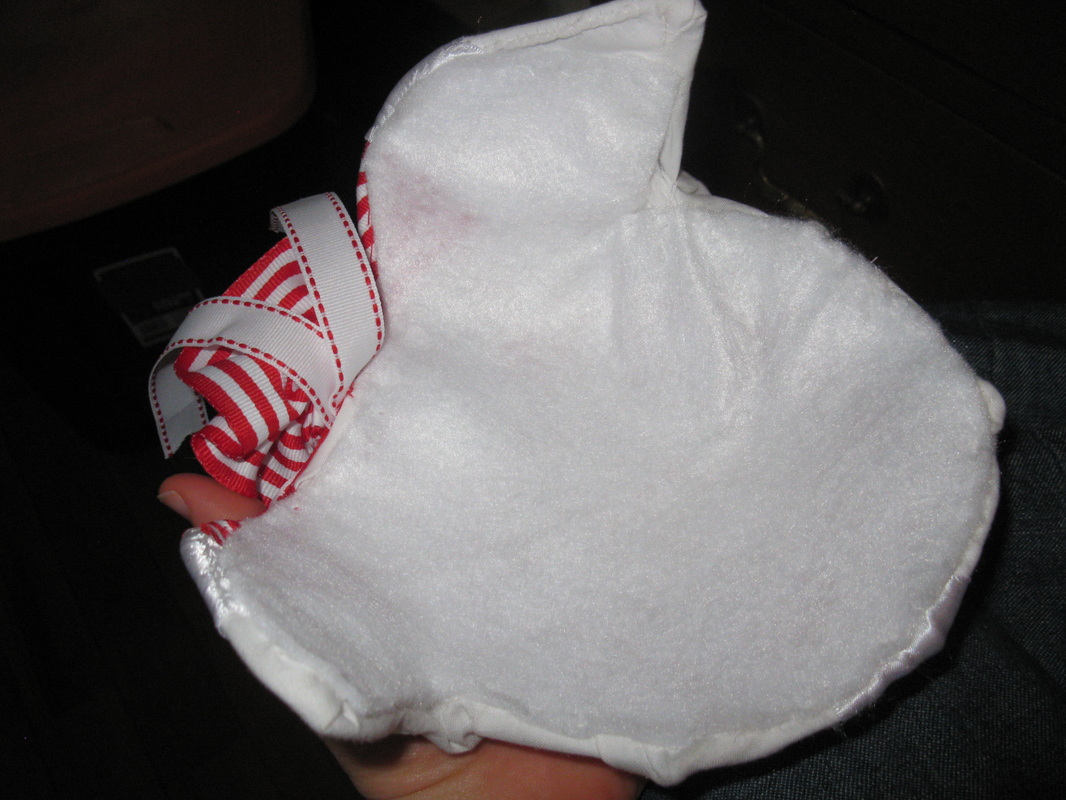
I scrounged some white felt from Katherine to line it with:
I obviously didn't get it cut quite right...
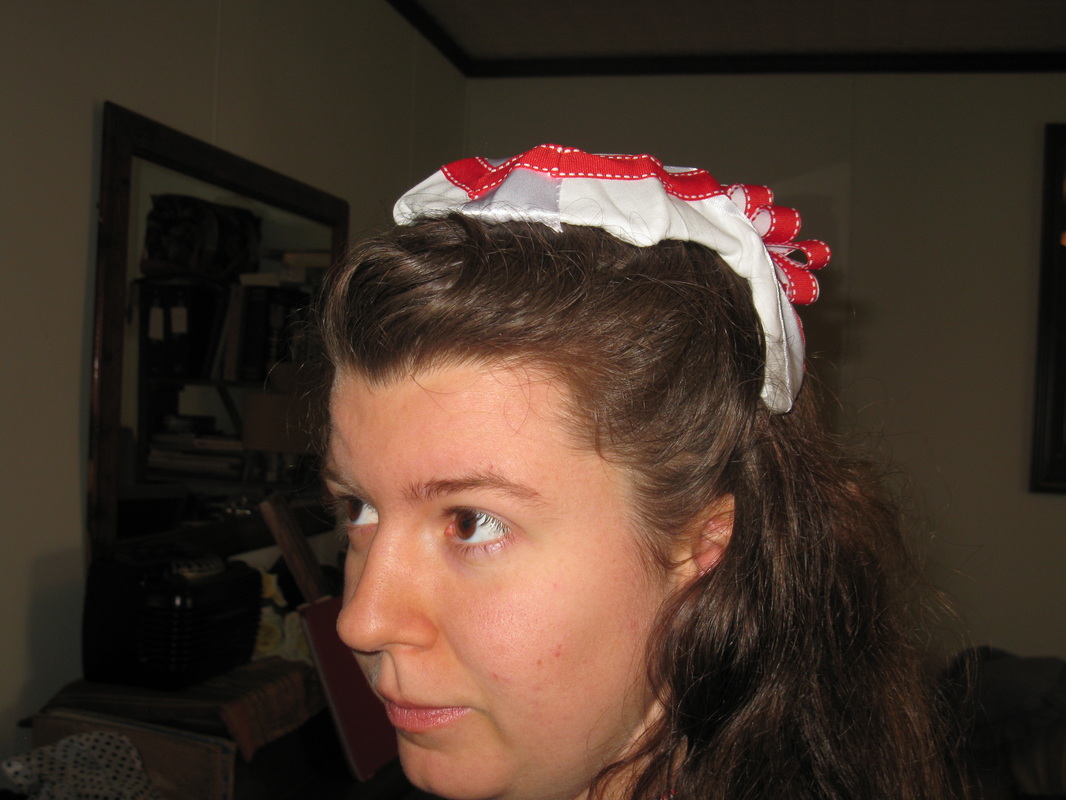
Finis!
I asked Daddy if he could make me a hat pin (because I really, really need one!); he said he could and asked if I wanted steel or bronze. I said bronze because its a little more pliable. He ended up making me two...
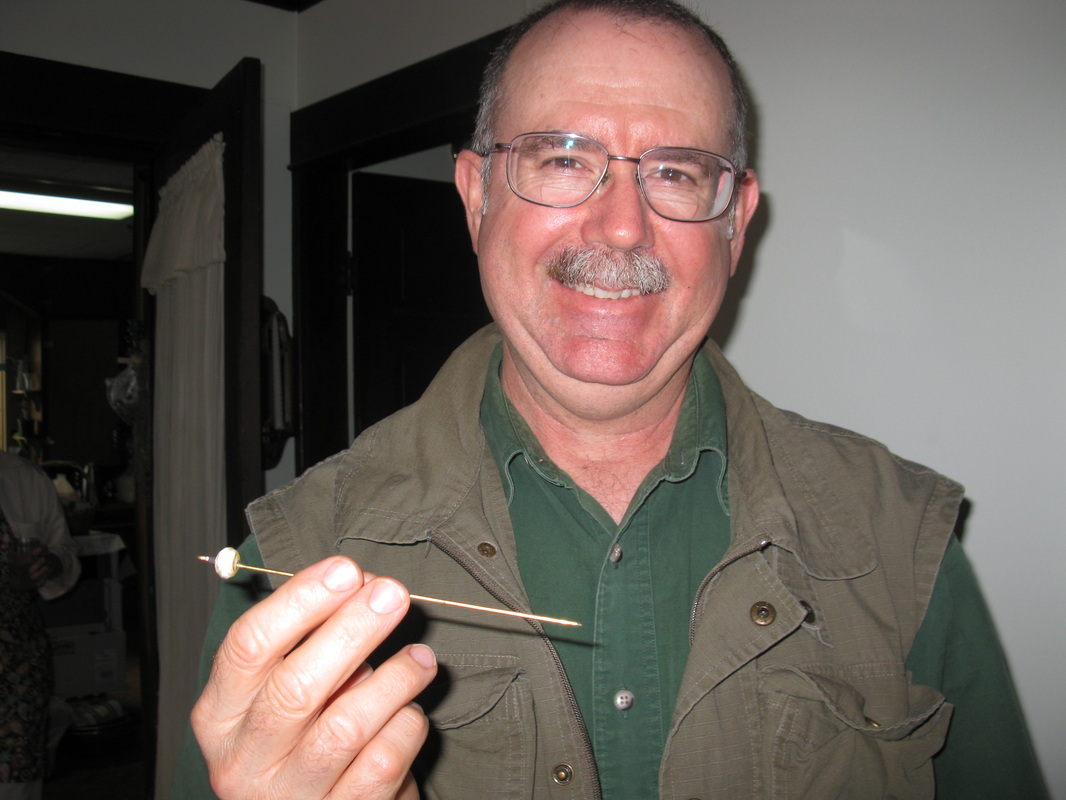
He had to use an ice-pick to poke holes in the hat first, since the bronze is too soft to go through the felt. ("That felt is like armour." --Daddy)
Anyway, I like my hat even though it isn't perfect. I learned a couple of things while working on it and one of the most important was probably not to use a light cotton for the cover--particularly a light color, like white. To make a better quality hat, a heavier material would more than likely look a lot better. Also, I suspect there is a more precise way to cover the frame than with a square of fabric. Perhaps I shall have opportunity to experiment again. :)
All told, I really enjoyed making it. Keep me in mind if you want a hat made... ;) I'd love to give it a whirl again! (I might even take the time to do a little more research on millinery...) [Strange...I never thought I would be entertaining ideas of millinery.]
All told, I really enjoyed making it. Keep me in mind if you want a hat made... ;) I'd love to give it a whirl again! (I might even take the time to do a little more research on millinery...) [Strange...I never thought I would be entertaining ideas of millinery.]


 RSS Feed