The Adventures of a Middle Kid
  • Blog
  • About Me
  • Contact
  • Extra! Extra!
    • The War Between the States--A Journal
    • Book List
  • The Bee Project

The Harlequin Dress

1/16/2015

0 Comments

 
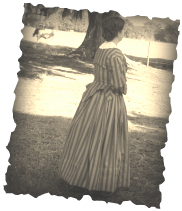
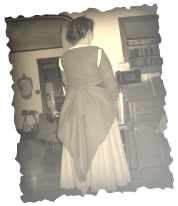
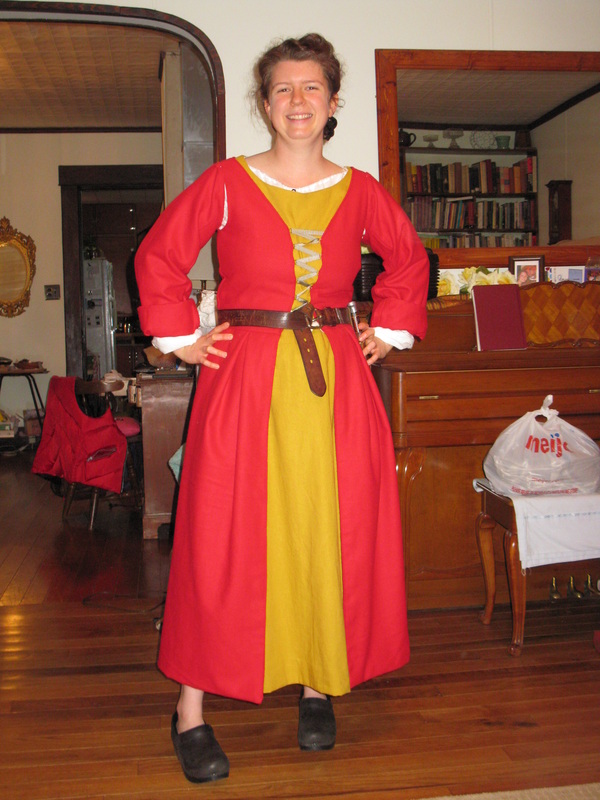
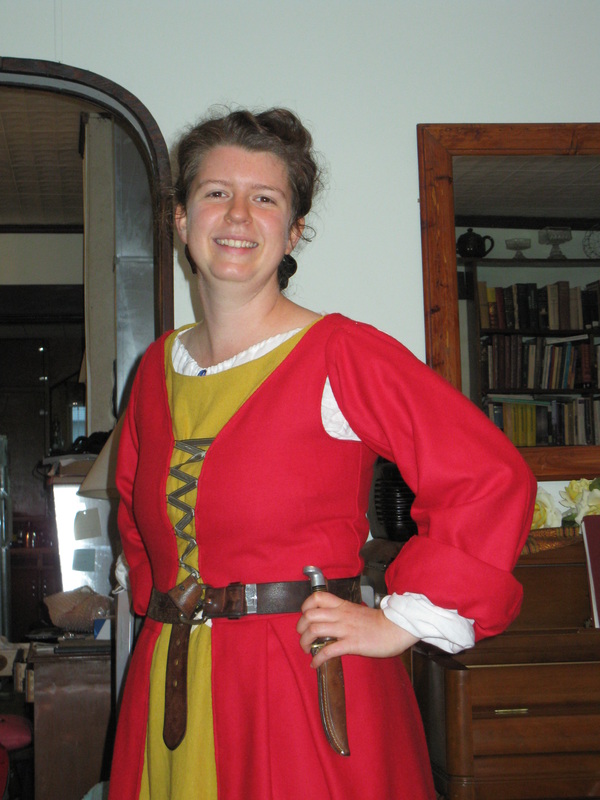
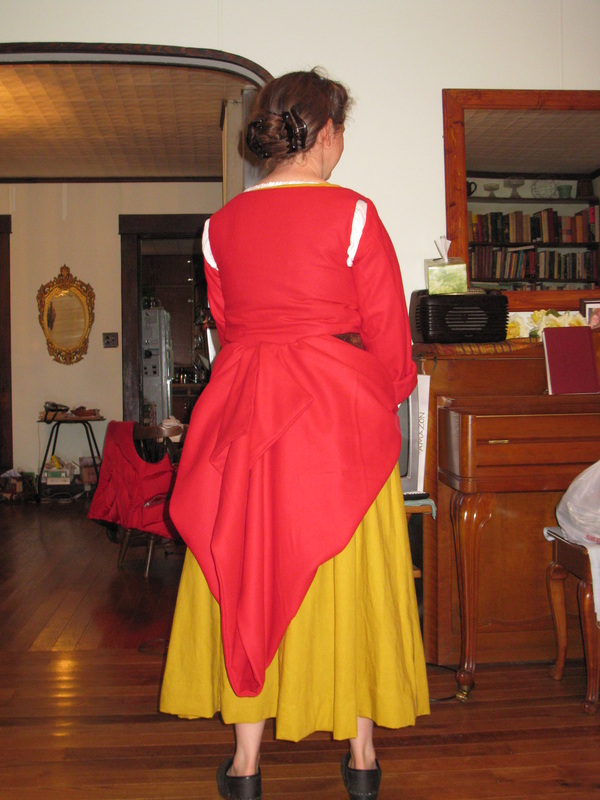
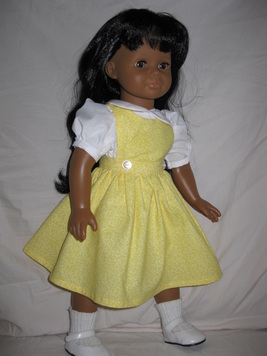
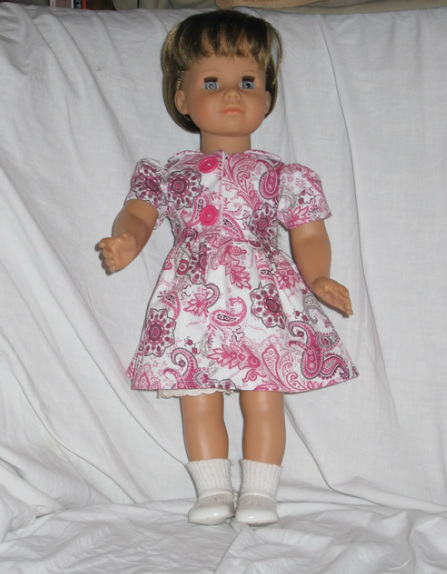
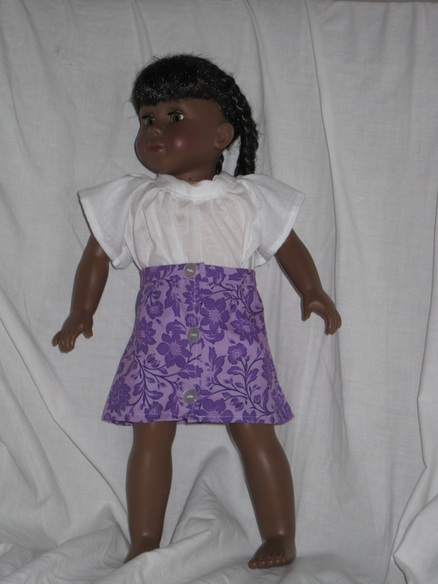
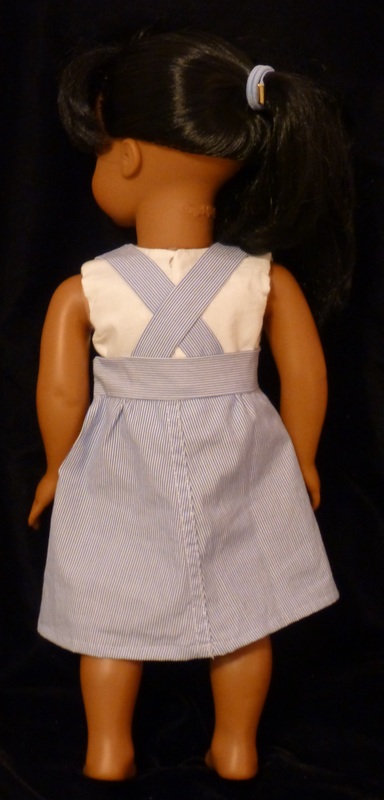
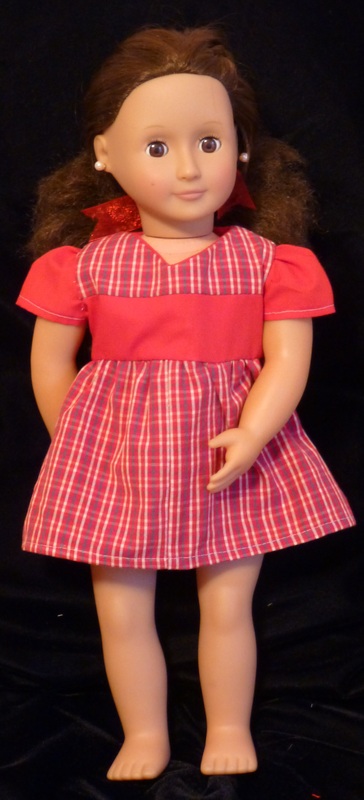
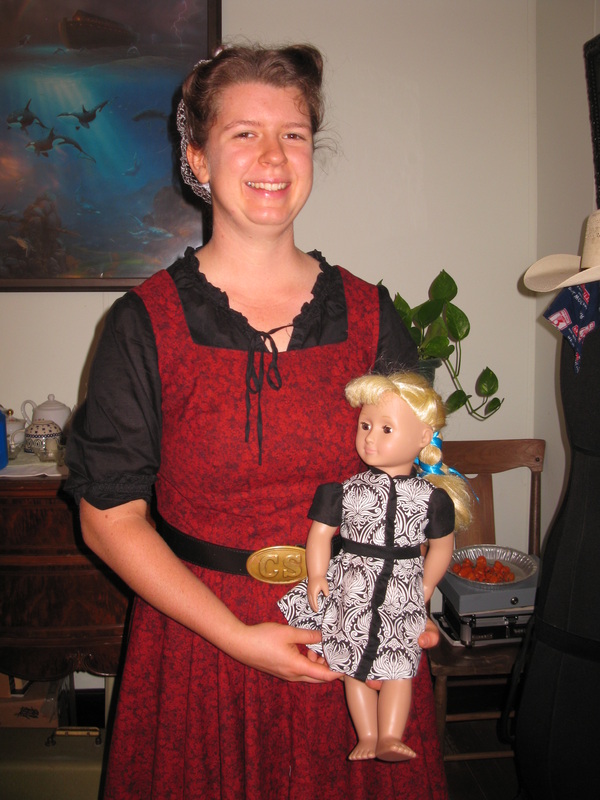
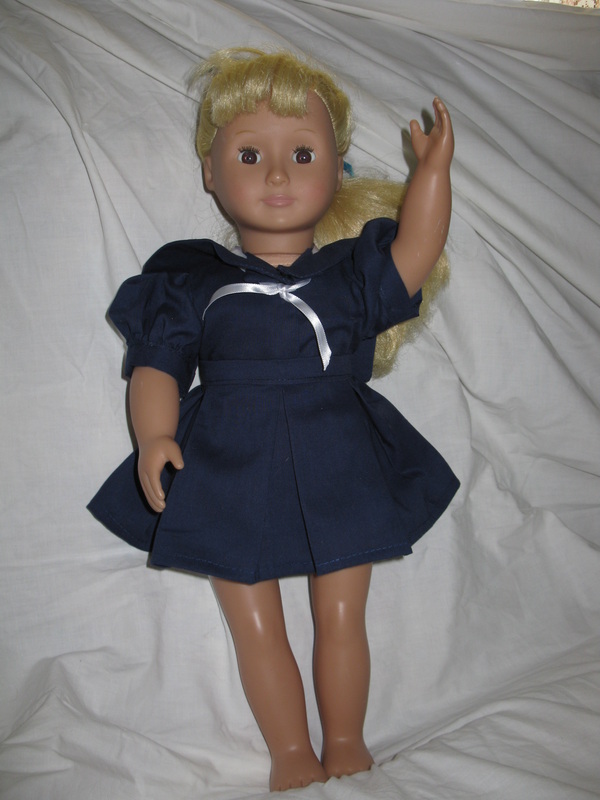
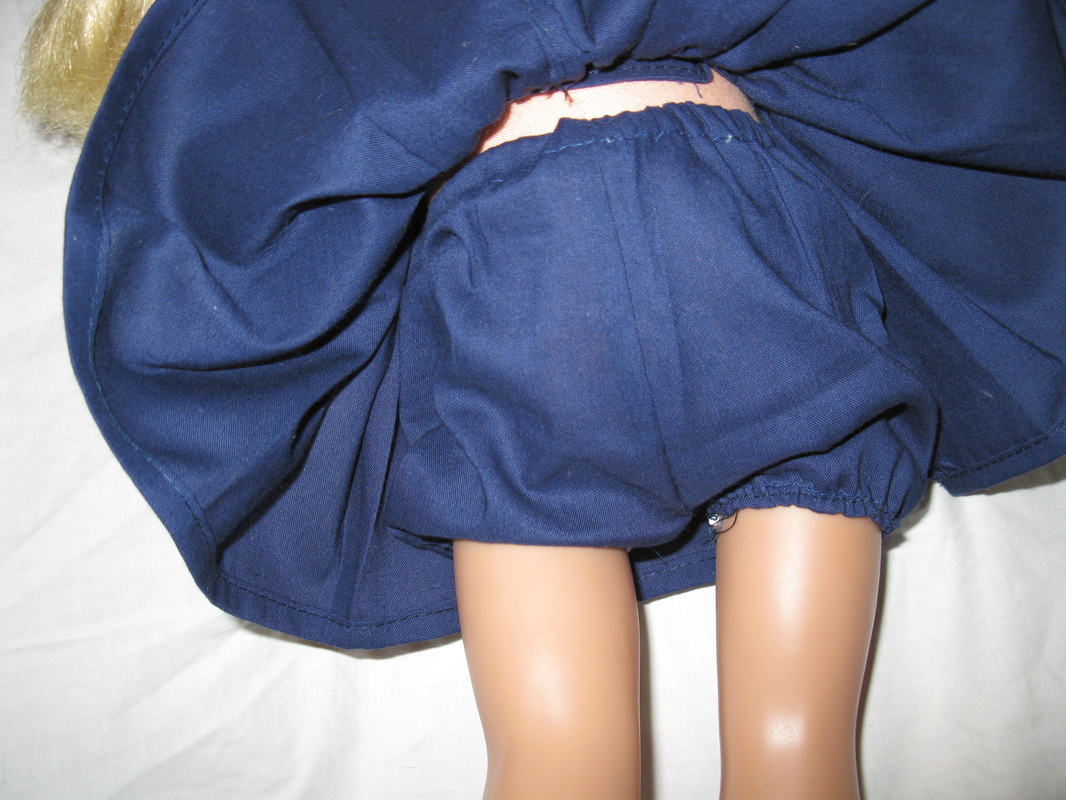
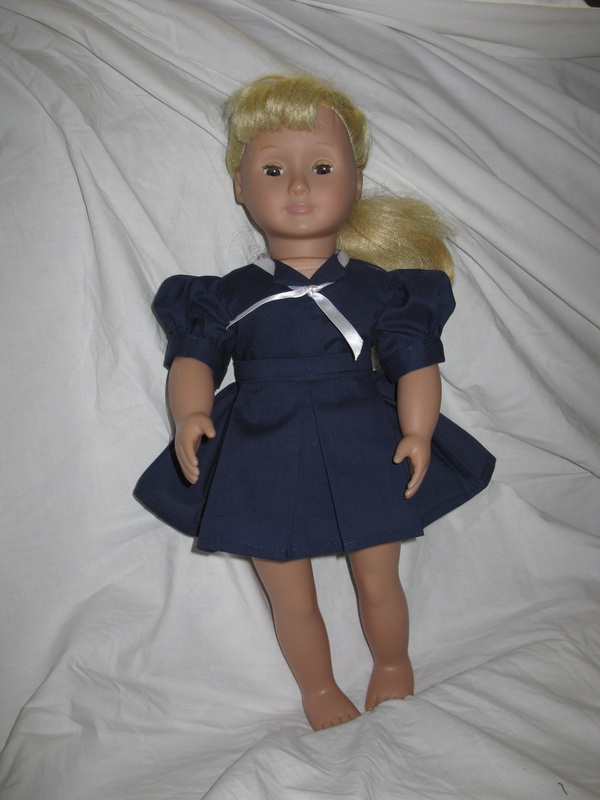
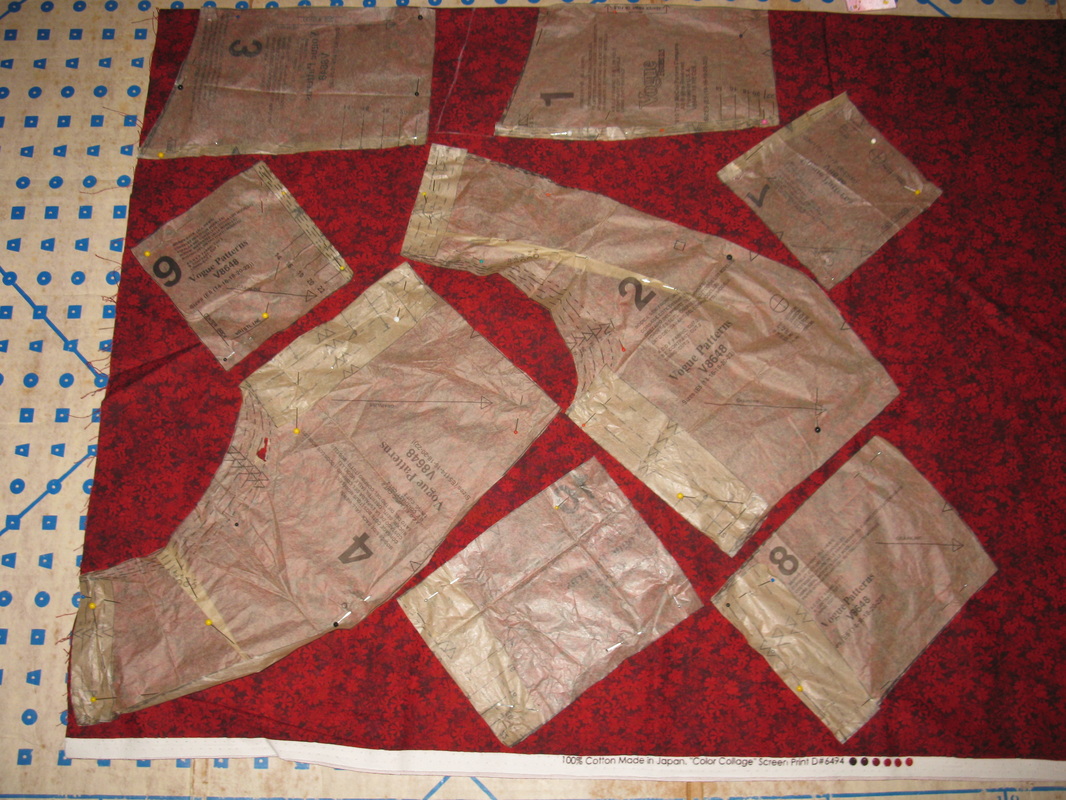
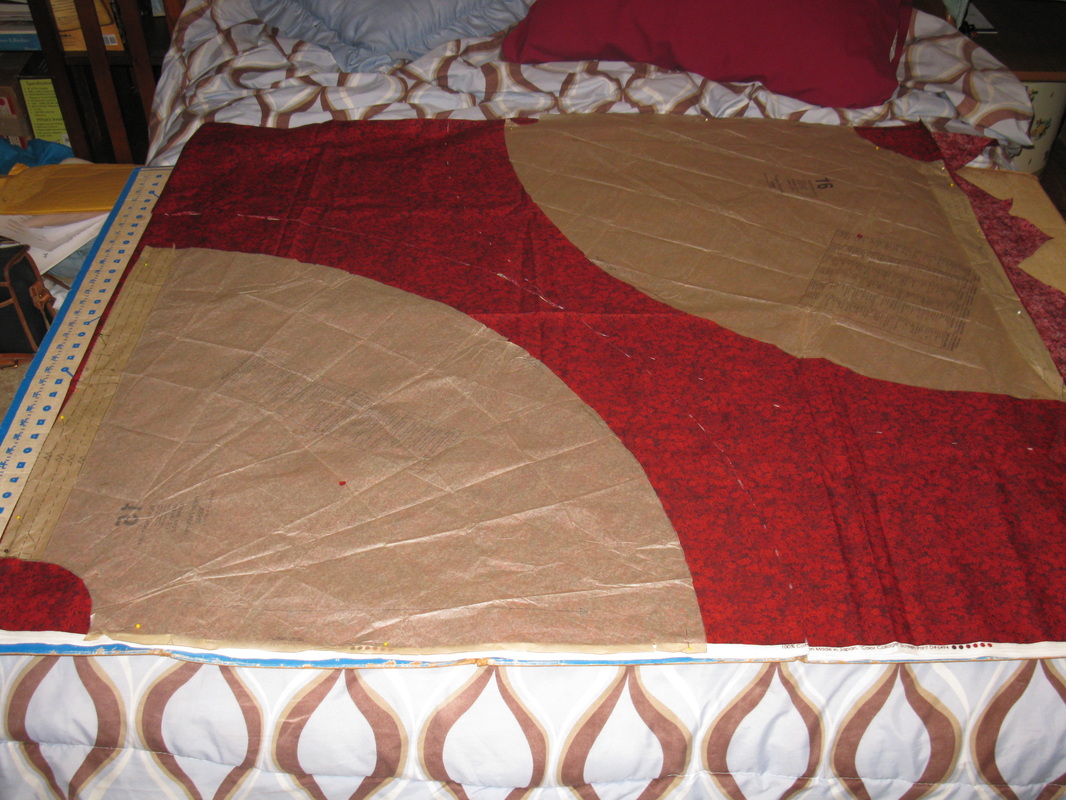
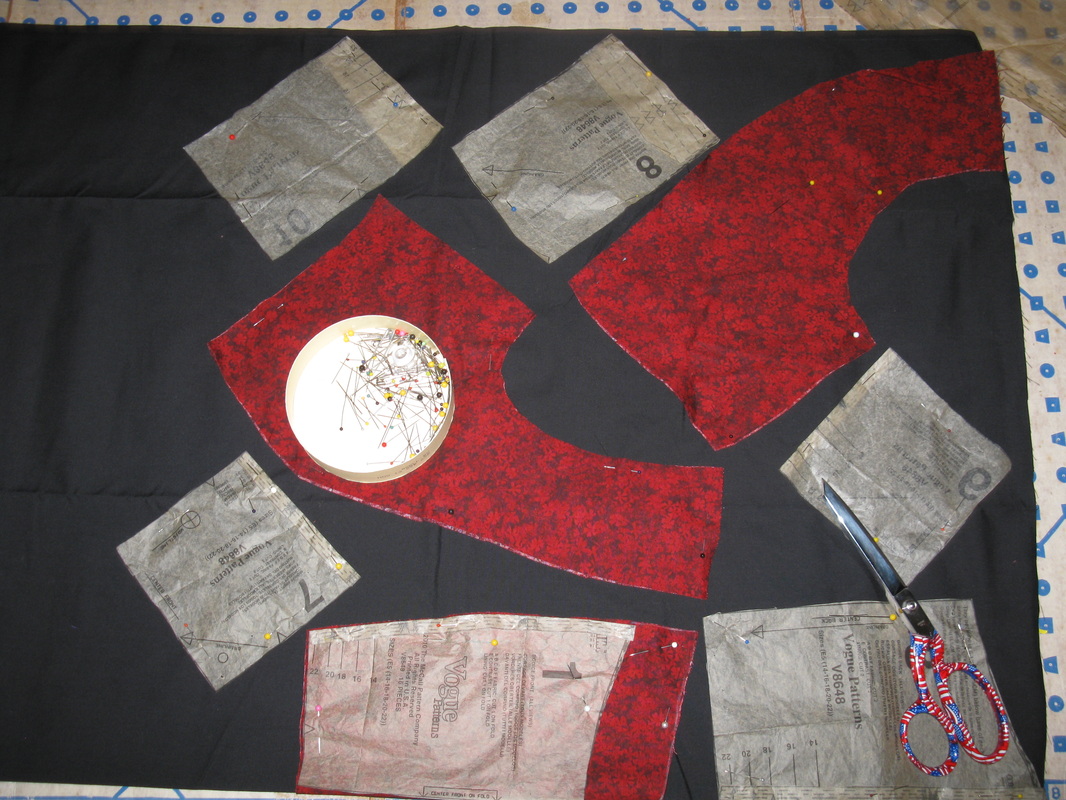
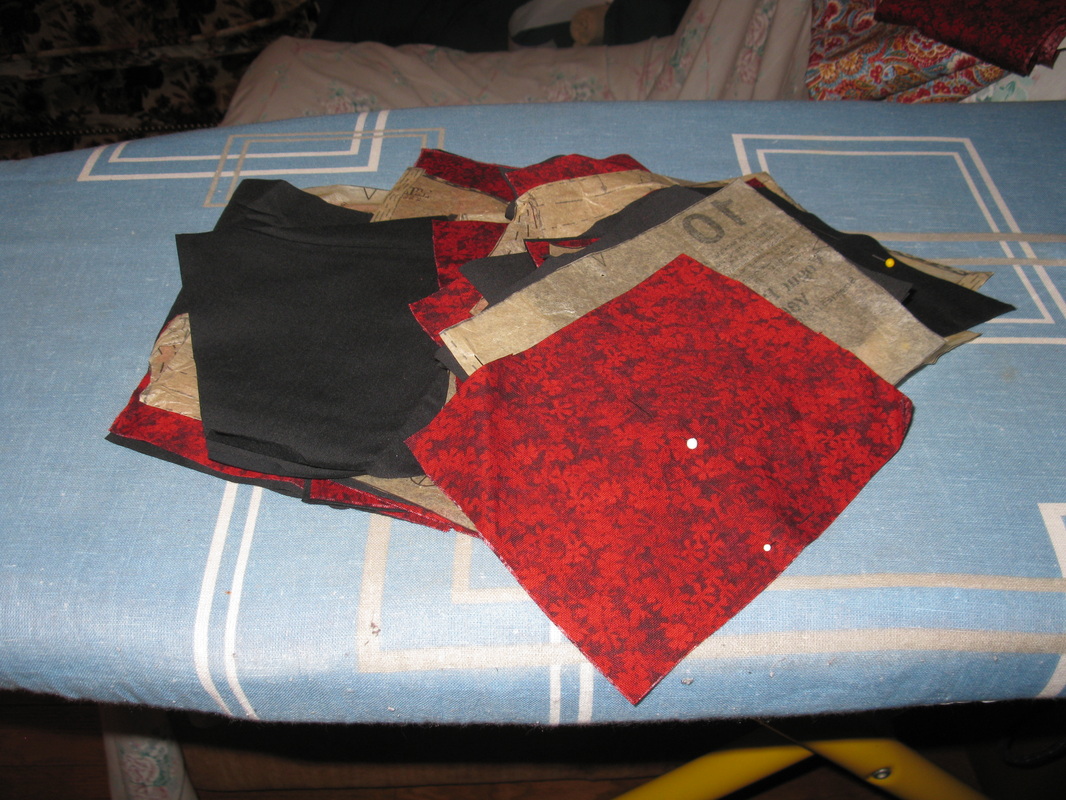
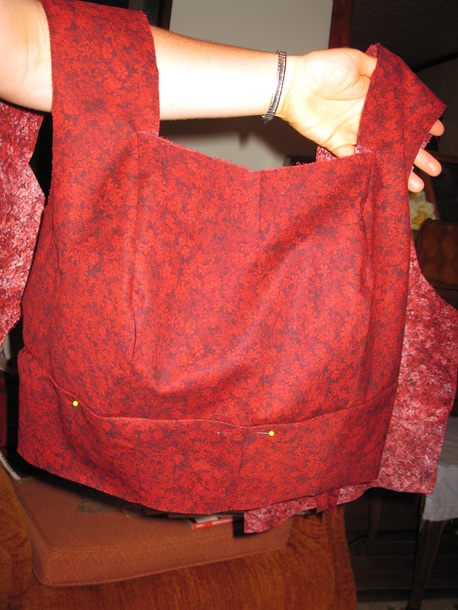
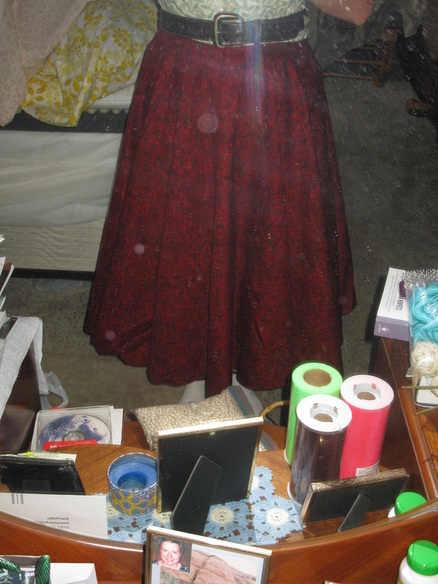
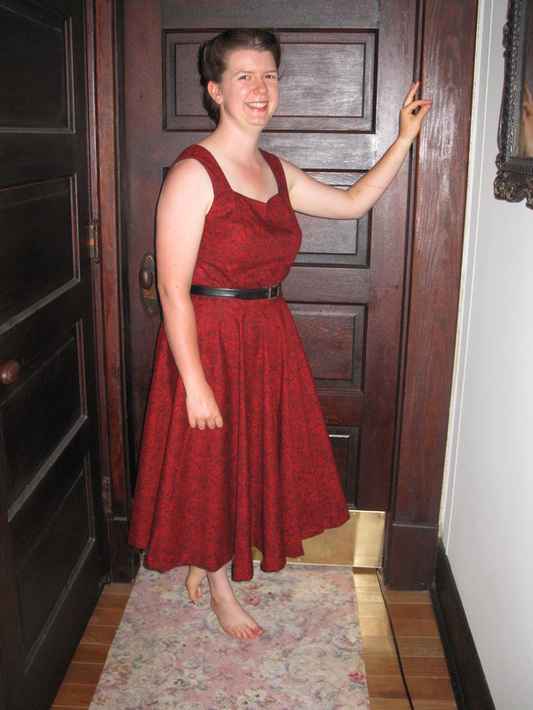
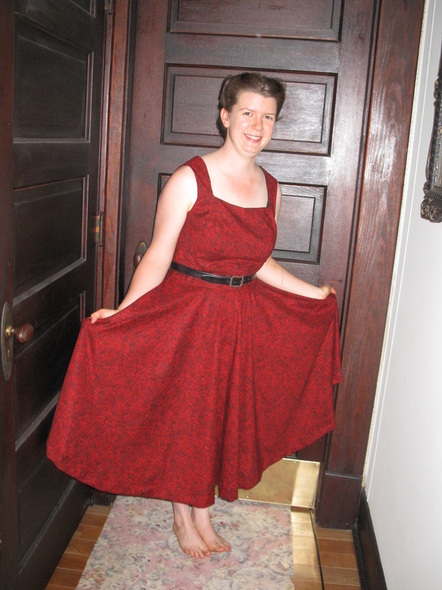
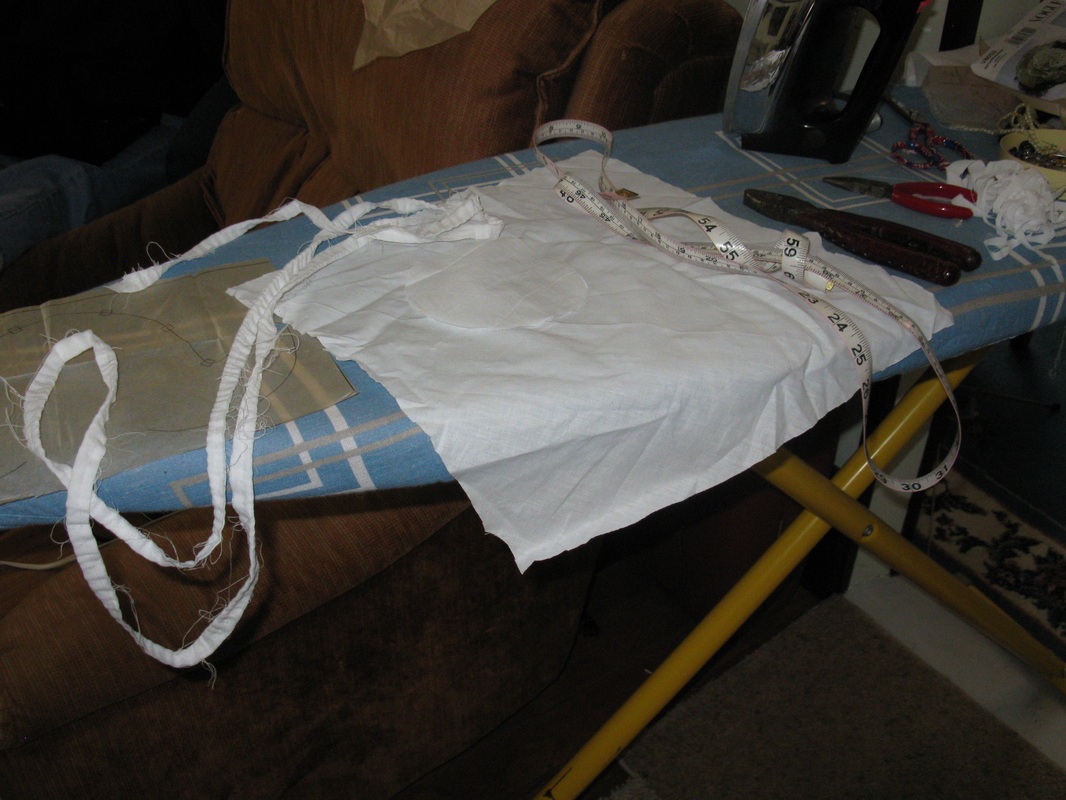
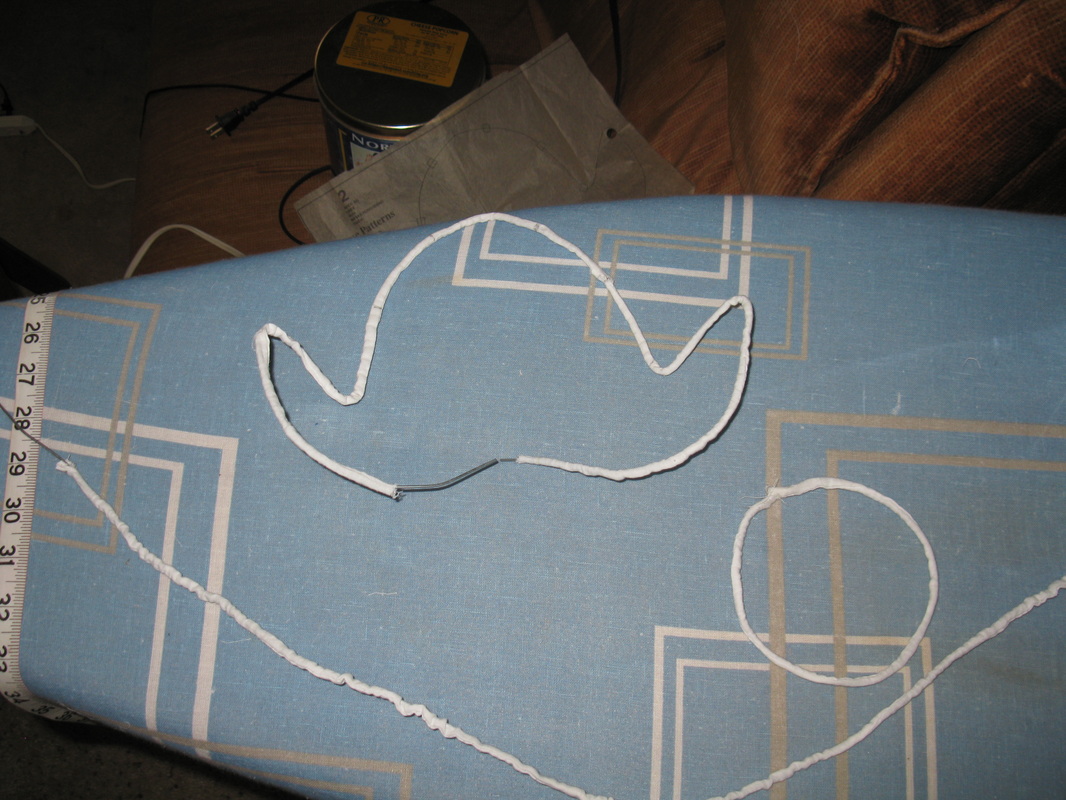
That is my nickname for the dress that I made this week. It was essentially a mock-up for another dress which I got cut out today. 
Picture
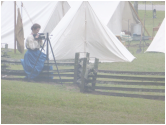
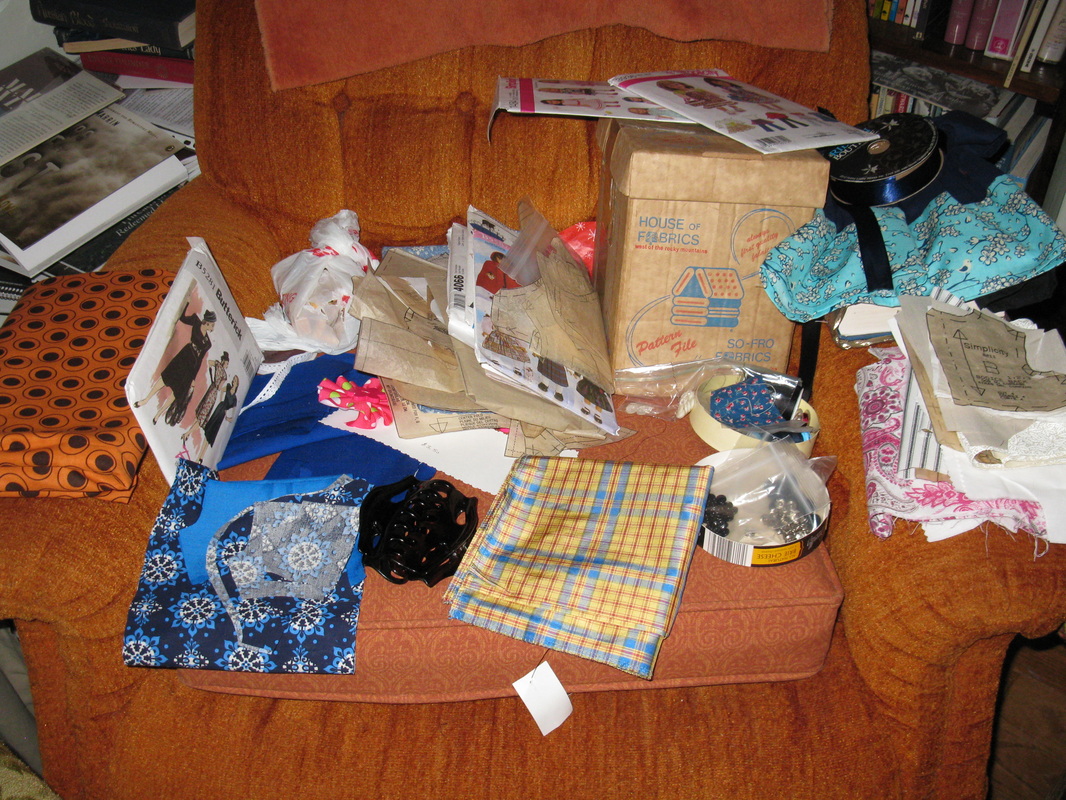
(Yes, the house is messy...but that's what happens when we sew.)
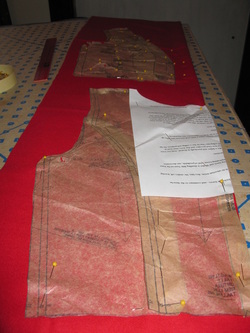
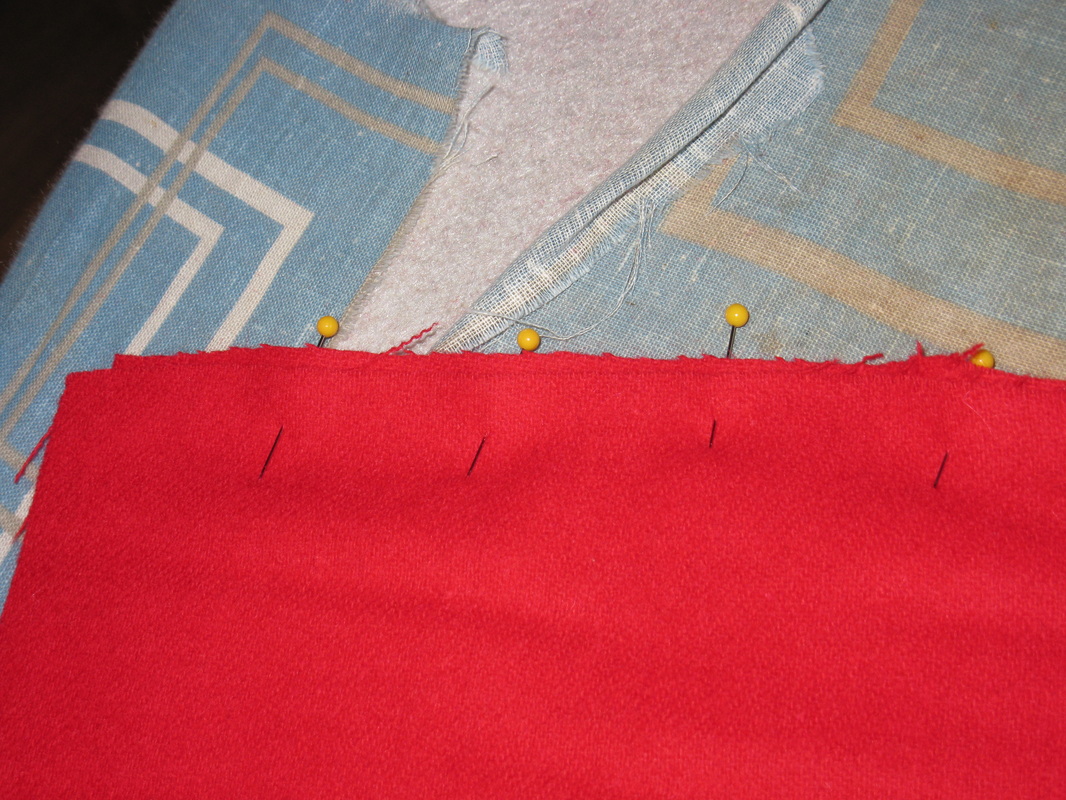
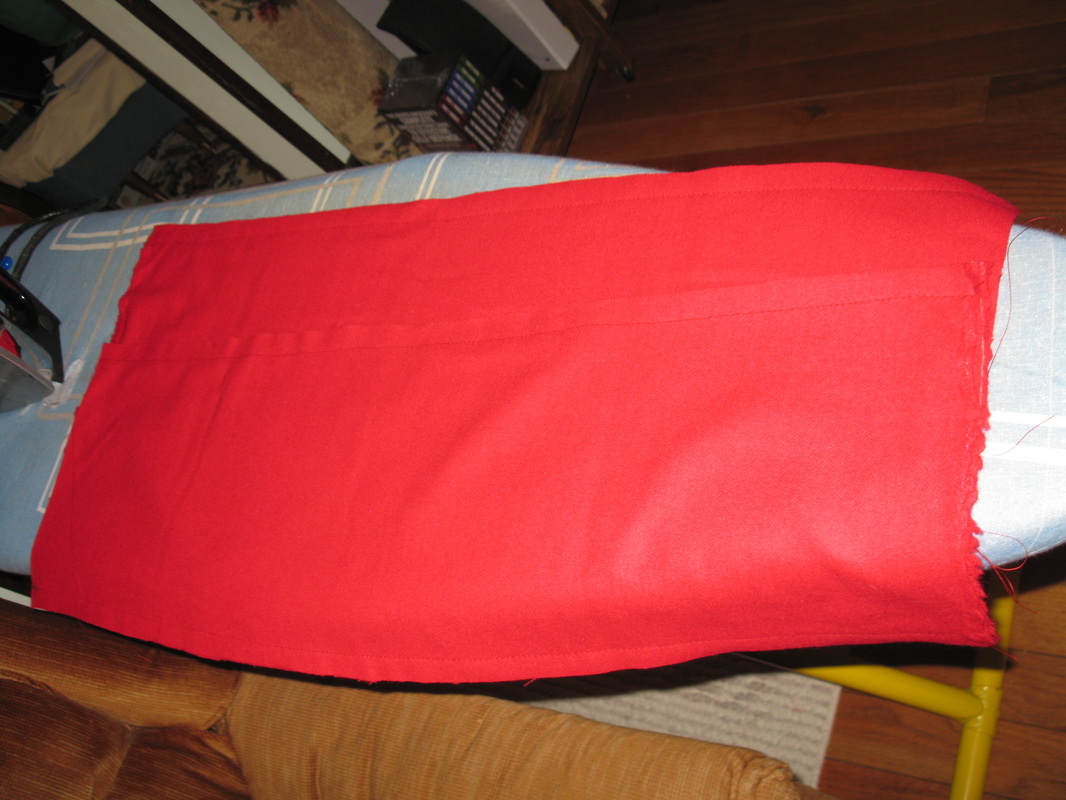
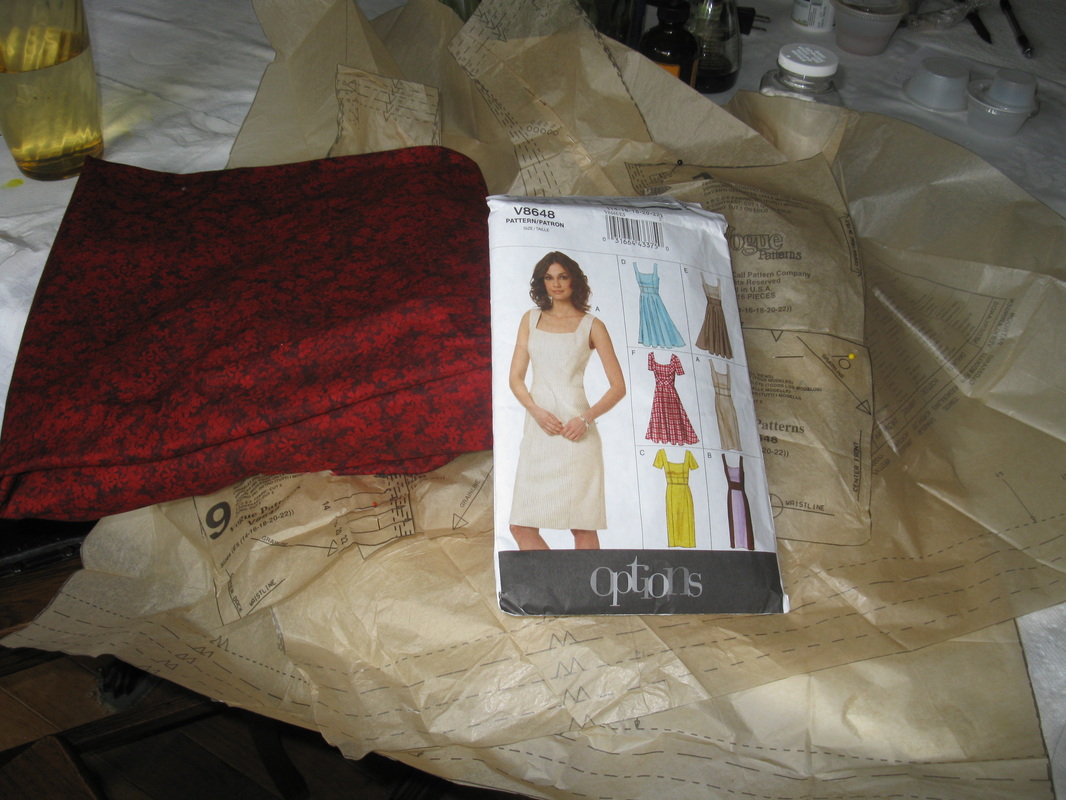
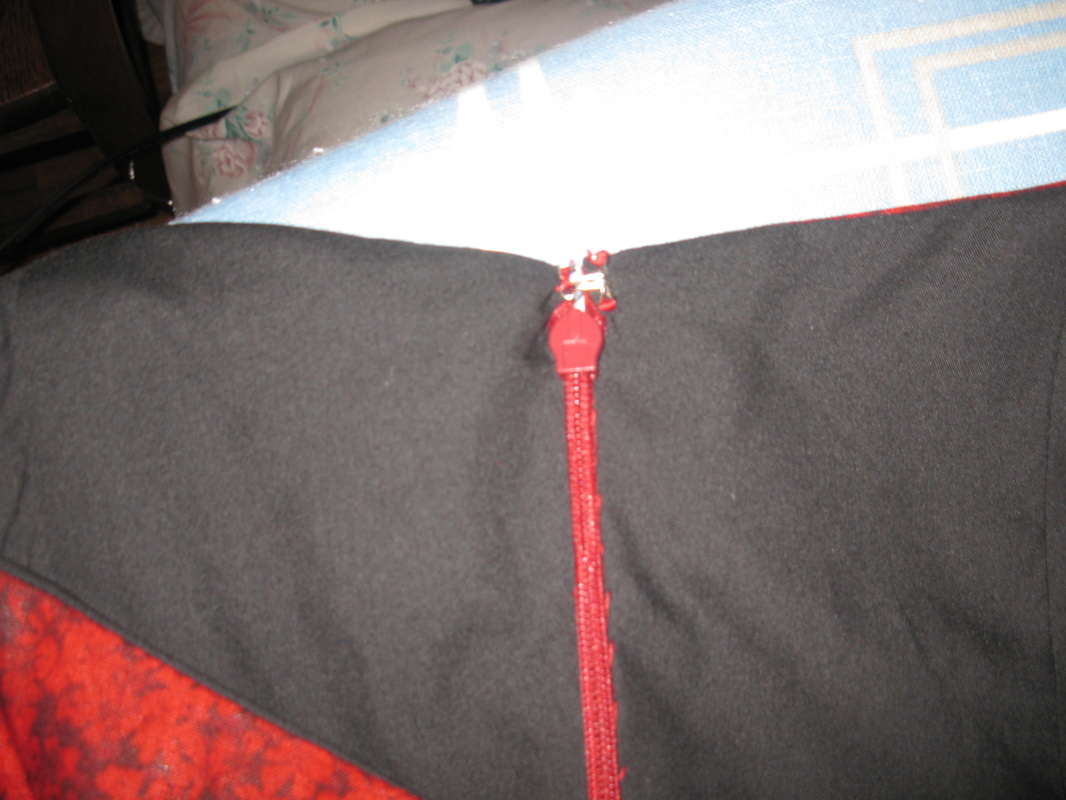
However, it caused a great deal of stress, some irritation, and a few tears (I had Lyme issues this week). First, I didn't have enough of the green-stripe to make the full skirt...therefore I split the skirt panels from four to eight and put muslin in the gaps, so to speak.

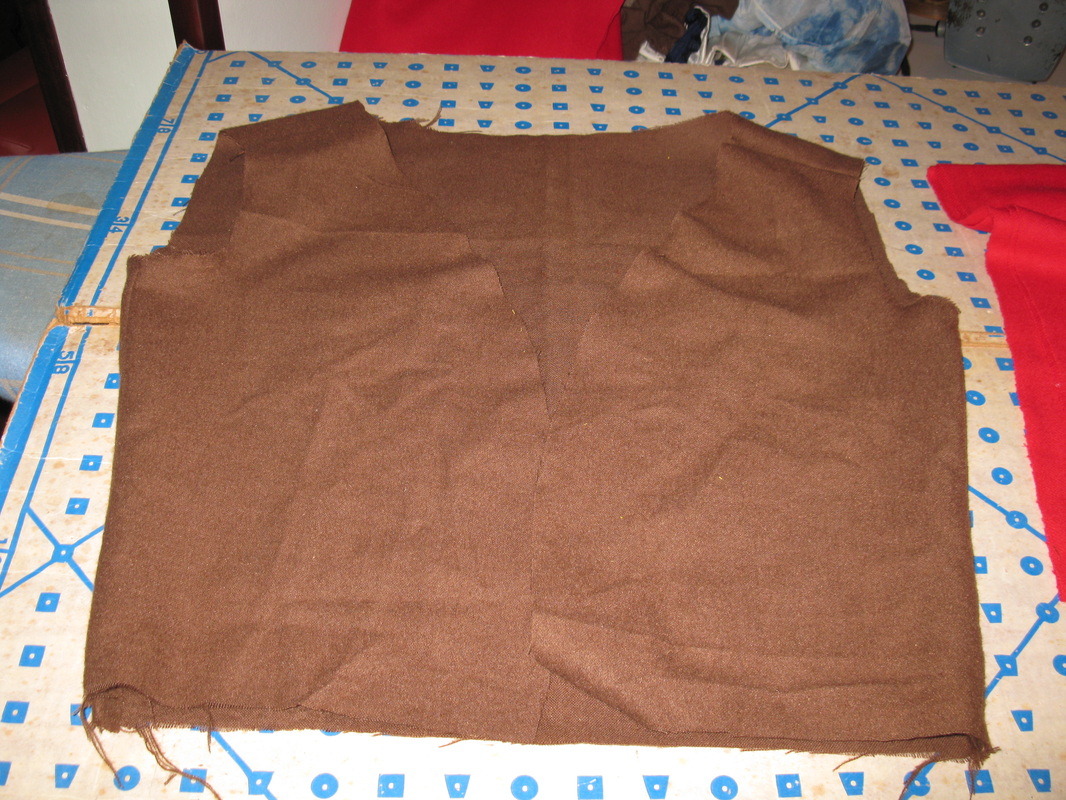
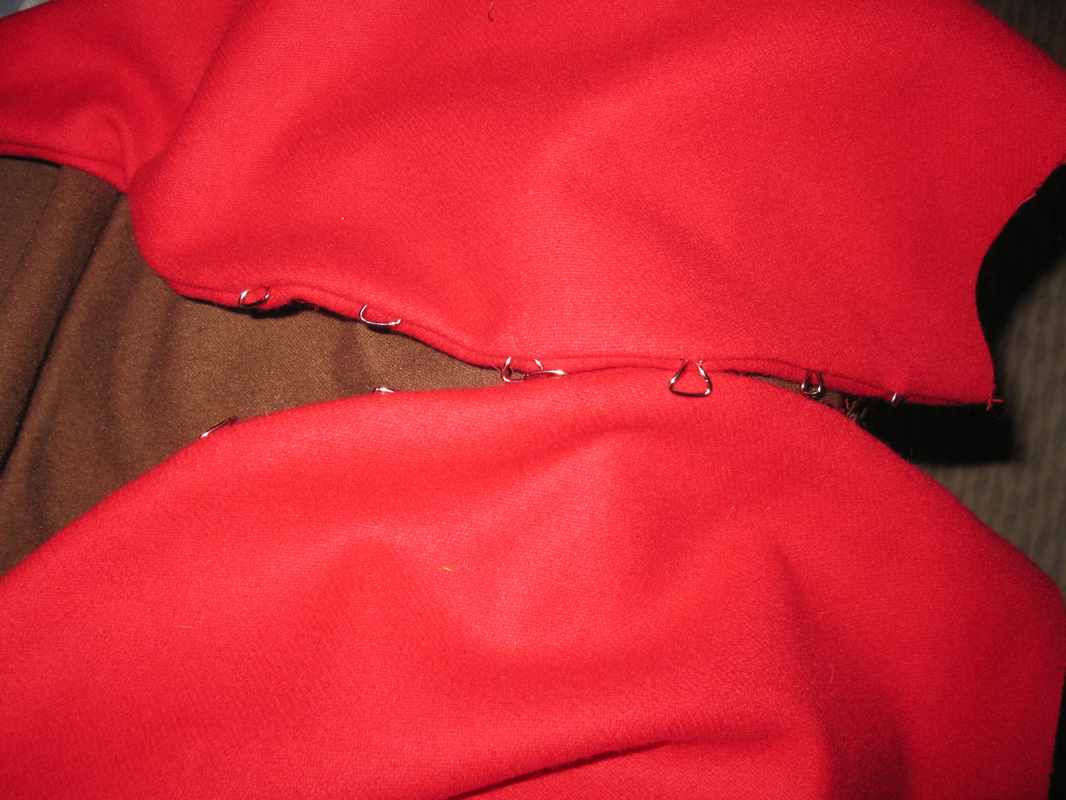
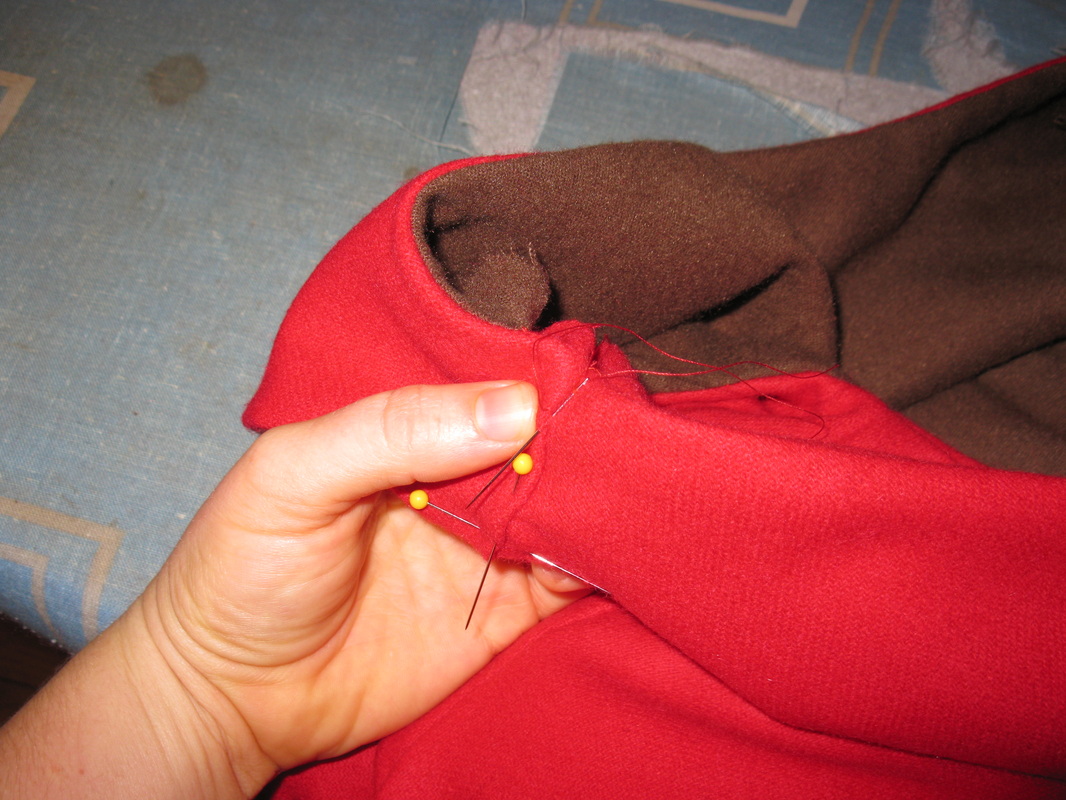
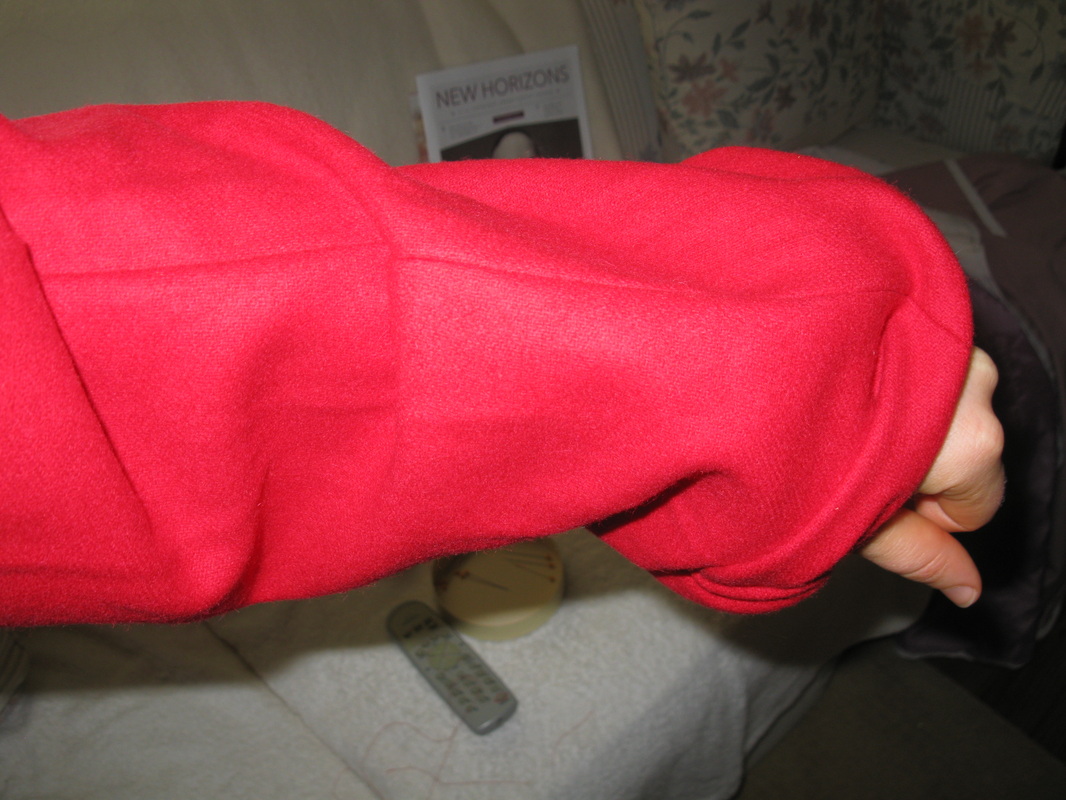
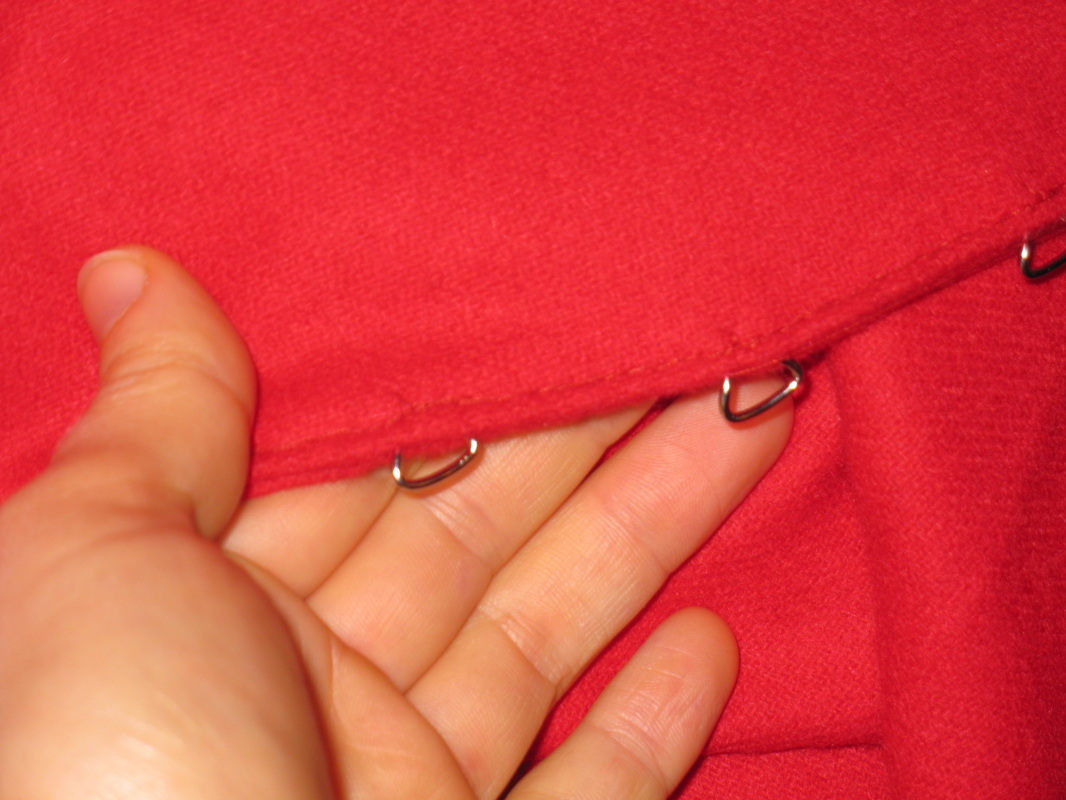
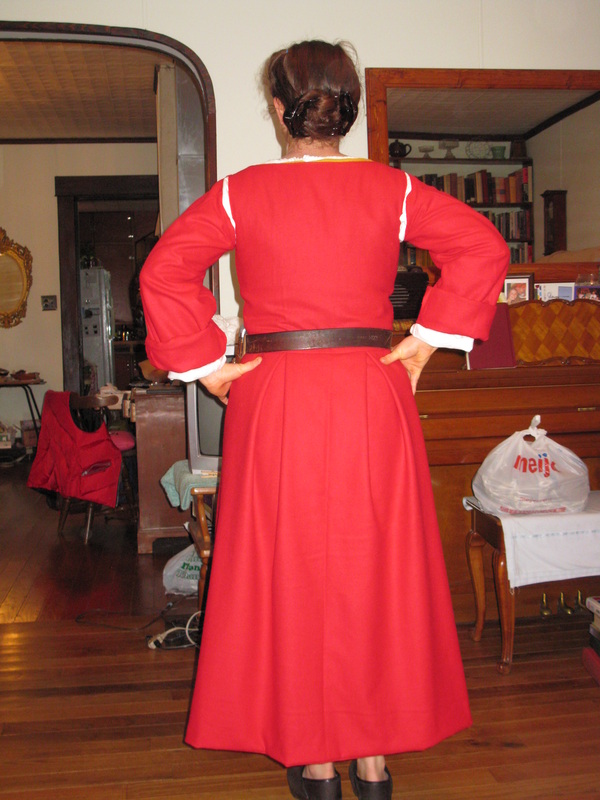
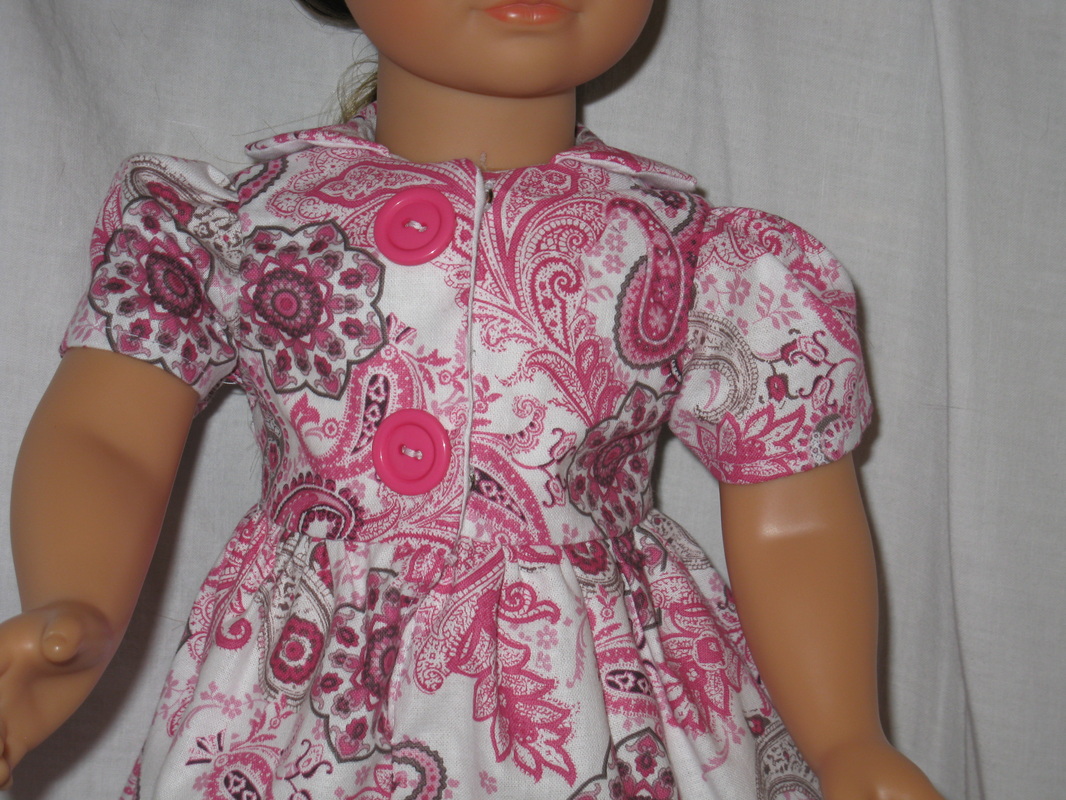
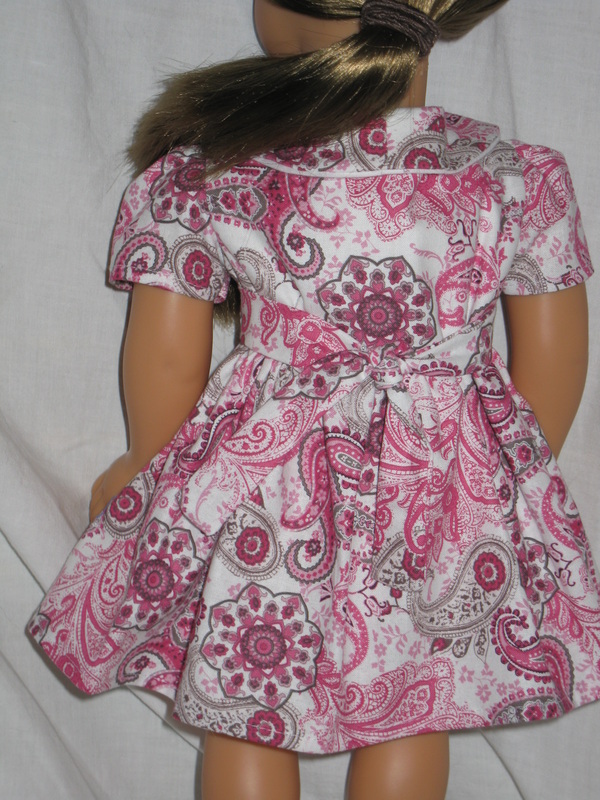
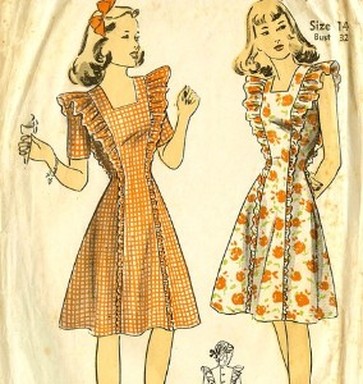
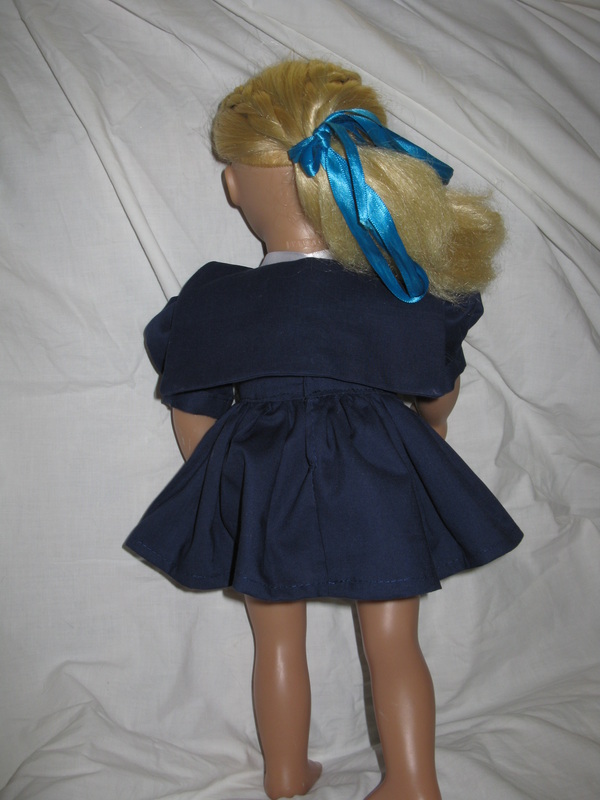
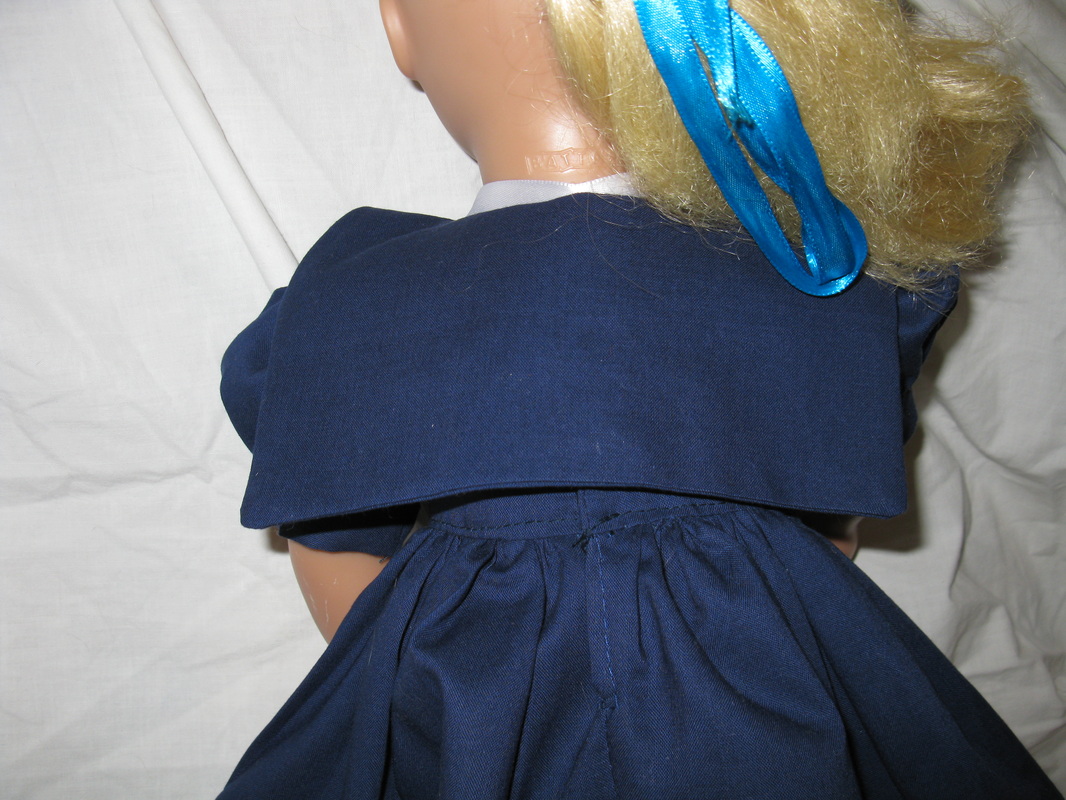
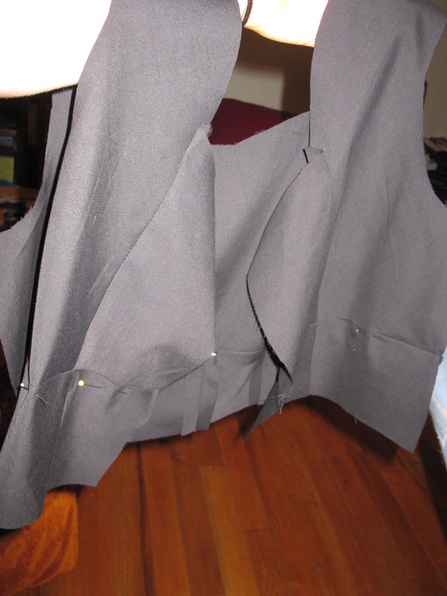
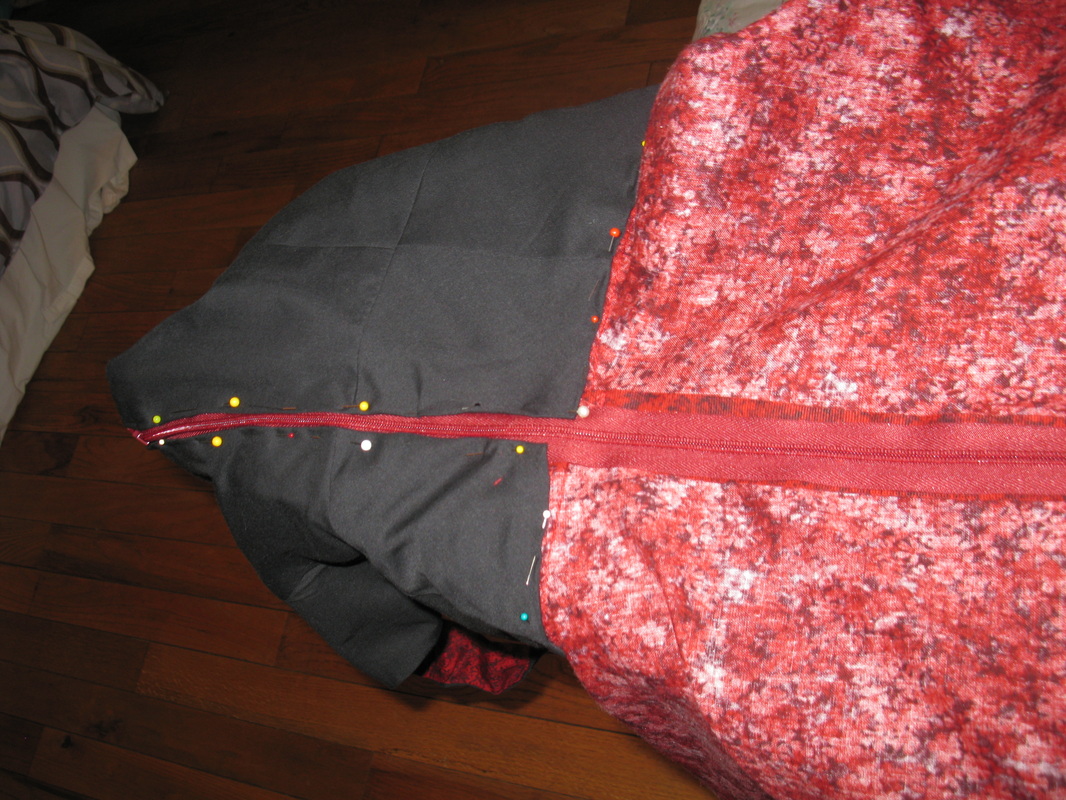
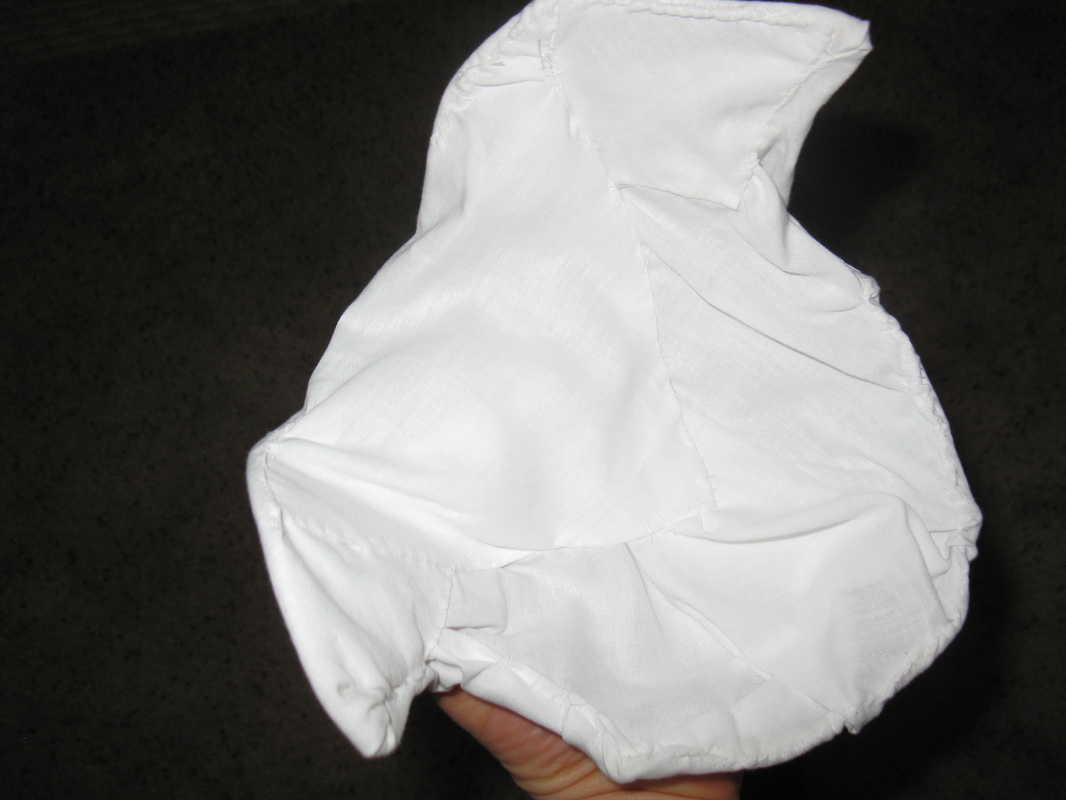
The biggest issue (which was not totally resolved with this dress) was the fit of the bodice. (The sleeves on the other hand were a grand success seeing as I drafted them myself--under the half-attention supervision of my sister who was busy making supper as I stressed over them.)
Picture
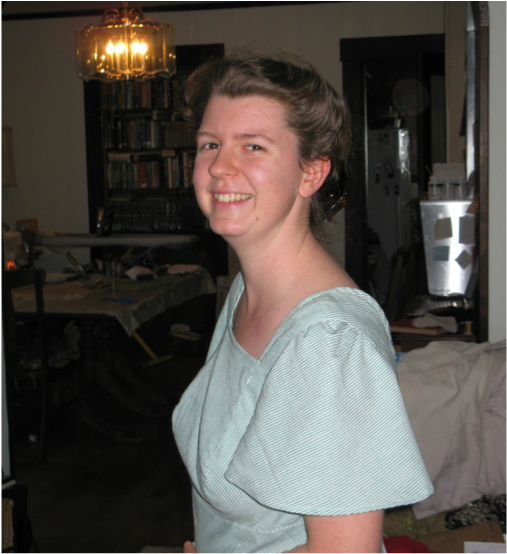
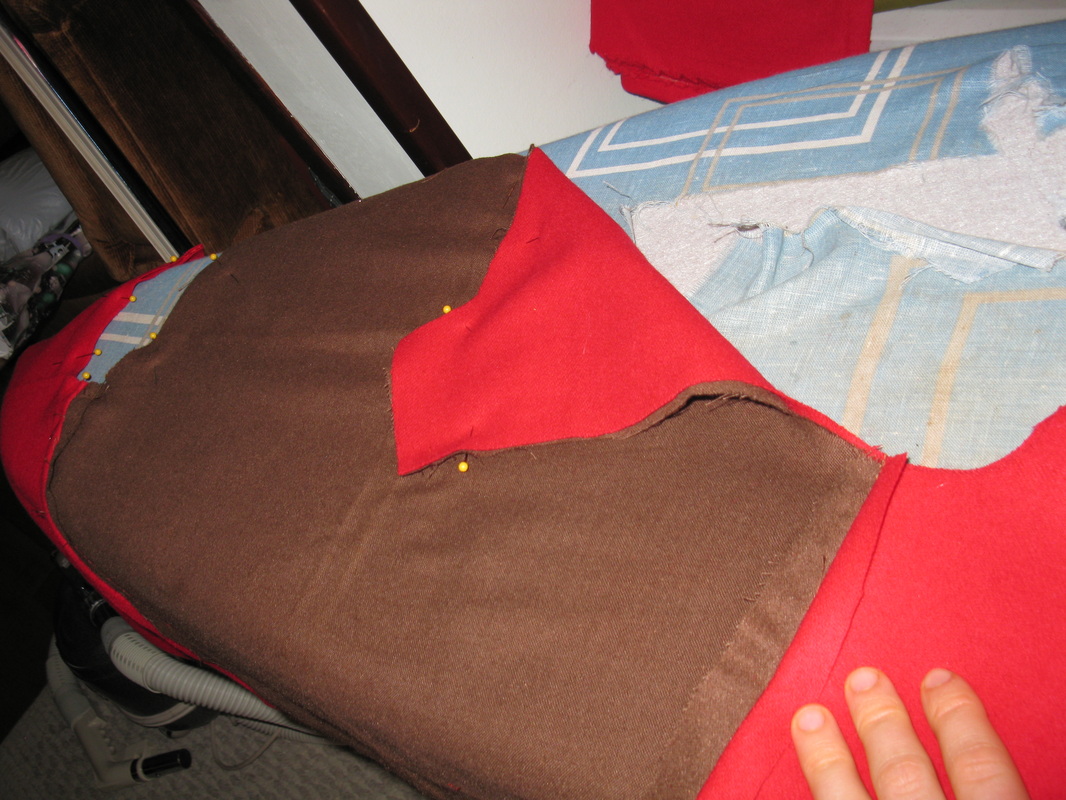
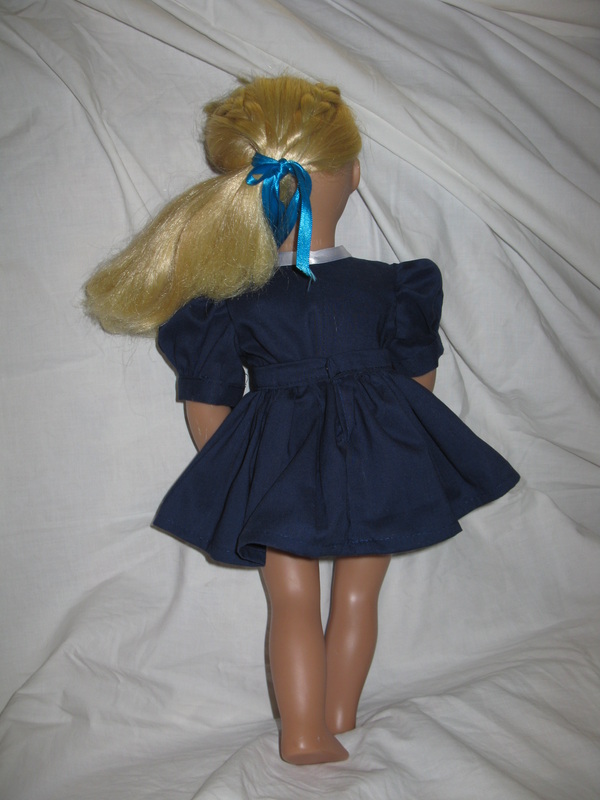
I shan't go into all the details, but suffice to say that the shoulders had to be taken up and the princess lines had to be reworked at least twice. It was very frustrating...and though it still doesn't fit just right, I still like it. :)

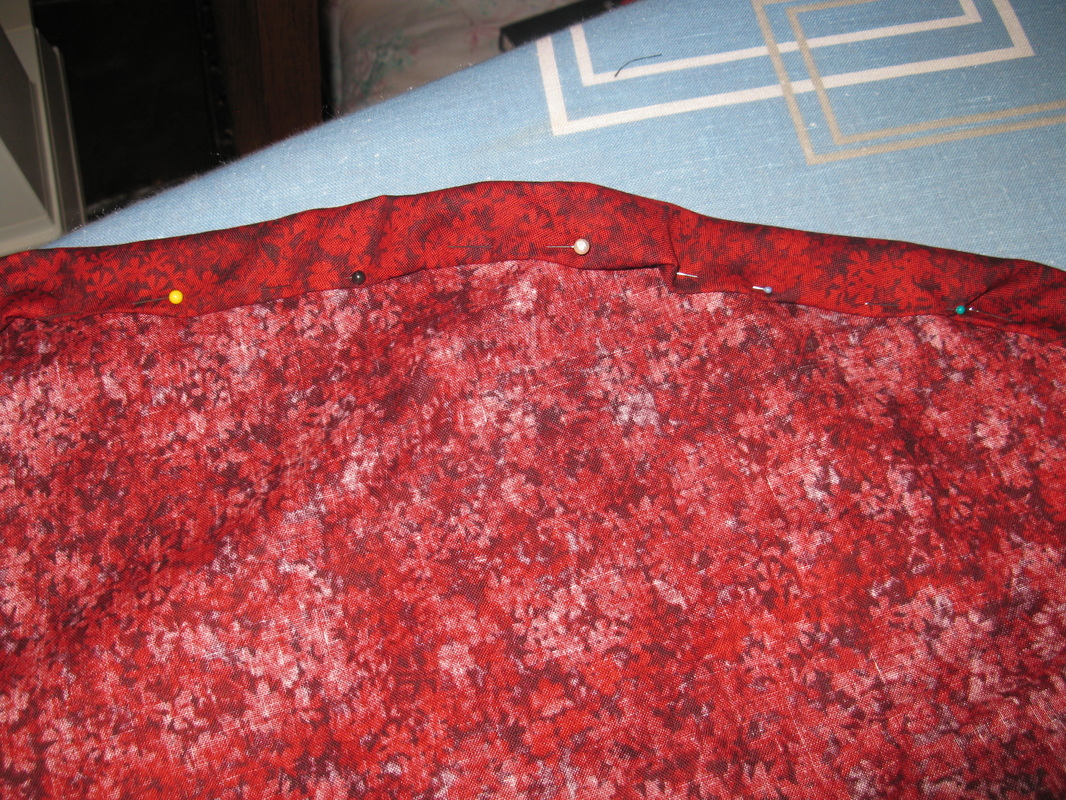
Mama was very instrumental in making sure this fits as well as it does...she was bound and determined, even when I was ready to call it quits and just "wear it as it is" to keep working on it. 

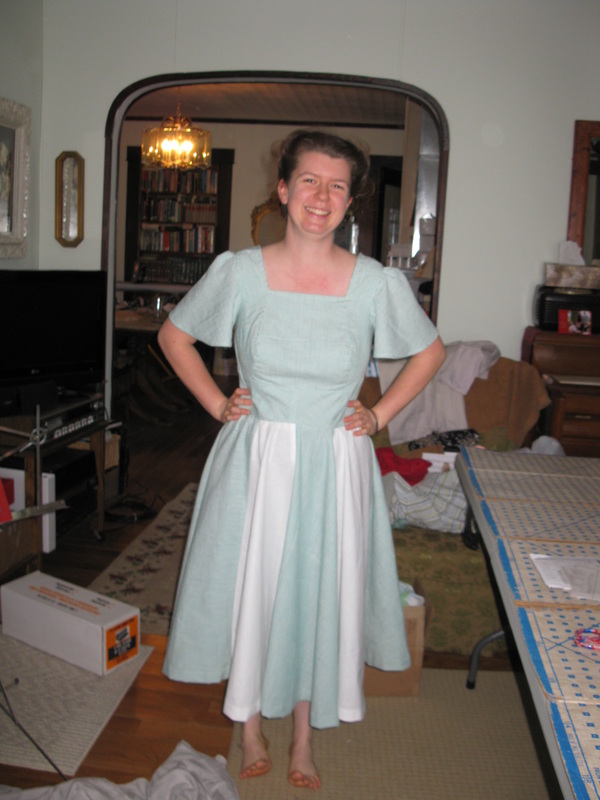
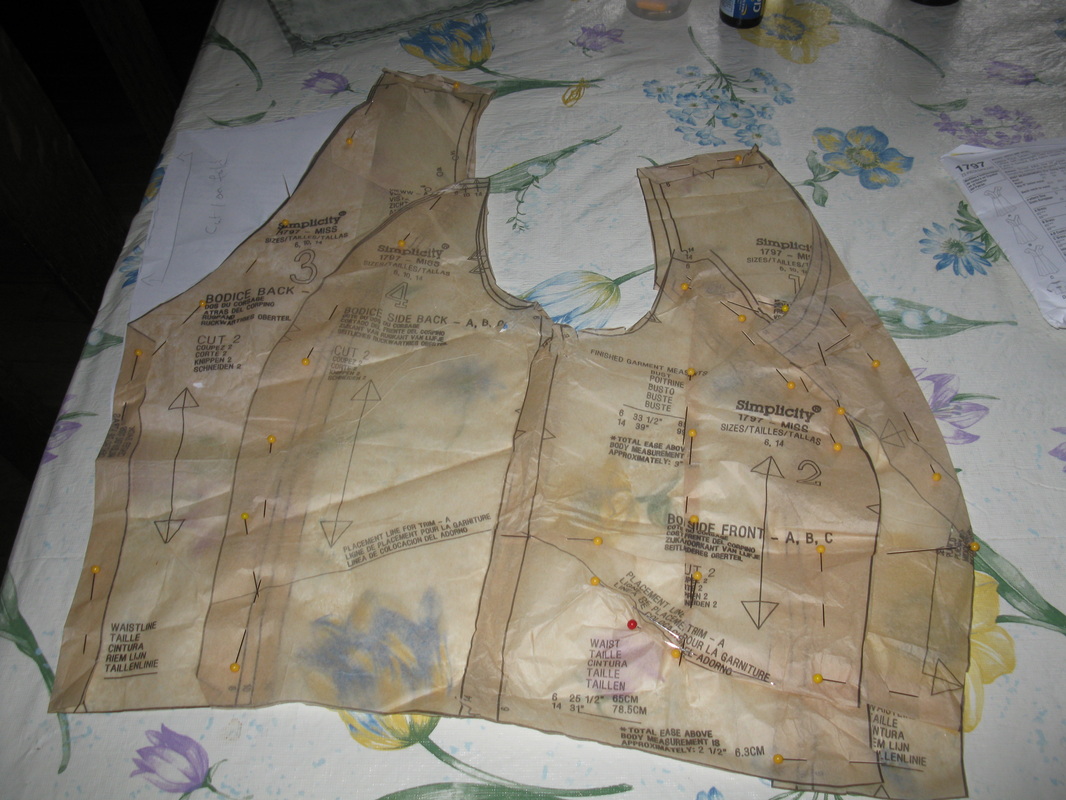
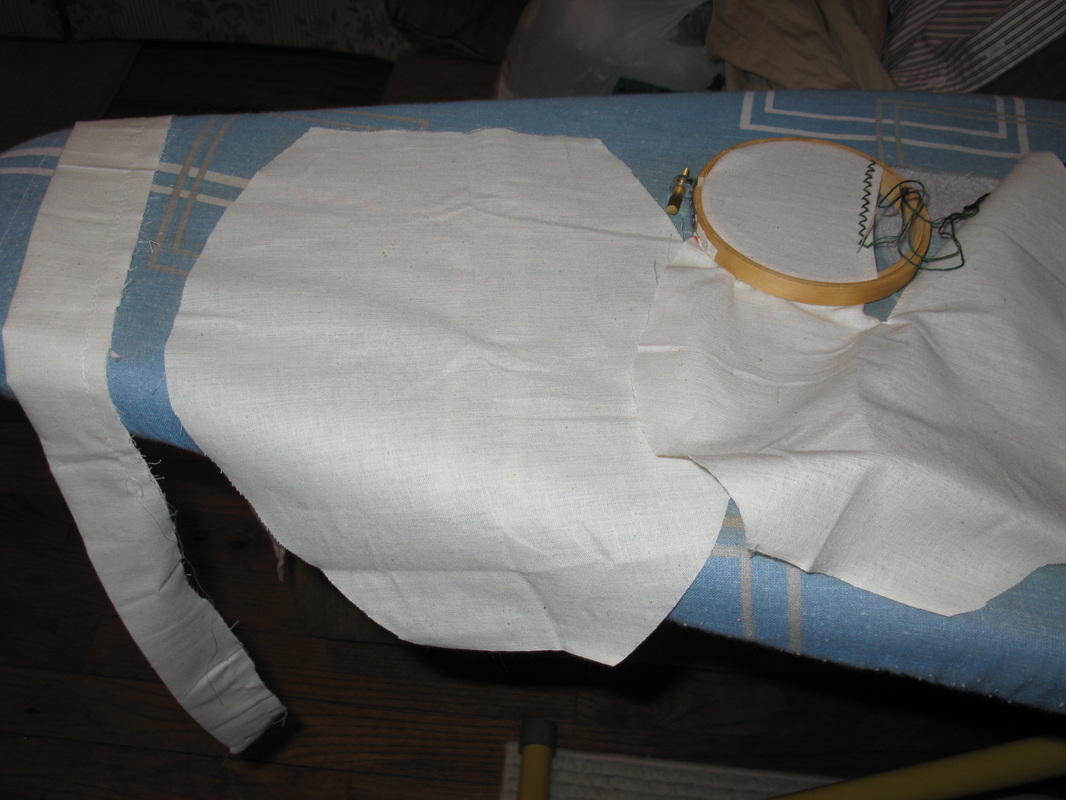
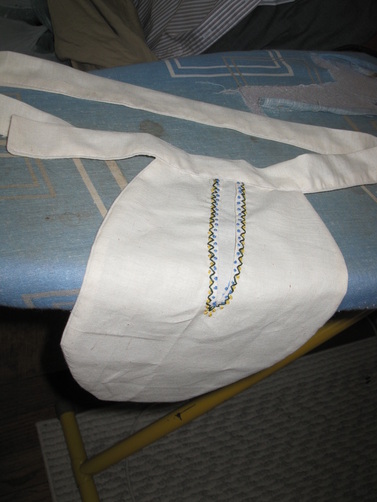
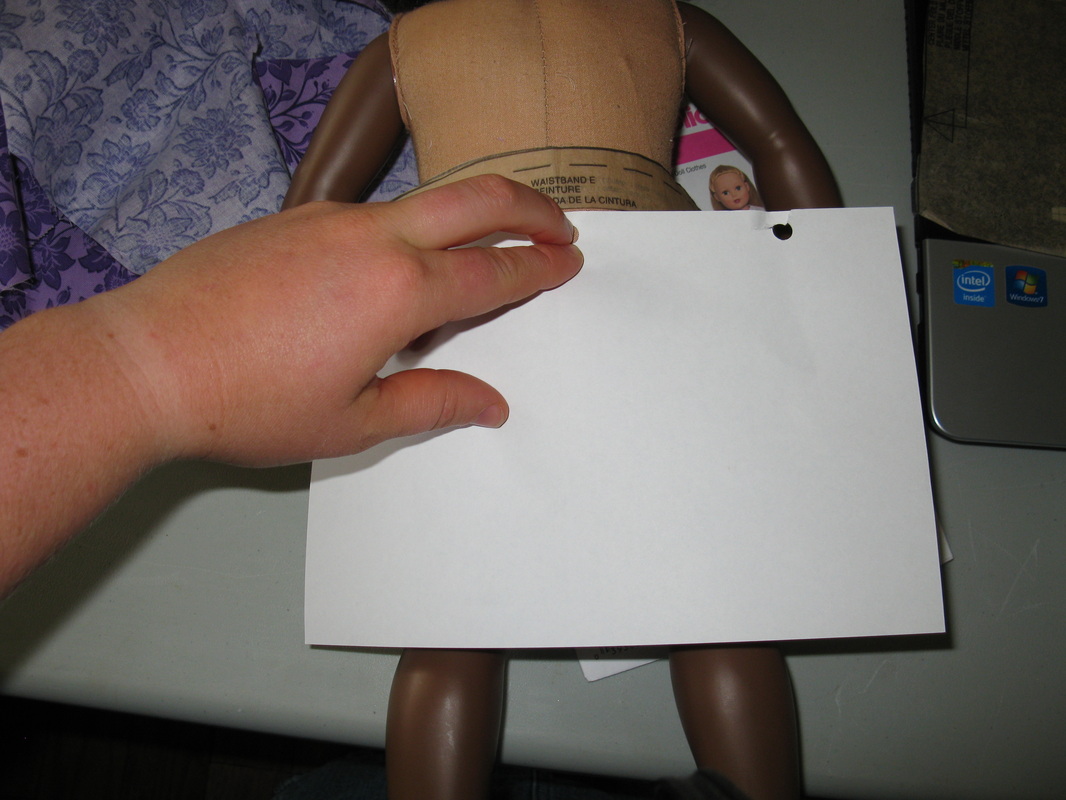
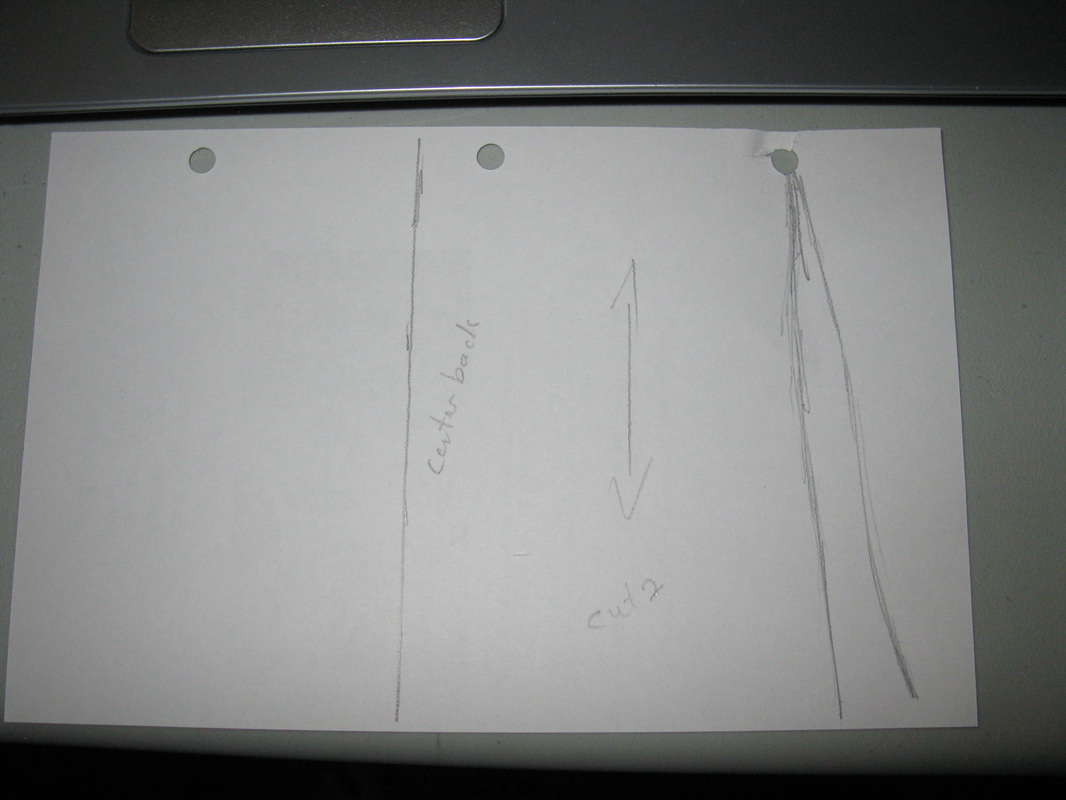
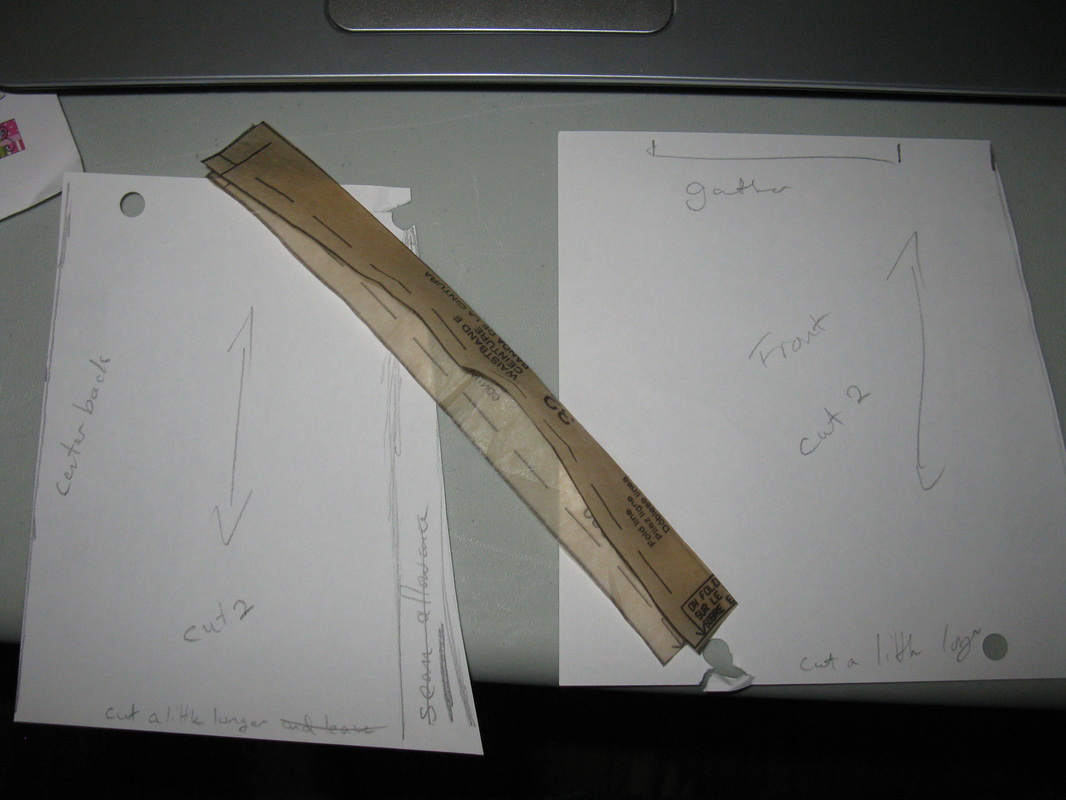
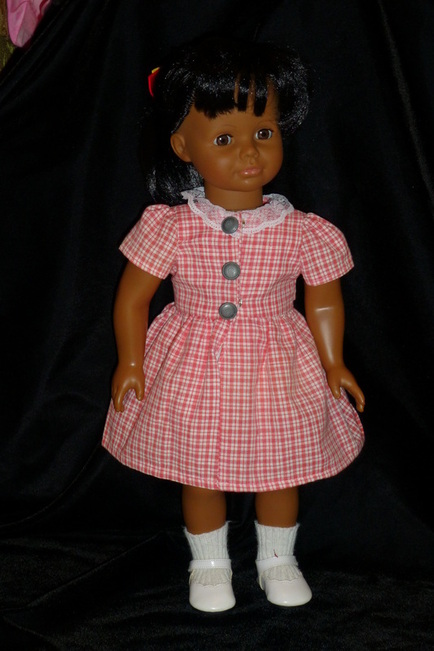
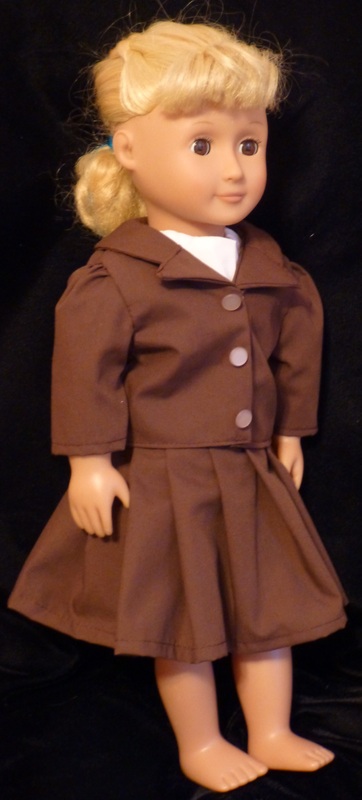
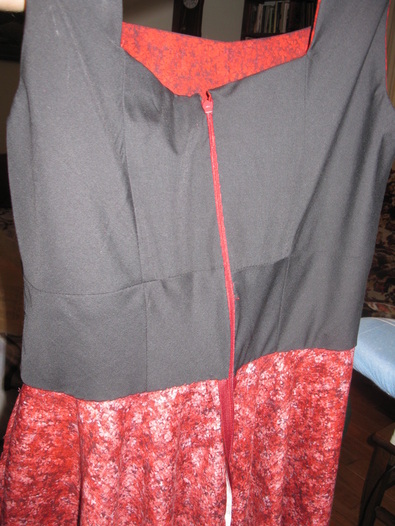
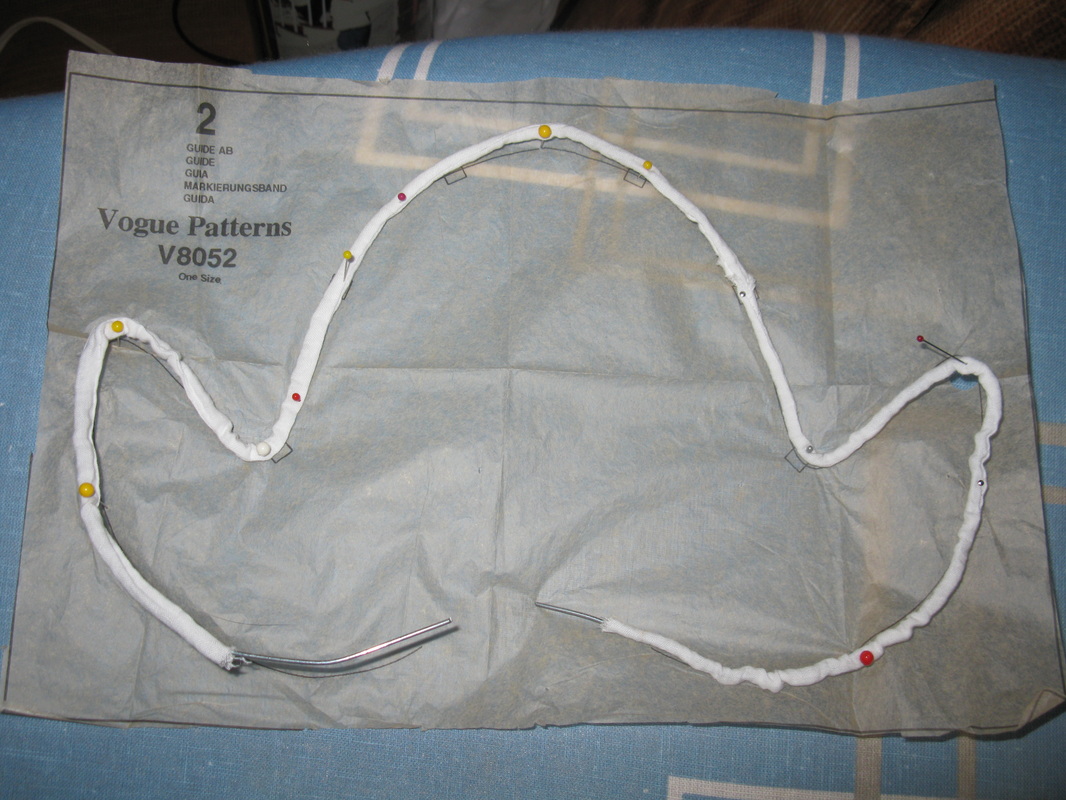
This morning, Savannah and I essentially re-made the pattern for the bodice (I stitched up a mock-up real quick before lunch and it completely fixed the problem!)
Picture
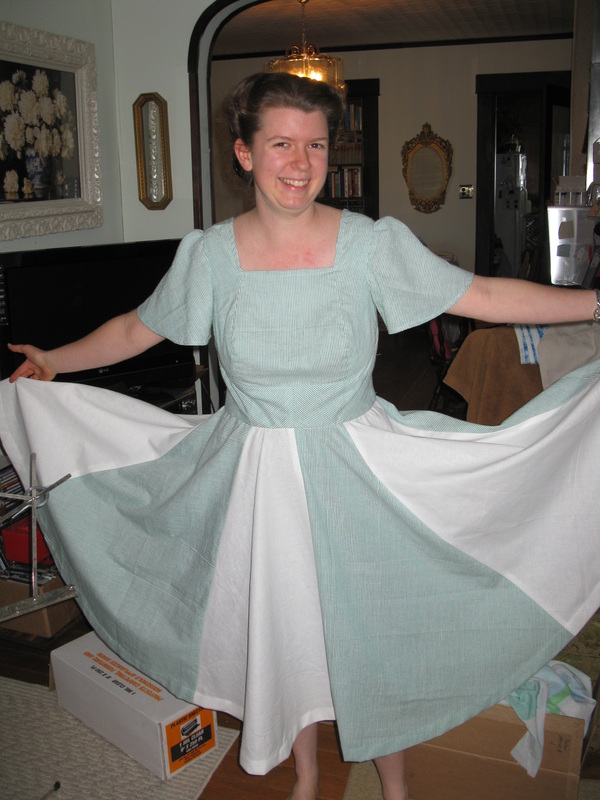
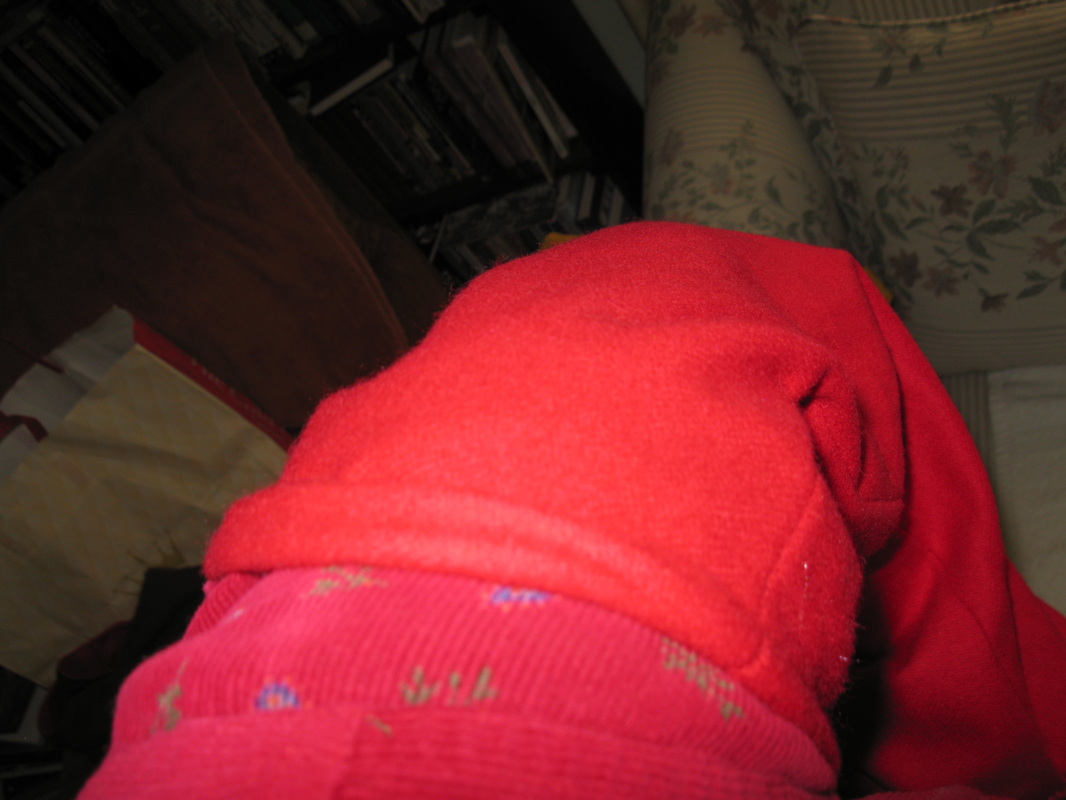
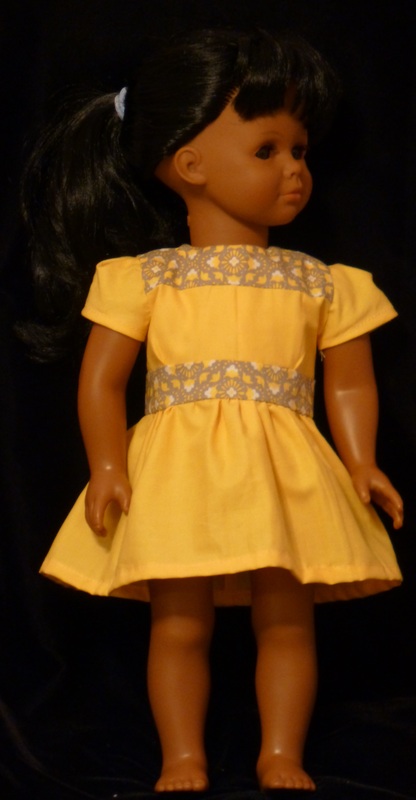
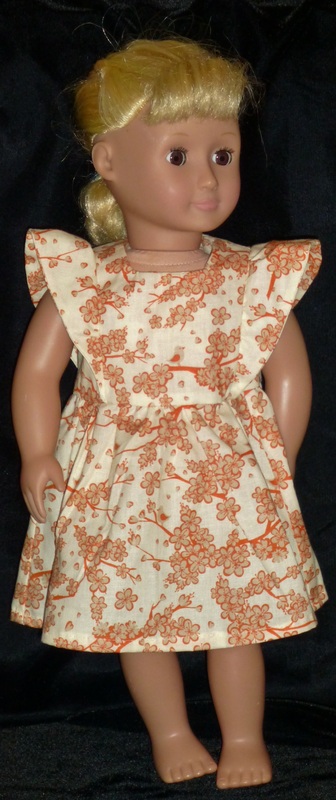
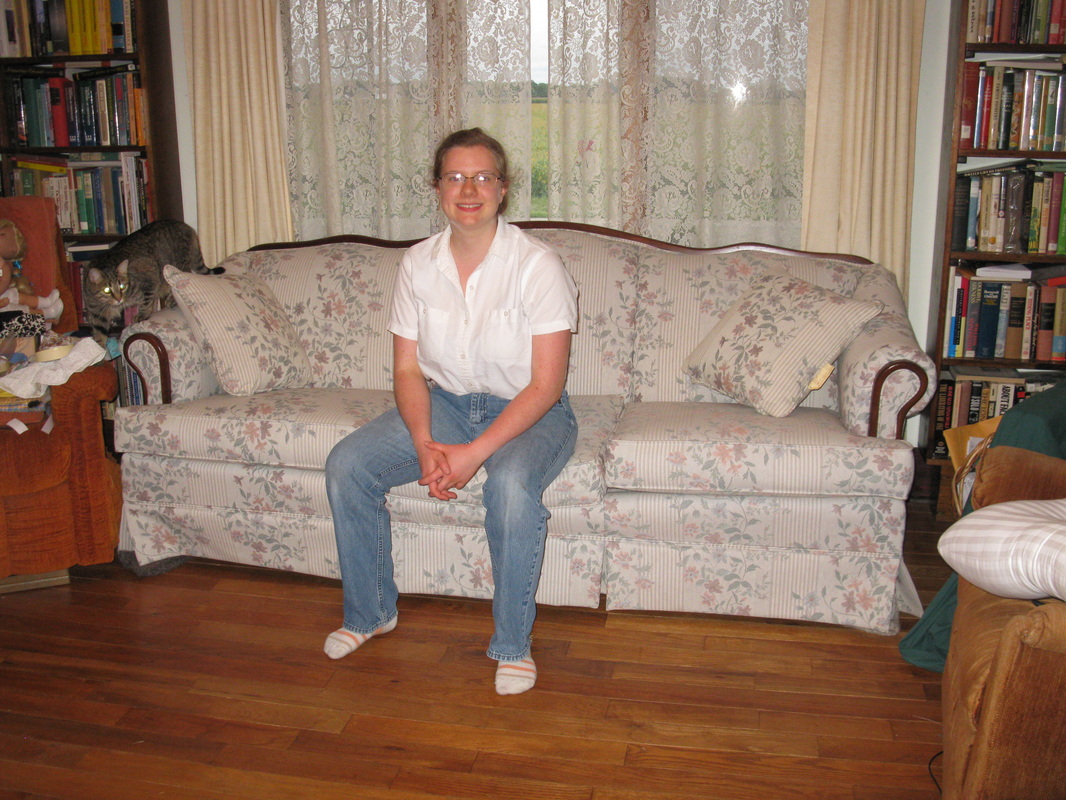
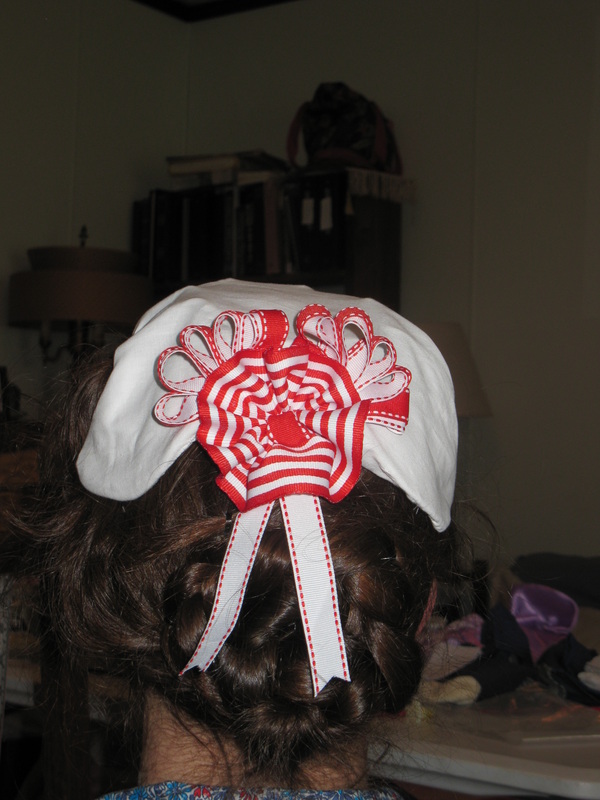
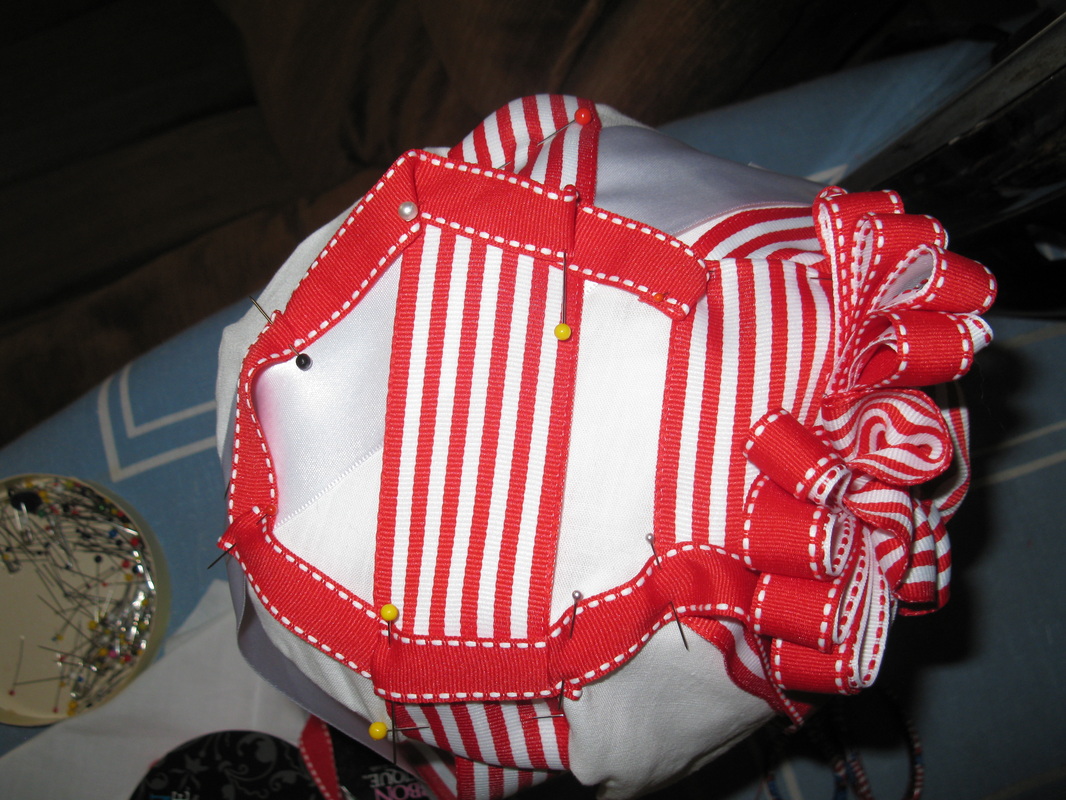
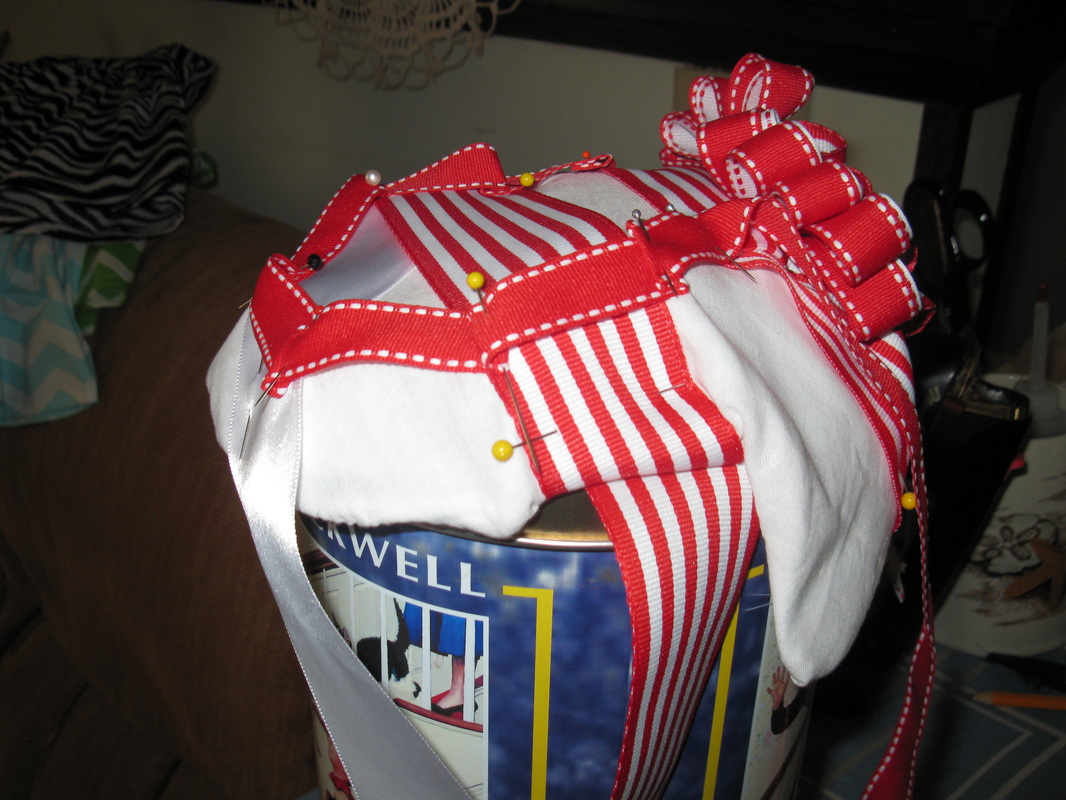
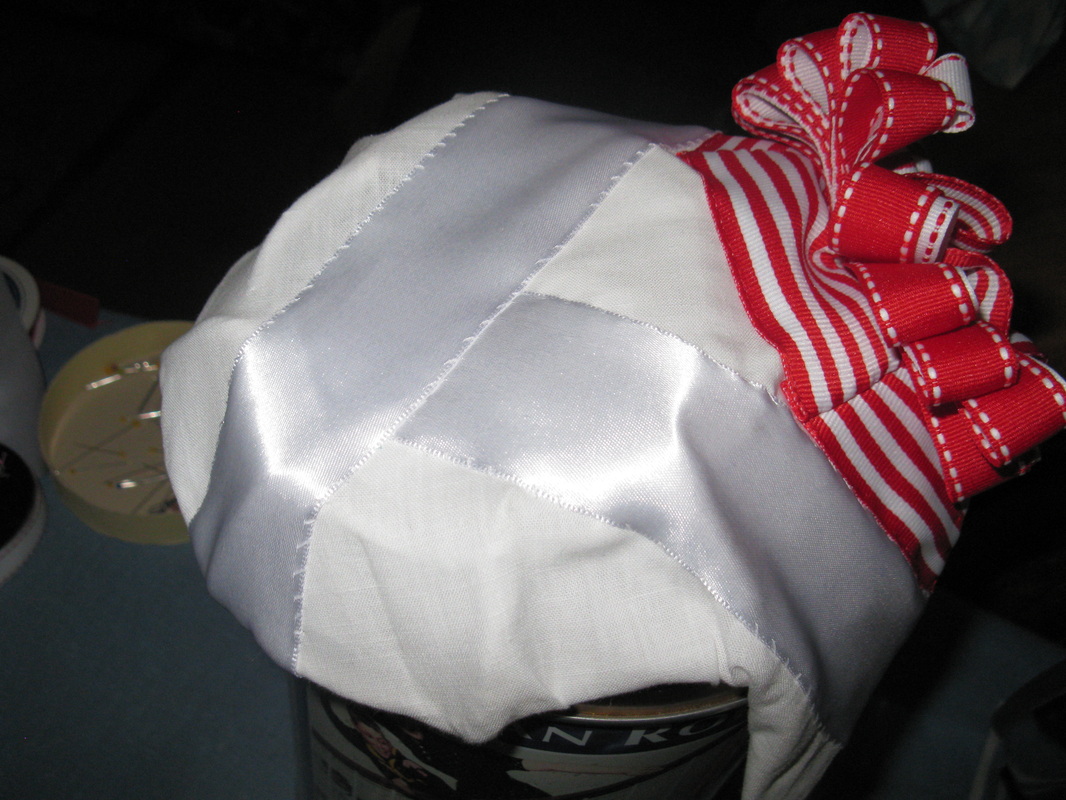
The Court Jester is ready to take a bow.

      Racheal

0 Comments

The Makings of a 1500's  Peasant Outfit

10/15/2014

1 Comment

 
Right. So this outfit started out as Flemish...but it really looks more English:
Picture
Flemish
Picture
English
I guess, since I really look much more English, that is fine. :) The main difference between the styles, from a cursory glance, is the width of the lacing.

Alright...to the details now!

I bought the red wool I used last year, intending on making this outfit then, but what with one thing and another, I didn't...and I ended up with my long, too big, mustard yellow kirtle instead.
Picture
By the end of the day, I had managed to rip roughly half the hem out. But anyway, that is not of too much consequence for this tale, excepting that the kirtle is part of it.

I'll take you through the construction of this Flemish/English dress from the kirtle out (mostly). One of the first things I did was take up the kirtle. It was too big on me last year and I have gotten a little thinner since then, so it really looked like a sack of potatoes on me. In addition to that, in my research, I read that the kirtle was a tight garment, laced up the back. Well, mine laces up the side, so that didn't get altered, but I did sew up the front and back princess seams, as well as the center back. It's still not super tight (which is fine), but it doesn't leave me feeling like a slob either.

It was decided, that due to my stature (short, you know) and my personality, a shorter skirt would be fitting. The Flemish peasants wore their gowns anywhere from mid-calf to floor length. Well, I know what happens with me and floor length stuff. :D So the next step was hemming the kirtle up about 8 inches (or more). (By the way, this stuff isn't necessarily in chronological order; more in logical order.)

Ah...now we're getting to the pictures! I don't have any kirtle-in-process-of-alteration pictures, but I do have the actual "dress"...though it's more of jumper. I don't know exactly what to call my red-wool contraption, but anyway.

Savannah helped guide me onto the right pattern, which she then fitted on me. Believe it or not, it was the same pattern I used to make one of my '40's dresses in the spring!
Picture
A piece of paper was added in the back to bring the neck-line up to match that of the kirtle.
I made a mock up out of brown felt first...
Picture
I didn't line the bodice mock up.
Picture
It fit perfectly, but due to where the lines fell, it was determined to move the front edges closer together--thus really morphing it into the English style. With this determined, I laid the pattern out on the wool and ran into a problem. I didn't have enough to line the whole bodice in matching fabric!

After conferring with my adviser (Savannah), I decided to rip apart my mock up and use the back piece for the lining. As the felt and wool stretch similarly, it worked pretty nicely. This way if the lining gets exposed at the front, it won't be noticeable since it's the same color as the outer layer.

Picture
(I am aware that the ironing board cover is in bad shape.)
And then came the really interesting part...what to use for the metal loops the lacing was to go through? Mama found some coat hook and eyes at Jo-Ann's. The eyes worked perfectly!
Picture
Markings for the lacing loops...
Picture
The eyes...
By the way, the use of metal loops is authentic. In the past, we have always just done eyelets in things like this, but with the research that I did, this is much more authentic--at least for this time period.
Picture
I stitched the eyes in by hand before I took them to the machine. There is no way that I was going to even TRY it without the prior stitching. Additionally, this gave them more strength and "holding power".
Picture
Not quite done with this yet...but you'll see. :)
Picture
The next step was closing the shoulders. Savannah showed me how to do it. I have done something similar before, but I needed the reminder. 

Once this was done, it was time to move on to the skirt and the sleeves. The skirt was really straight forward. Savannah measured it, I chopped roughly 8 inches off the bottom of both skirt panels (outside and lining), stitched them together, turned them right side out, and ironed them. Then, I slid into the bodice and Savannah roughed in four inverted box pleats. After that, I took the whole to the ironing board and finalized the pleat placement. As is not unusual for me, I sewed the waist seam twice. Mama used to do that to all the clothes she made me as a little girl. Kept me from ripping the skirts off so easily. Anyway, she taught me the trick when she taught me how to sew.

I pinned the lining over the waist seam...and all the way around the front opening.

Then, I addressed myself to the sleeves. Plain and simple, the sleeves are the scraps from the bottom of the skirt panels. I had four pieces, so I stitched them together to form two tubes.

Picture
After that, I slid them on my arms and had a problem. I was not going to be able to pin them up at the shoulders like I was supposed to--so Savannah came to the rescue.
Picture
We basically cut a big notch into one side (the under arm)...
In the end, they looked something like this:
Picture
I took this picture myself--that is why it is blurry. Anyway, I hand stitched the top. Savannah thought I had put a band on it at first!
Picture
The sleeves are really long. If I roll them down they come down well over my hands. However, once again, if you look at the pictures, they appeared to be long like that and the women just rolled them up (or completely removed them) depending on the weather and what they were doing.
In addition to hand top-stitching the sleeve tops, I did the entire front opening of the outer-dress. I was just going to do the bodice at first (for the main reason of securing the lacing loops better), but it was determined that it would look better if I did the whole thing. So I did.
Picture
I think, for not having a huge amount of (visible) hand-stitching practice, that it looks pretty decent.
Now, before we get to the pictures of the completed ensemble, I'd like to show you one other piece that I made in a single morning (yesterday). I have wanted one of these "things" for several years now (probably could even use it with my WBtS outfits) and so I determined to stick to ol' chin out there and do it. 

Yes, I am talking about a pocket. 

I roughed out a pattern on a piece of scrap paper, cut that out, did a little measuring...and el-bam-o! It actually looked like it was going to work!
Picture
Well, I wanted a wee bit of decoration on said pocket--but I know diddly-squat about actual embroidery (cross-stitch doesn't exactly count) and when I tried I decided that under the circumstances, it wasn't going to be worth the effort. But as I told Mama, "I know how to do straight stitches and French knots!" So I did.
Picture
Take that, non-decorated pocket!
I didn't have time to do anything fancy, like these (from 1796, I believe the stitching says, but hardly a new concept at the time), so I contented myself with the somewhat wiggly geometric design around the slit opening.
Picture
I had yet to do it when this photo was taken, but I put a button on to close it the waist band.
I did a wee bit more research, looking for whether or not these ladies wore leather belts and specifically, belts with buckles. I found a few, but all of them still had long tails that hung down to the knees. Now, I don't have any belts quite that long in my collection, nor even soft enough to tie the way the did them...so I am borrowing Daddy work belt. It's not quite long enough either, but it is soft enough.  (You do know I'm rather addicted to my belts, right?)

Alright, so with that said, how about some pictures of the finished outfit? (I would still like someone to give me a good explanation as to why photographs make one look wider than one does in the mirror...)
Picture
Full front view.
Picture
Full back view. (No, I will not wear my hair in the plastic clips.)
Picture
(If I look glassy-eyed, it was because I hadn't eaten supper yet.) The sleeves literally just get pinned with straight pins to the shoulder straps.
Picture
And here is an alternate version of how the ladies wore their skirts; rather than pinning it though I was able to just tuck it into my belt. I rather liked the way this looked/felt, but Mama thought it looked silly...and Katherine pronounced that I had my rooster's tail. :D
Well, that's it. I will probably wear those shoes (and please don't laugh too hard when I fall off them outdoors) since they are the closest looking thing I have to "authentic" shoes. I will not be bare-legged either...I have this lovely pair of brown angora wool knee-socks Mama bought me last year that I intend on wearing. I would have worn my home-made ones, but trotting around in just one sock would probably cause me to be of more amusement than I'd really like to be. ;)

I am SO looking forward to this weekend's adventures!

      Racheal

1 Comment

1940's Fashion Go to the Dolls...

10/3/2014

0 Comments

 
This particular post has been in the works for weeks...so I may end up re-writing it almost entirely so it flows better. :) Cheers and all that....
Picture


Anyway, I spent a good part of the last month on a doll dress making spree. But it wasn't just any ol' doll dresses...it was 1940's style doll outfits. T

The first ones were rather "generic" (rather like the one above, affectionately called "The Dorthy Dress"); meaning I just used the pre-existing patterns and my memory.

Picture
Anyway, I went completely nuts as "my corner" showed (and still does to an extent...I need to put the patterns up).
Not only did I have the pieces from half a-dozen different patterns all mixed up in a massive pile...I *gasp* drafted some of my own patterns!!!

Well, nothing fancy mind you, but still--it's a start. Here's a quick run down on a skirt that I designed. 

There wasn't anything in "the stack" that suited me, so I grabbed Magnolia and started working.
Picture
Necessary ingredients--that includes the laptop; my inspiration was on it!
Picture
Fitting (sorta). {My hand looks so...fat.}
Picture
The result...
Picture
The complete pattern. (See below for the finished garment....it's down there someplace!)
That was just the start. I dove head-first into trying to re-create (doll-sized) original garments/patterns that I scoured from the internet. I used everything from photographs, pattern covers, and catalogs/ads for inspiration. I thought you might enjoy seeing the originals and then my doll-sized attempt at reproduction.


"The Dress with a Tie"
Picture
Dress in Question: Bottom Right-hand Corner
Picture
I did not put pockets on it...and obviously, only two buttons instead of three...
Picture
Picture
Um...there is a waist tie on there, you just can't see it too well.
Picture
The Second of this pattern I made. I like this one better.
This next one didn't get a nickname. I made a couple of these (more or less). As I was doing the hand work on one of them, I realized that I had stitched the skirt on inside out, so that one still isn't quite finished.
Picture
Picture
Picture
This is the skirt pattern I showed you up top. I didn't actually manage the little point on the waistband...but the rest of it worked up well.
Picture
I tried making the one of the left...with a non-button front peasant blouse.
Picture
Poor Magnolia lacks much waist definition...
Picture
Picture
I thought I had a third one of those, but I couldn't find the picture, so maybe not...

This next dress required cutting out a different bodice front, which wasn't hard, and then having a moment of free-hand inspiration to get the right look for the skirt (because there was no way I was going to stitch a bunch of tiny gores together for this; particularly doing French seams).
Picture
Picture
The doll dress skirt has darts rather than gores, but the look is pretty much the same. There is gathering along the shoulders as well, but this pictures doesn't show it well.
Picture
This next one is an actual doll dress pattern that I attempted to copy.
Picture
Picture
I have made a couple of these...but this was the first one that I remembered to cut a scooped neckline on.
Picture
This particular pattern is awfully snug on the dolls. Hopefully, I will remember to cut it a wee bit bigger on the next one!
I love this one...particularly with the inventive (pat myself on the back, will I?) touch I put on it.
Picture
Picture
The skirt/suspenders are actually made entirely out of the sleeve of a man's shirt.
Picture
See? I just used the underarm seam as the back seam. This outfit closes on the side.
Sailor collar!! (Hum "Anchor's Aweigh!")
Picture
Picture
All told, I am pretty doggone pleased with that one.

As well as this next one...I just didn't run the ruffles all the way down.
Picture
Picture
Those two really are one of a kinds...and some of my personal favorites.

I kept coming back to this picture...particularly that dress in the middle...
Picture
And this is what I ended up with:
Picture
A little shorter than it was supposed to be (I guess I forgot to un-fold the pattern piece to length it) and no waist belt--though I did actually make one of the checkered material. I found a little hole in it so just scrapped it.

I also created my own suit pattern...I made six or seven of them. but I'll only bore you with this one. If you want to see the rest of them, hop over to Lady Libby's. :)
Picture
Well...that's a smattering of the many, many dresses I made. :)

      Racheal

0 Comments

Just a Year Ago...

9/19/2014

0 Comments

 
Wow...to say the least, a lot has happened this last year. Just a year ago, on this very day, Savannah and I were settling in at a four day 150th anniversary Battle of Chickamauga reenactment. We had a ball despite the Lyme and the rain. We didn't realize we would be staying in Indiana when we set out from the ranch.

Fast-forward to the present...On this day, we are in the frantic, last-week before an event, up to our ears sewing mess. In addition to that we still have the Farmer's Markets. I have been sewing like an insane person now for days and my stack of hand-work continues to grow...and grow...

I will, eventually, get up a blog post of what I've been working on. But at present, I keep adding to the list of things I'm making. :P

By this time next week, Lord willing, we should be out of state, rolling southward for a weekend of great enjoyment....

{I laugh} 

THEN...when I get home, I'll dive head-first into yet another sewing project! I've been planning this one for months. :)

Oh...and in the meantime, I have Andy's kilt hose to knit...as soon as I finish my sock (I'm ready to turn the heel, the heel-flap being completed).

Anyway, this was just a quick little post to let you know I hadn't forgotten about my faithful readers! I really ought to get back to work now. :)

     Racheal

0 Comments

How Do You Title a Day of Multiple Fronts?

9/12/2014

2 Comments

 
Well. With that clumsy title, I shall strive to detail (in an interesting fashion) my busy, full day for you.

I woke up (of course...or I wouldn't be writing this). The time was more or less normal ('round 7 a.m. give or take 10 to 20 minutes). 

I drank my coffee and read my Bible and by 9 a.m. I was dressed and booted...and scrounging about in the brooder coop setting up for the chicks that I expected to arrive this morning; only I didn't put the bedding in. All before breakfast. Believe me, I was ready for my eggs, onions, and left over Navy bean mush mess. It was delightful...Bear with my food raptures...I haven't had supper yet and it's practically 8:30.

The morning was spent in various activities readying folks for the market this afternoon. That and rushing around to settle my chicks who did come this morning, without prior warning from the Post Office (last time they called first). In other words, I had to put the bedding in with a box of loud peepers making a racket in my ears. Sometimes I think my ears are more sensitive than they used to be to loud noises (Lyme maybe? Dunno--the thing on the symptom list is "decreased hearing"...) It really, really got loud after I took the lid off the box and had about half of them in the brooder where the "cheeps!" echoed off the walls adding to the din.

I counted 53 birds. The packaging said 51. So I'm happy. So far, I haven't had any dead ones even though...well, that's a story for later on. 

Among the other things I did this morning was trying to keep up with the dishes, making some pie shells (those pies squeaked out of the oven literally as folks were walking out the door), throwing up a quick, short, blog post, sticking labels on honey and hot blueberry jam, packing the truck, straightening a few things in a few places, eating a quick snack to pack down my irritation (I get irritable when too hungry), and all around trying not to stroll around doing nothing and being in the way.

By the time we ate lunch (2:15 for the three at home), I was ready for it and my coffee afterwards. Daddy kindly washed the dishes after lunch while I straightened my computer area and took some stuff upstairs that really needed to go up. 

I tackled a load of laundry and the bathroom next...the bathroom needed it. While I was cleaning the floor, Sherry (our favorite hospice lady) came and gave Granddaddy his Friday bath. 

{Supper Break}

Ah...Lentils with fresh kraut mixed in is one of my favorite meals. :)

Anyway, back to the details of the day...I poked along and made some more pie shells (trying to stock up for the next two weeks--the last two Farmer's Markets). I was going to try to make enough for all five markets (tomorrow and the four the following two weeks), but I ran out of flour. Katherine made a bread while I was doing that too--we left less than a full cup of flour.

A little later, Mama called to inform us that she had sold both pies...so Daddy cut the pumpkin and I got it stuffed into the Conservo. Then I popped out to check on my chicks.

One was upside down in the water. I thought he was dead, so I reached in, picked him up and was going to head out and toss him into the cornfield. But...he wiggled! So, I held him under the heat lamp for a bit and he opened his eyes and then closed them again. 

Cupping my hands around him (his feathers were still quite warm from the heat lamp), I trundled myself up to the garage where Daddy was running some new piece of machinery he'd picked up earlier in the day. I had to yell at him a couple of times before he heard me over the noise. Anyway, we decided to try to revive the little guy; particularly after he made a little peep or two. I figured that was a good sign.

Daddy found a box and lined it with a piece of paper towel while I kept the chick warmly tucked in my hands. He was starting to squirm. 

You have to admit...he didn't look very good; I still expected him to die.
Picture
You have my permission to say he looks gross and ugly. I won't argue!
We placed him next to the still-cooking Conservo where he'd get the heat off of it.

I checked on him on and off for the next couple of hours, in between other things and each time he looked a little better, seemed a little more alert and peeped a little louder. I tried to get him to eat a little, but I don't think that was overly successful; I left a little tiny bit of feed in the box. The next time I looked at him, his face was practically in it, so I don't know as if he ate any of it or not. 

Eventually, I decided that he was hot enough that he probably needed some water. Now, I do know how to force a chick to drink, so I did. I put him back in his box and he stayed on his feet! And hollered...and hollered...and hollered.
Picture
Yep--that's the same bird!
I left him there a little longer before re-joining him to the rest of the flock. I hope he's still alive and healthier in the morning. 

Speaking of the rest of the flock, ain't they a fine bunch of feathers?
Picture
Picture
There is something wrong with the above picture...here it is, fall weather on us (the high today might have reached 60)...and I am running around BAREFOOT? (Besides which my leg looks cocked-eye due to my pants...)

To be quite honest, I started out in socks and boots, but I felt like said socks were sticking to the floor so when I cleaned the bathroom I took them off (we had some pears "leaking" in the mud room; that was the problem) and spent the rest of the day in my bare toes. The ground it both wet and chilly...

I got supper made (it was basically left-overs doctored up a little bit...turned out fine if I do say so myself) and finally got upstairs with the vacuum cleaner. I changed the litter in the cat box and got my room and my sisters rooms vacuumed. Thankfully, Runty didn't pull any of her door-climbing stunts this time. It really is very, very funny to see a black cat hanging sideways and rather bat-like off a chicken-wire screen door, but it's horrid on the hinges--which are already sprung--partly, I think from the wild careening trampoline-jumping stunts of said cats. 

Mama called before they got home to tell Daddy, who handed the phone to me, that Grandpa had called her--he needed tomorrow's pills and they needed a gallon of milk from the fridge in the barn (it's a little too difficult [uneven floor] for Grandma to get it). So I dashed out to take care of things.

Grandpa said something like: "Look, it's Whatcha-call-her. I called You-know."

I laughed, "You-know called The Other Guy and he gave me the phone."

Grandpa continued the play, "It must be a relay..."

Me: "Something like that..."

Anyway, it was funny and one of those special moments of me actually being able to have a come-back to one of Grandpa's funnies. :) He's too smart for me!

Since I've been remiss on the blogging front this week, how about a quick run-down on what I've been doing?

Does this work?
Picture
Dolly has on one of my "Brain-Fire" designs...my only regret? It's not in my size!
Picture
The above are only two of many outfits I have been sewing this week...

Yesterday, my Grandma's cousin Helen had a huge auction; basically an estate sale (she's moved into assisted living) and Mama, Daddy, Grandma, and Savannah went. They bought Helen's couch. It's rather comfortable actually.
Picture
There's the cutie-bug! (Abby was rather freaked out...)
Our old couch is now in the barn with black plastic toss over it....

It's now nearing 10 and I have to go take some more pumpkin pies out of the oven, so farewell for now!

     Racheal

P.S. MAMA SOLD A PAIR OF MY SOCKS!!!
2 Comments

"Blow the Man Down!"

8/15/2014

0 Comments

 
You do know I like designing doll dresses on occasion, do you not? 

Well, at the current time, I am going through a 1940's phase in my doll dress making and I just had to make a sailor suit! (I guess I get the sea naturally, my great-grandpa was in the Navy in WWI and grandpa was a commercial fisherman for years.)
Main Theme-The Grey Fox by The Chieftains on Grooveshark
A little music to spice up this post!
Picture(Bottom left hand corner...)
Using an original pattern cover for inspiration (Etsy is a great place to scour for old patterns and/or ideas), I rummaged through our fabric and patterns. I think I ended up using three different dress patterns and drawing my own collar (which could stand a little tweaking.

The collar is detachable...and the bodice is actually backwards because I decided at the last minute that I really did want a front closer after all...

I made this after the style of what a little girl would have worn during the '40's, thus the quite short skirt...and the little panties. (I actually took a pantaloon pattern and in essence chopped the legs off it. :D)

Picture
With the collar on.
Picture
You'll notice that the back of the skirt is gathered, whereas the front is pleated. I did that because I cut the skirt bigger than I needed (un-beknownst to me--and obviously, I did not think about it over much either) and I couldn't get big pleats all the way around...so I just pleated the front and gathered the back!
Picture
Picture
Picture
Practical panties...no frills. (I am going to figure out how to put lace on a pair of these eventually...)
Picture
Sans collar. I like it both ways...
Picture
Dolly looks like she's waiting for Jack Tar to come home! ;)

I must say, I'm decently pleased out how it came out...but I know better how to do the next one. 

I have to scram and feed my chickens! (By the way, some of the roosters were having a crowing competition this morning...)

     Racheal

0 Comments

Sew Much to Say...

6/12/2014

2 Comments

 
Eh...well...that title rather isn't in my line, but I guess it works for today. :D

I spent Tuesday and Wednesday making a dress. It's red print. If you've known me for a while, you probably know red is my most favorite color, followed by certain bright, dark shades of green. But anyway, I actually remembered to take those boring in-progress pictures I love to post so well. I had intended on doing so when I make my outfits for the FCM conference, but I just didn't. 

Alright then, to get started...

The Pattern
Picture
I bought this Vogue pattern on-sale, over a year ago at the Jo-Ann's in PC. I got the fabric the same day. I went home, intending on making the dress that week (or the next) and even cut the pattern out. However, I just never could seem to pin Savannah down when she was open to fit me. So...it didn't happen until Tuesday after lunch. I hadn't intended, when I got up Tuesday morning to start a sewing project, but it seemed like a good idea what with the rain and all that I just went ahead and jumped into the project head first.

I went with option D--sleeveless with a full skirt. I love full skirts for a variety of reasons...and sleeves, particularly tight sleeves tend to bind me something terrible...

I laid the bodice out and pinned it, leaving room for the lining. (The bodice is lined and the skirt was supposed to be too, but I didn't do that.) I didn't cut anything yet and went to put the skirt on. I nearly freaked out because there wasn't enough fabric! I think I had already had two run-up-the-stairs-to-consult-with-Savannah moments already, but this one was the most agitated yet. "What do I do? I really want the full skirt."

Well, we got the pattern cover and a-duh! The bodice lining was to be cut from different cloth. The dress itself, minus the lining, called for 3 1/4 yards (or something like that), so that is why, with the proper measure of fabric, with the lining laid out on it as well, it didn't fit. I scrounged in the doll dress fabric foot-locker and came out with yard of black broadcloth that would work perfectly for the lining. Once I pinned the bodice on the fabric and cut it out, I was thrilled to see that I was able to add an extra four inches onto the skirt length! (The pattern came right to the middle of my knee and I wanted it longer than that.)
Picture
I cut the front up two inches (pattern piece 1). Next time (presuming there is a next time), I think I'd bring it up at least one more inch. I took a minute to scratch my head about how the bodice side front/back pieces (2 and 4) went on the fabric. I'm used to laying bodice pieces on the grainline, so off-kilter was an oddity to me.
Picture
You can see my pencil marking for the added skirt length. After I had the bodice all put together and was fixing to stitch the four skirt panels together (the fabric is doubled), I realized that Savannah had told me to cut the skirt out to the next size bigger (because the waist had gotten expanded a little bit). Thankfully, with quarter inch seams at the sides, it fit the bodice perfectly!
Picture
The lining. I used the already cut out pieces as pattern pieces so I would get the arm holes matching...
Picture
Yes, here's the bodice! :D
And so I started stitching--using a chair for my table and an exercise ball for a seat. (With the amount of air deflated out of that thing it is prefect for my short legs; it is my favorite guitar "stool".) 

I ran into a 'problem' with the lining--one of the shoulders was shorter than the other, due to my lack of attention as to how well the material was lined up before I cut. (I usually always double check that sort of thing...) So, I improvised:
Picture
I grabbed a scrap of black and stitched it on, the trimmed it to the proper length and sewed the shoulder together. Turns out I had to take this shoulder up later. *rolls eyes* Oh well, I still needed some extra length anyway!
Picture
This is what is should have looked like! :P
I sewed together the bodice and the bodice lining, one right after another (I used different colored threads, not that it was completely necessary...) I was getting irritated with the black thread (it wasn't Gutterman's--the best thread by the way!) because it kept snapping on me. At some point I glanced up and there, on the half-wall was a big spool of black Gutterman's. Believe me, I changed the thread immediately!
Picture
Picture
The bodice.
By the way, those random pins in the mid-riff were simply to hold the seam down. I was going to top stitch like the pattern calls for, but ended up not doing that.

The next step, of course, was to sew the lining to the bodice. When I did across the front, I did a 1/4" seam rather than a 5/8" because I wanted just that extra little bit of height in the front.

Then I sewed the side seams...
Picture
Very cool picture here...the lace off the dress I was wearing...the subject of the photograph out of focus...And look! My cat-scratch matches! ;P (Heh...)
Next step! Skirt, please...
Picture
I took this picture in Mama's mirror...and yes, I know with that red skirt and green dress underneath it, I look something like a Christmas tree...
Y'all know what was next, sewing the bodice onto the skirt. I had not sewed up the back of the skirt, so the whole back was open. (This is the way I should have done it when we were helping the W ladies make their dresses back in April--I didn't do a post on that exactly did I? I ought ransack my sister's picture files and borrow some good one's to put up...) Anyway, back to the subject at hand...

I started to put the zipper in and was almost done with the second side when I realized it wasn't lined up right at the top. I am not quite sure how this happened because I thought I remembered checking that. I guess either I didn't or it slipped. Anyway, I had to rip that side out. I'm  a pretty decent hand at ripping, but I don't like to do it. I've had far too much experience at it. 

As it would turn out, I should have tried the dress on before I sewed the zipper in because it gaped something awful in the back. I had to rip the zipper out not quite half-way and put that upper part back in so it wouldn't gape any more. Well, maybe I won't do that again anytime soon!
Picture
Lining pinned for the hand work.
Picture
Lining all stitched down.
After sewing the lining down, it was time to hem the skirt. I made a roughly inch and a half hem. I probably could have pulled off a two inch hem with no problem, but I didn't take it up that much.
Picture
A pinned hem. There is this thing about circular skirts (which this one is--made from four, rather than two panels) and it is that the hems are never completely smooth...you'll always get those little folds while pinning them.
I stitched the hem while eavesdropping as Daddy and a hospice nurse carried on a conversation in the next room. This particular nurse hadn't been here before, so she got the whole story. I was even able to supply a few details. :P

The last thing to do was sew the hook and eye (or a straight catch in this case) at the top of the zipper. I hunted and hunted and hunted and finally located them--after going through the 'craft' drawers in Mama's room two to three times a piece. I found them in the button box...but there were not any black ones--which I really wanted. Anyway, I went ahead and used the silver ones.
Picture
Sorry, the picture is a little blurry/overexposed, but I think that was THE BEST job I've ever done on a hook and eye. (I hate sewing them on...)
I fully planned on ironing the dress and getting my picture(s) taken last night, but by the time I got done with it it was time for supper and then I had a pile of strawberries to clean. So...I didn't get around to ironing it until this morning:
Picture
And there 'tis! A hair large (as usual whenever I make something!), but I like it.
Picture
I love the skirt!!
Picture
Even though it has a 'mid-riff', this belt lover decided to wear a belt with it. It looks better (on me at any rate) with the belt and kind of hides the fact that the dress is a tag baggy where it shouldn't be.
Picture
And, just because I'm a goof...here's the hair do I tossed up in an attempt to really capture the 1950's flair that this dress has. (Maybe I can remember how to do this if I want to do it again. Note to self: make sure you hair is damp like it was this morning...)
There...that's the crazy project I took off on this Tuesday and completed yesterday on Wednesday. :)

Speaking of Wednesday...I received something in the mail yesterday that prompts a project all of it's own. :) When I embark on this particular project, be prepared for many odd, squinty expressions which shall not be captured on camera.
Picture
Kind of a mighty big package for a narrow little pack of guitar strings! :D (They have changed the packaging on the D'Addario strings since I bought my last set last year! [April, I think it was...it's been plenty long enough for a new set.])
I look forward to having those new strings on my guitar! (I do not know if I'll get to it this evening or not...)

      Racheal

2 Comments

Announcing....

6/5/2014

2 Comments


Stitches to Remember

I could just force you to go look at the link (above) in order to find out what it is, but I'll be nice and tell you too. :D

"Stitches to Remember" is a business idea I have been throwing around for a while. Anyway, it is (primarily) an out-let for my enjoyment of cross-stitching wedding samplers. I will, as noted on the actual site, consider other projects, but wedding samplers are my 'specialty'.

I am currently working on a wedding sampler, though not one via this site, of course! It seems that the majority of the stuff I have done over the last three years have been wedding samplers. (Gracious, I just about spelled that "weeding" samplers! o.o) 

Now, hopefully, I won't get swamped with orders! (Ha! Not that I expect that...)

Cheers, y'all! ;)

      Racheal

2 Comments

Tryin' My Hand at Millinery

5/8/2014

1 Comment

 
I wrote this post last week, before we attended the Family Covenant Ministries Conference. We had a wonderful time and I hope to share with you some of the best things about it in a blog post very soon (like tomorrow!), but I thought I would go ahead and post my "Hat post" for your amusement...
*Note: Do not treat this post as a tutorial... :D

So...I tried my hand at some millinery work. I made myself a 1940's inspired hat. I say inspired, rather than "style" because I have never actually seen a hat from that period with the frippery I put on mine. I did use a pattern, but I did my own decoration to go with one particular outfit.

For a first try, I think it came out alright. It is rather time consuming adventure...I did have quite a bit of fun making mine (I got to use wire cutters as well as fabric and thread! :D)...but you'd probably like to see the pictures.

Before I get there though, here's a little "overview": I started with plastic coated copper automotive wire. Don't do that. Copper is over pliable for the job. Once I brought in the electric fence-wire, things went better. I spent almost all morning trying to get the automotive wire into the casing...and I still ended up like this:
Picture
If you pick that mess up, it flops out of whatever shape it might have had...
With that frustration staring me blackly in the eye, first the impossibility of casing the wire and then the wire being quite limp, I listened to the wise someone (which one I cannot recall) who suggested I use the electrical wire. Therefore, I dashed to the old garage, and returned with this:
Picture
Ah! Now I could really get to work! I turned to with the rest of my supplies and thing started happening.
Picture
Ribbon (aka "notions")
Picture
The fabric: casing to the left, cover to the right.
I did not get a picture of just the tools. ;)

It took a little, but I did get the electric wire in the casing. (Next time, presuming there is a next time, I think I shall make the casing a hair wider...)
Picture
Partially cased wire...
Picture
Picture
Stretching the wire as straight as possible (it was longer than I am tall almost) before starting the next stage.
Once I got the wire stretched out some, I could start the measuring and cutting for the actual frame construction. For this, a slightly more "bendy" wire would have been easier, but I have fairly strong hands and have worked with electric fence wire in tight spaces before, so I managed without too much trouble. Besides which, in the end I wanted a pretty stiff frame.
Picture
Cutting. You can see the measuring tape on the floor next to the roll of wire. Oh, and that sheet of directions? I pretty much ignored them after a short perusal...
Picture
Once the wire was cut for the first piece, I made a loop in one end with the needle-nose pliers. It was to be to this loop that the other end of the wire would eventually be attached.
Picture
First, I made a circle (or something that resembled a circle) for the top of the frame. [I ended up completely ignoring the step in the pattern that utilized that round section of fabric.]
Picture
Next I took a minute to stare at this odd-looking design...
Picture
And then everything fell into place...
Picture
The circle got placed within the "Dutch-cap" shape and the long (humor me) "straight" wire became the tie between the two. Once they were connected, I took the whole mess in my hands and bent it.
The next issue caused me a little confusion. The cover was simply nothing more than a square hunk of material. I did figured out that one just drapes it, re-arranges it, pokes and prods it until one is happy with it.
Picture
The initial pinning of the cover. I had Mama photograph it so I could see what it looked like on a little better.
After I was happy with how it was pinned, I took my thread, needle, scissors, and the pins, of course, and sat on the front steps to stitch the cover into place. It was nice and sunny and spring-day-ish out there and I really enjoyed it even though I had to squint practically the whole time.
Picture
Mmm, yes...something like that...not very professional, I suppose, but it was my first try after all.
Picture
The back. (Don't you just love my Norman Rockwell tin? It didn't work as a "head" as well as I had hoped...)
It was at this point that I got really creative. I had an idea as to what I was going to do with it, but I ended up doing something rather different than what I intended. I was going to put cockades all around the edges, but the ribbon I had was either too wide or too narrow (I am incapable of making cockades out of half-inch ribbon). I did put a cockade on the back, but if I had made more, they would have been the same size and it wouldn't have had the look I was going for...so instead, I did some other things.
Picture
I added the "flourishes" on either side of the cockade...
Then I went back to the ironing board and did a little more designing. I tried this:
Picture
Picture
However, I decided that it was a little too busy. I really liked the a-symmetrical strip of white satin ribbon...so I kept that aspect. The final product began to come together:
Picture
Picture
As you can see, I kept the a-symmetrical white stripe, but I also added a secondary strip of satin ribbon. I tried it all the way across, but I didn't like that.
With the frame being somewhat more visible than I would have liked, I tried this, then that, and finally settled on red ribbon around the crown.
Picture
Picture
I scrounged some white felt from Katherine to line it with:
Picture
I obviously didn't get it cut quite right...
Picture
Finis!
I asked Daddy if he could make me a hat pin (because I really, really need one!); he said he could and asked if I wanted steel or bronze. I said bronze because its a little more pliable. He ended up making me two...
Picture
Picture
He had to use an ice-pick to poke holes in the hat first, since the bronze is too soft to go through the felt. ("That felt is like armour." --Daddy)
Anyway, I like my hat even though it isn't perfect. I learned a couple of things while working on it and one of the most important was probably not to use a light cotton for the cover--particularly a light color, like white. To make a better quality hat, a heavier material would more than likely look a lot better.  Also, I suspect there is a more precise way to cover the frame than with a square of fabric. Perhaps I shall have opportunity to experiment again. :)

All told, I really enjoyed making it. Keep me in mind if you want a hat made... ;) I'd love to give it a whirl again! (I might even take the time to do a little more research on millinery...) [Strange...I never thought I would be entertaining ideas of millinery.]
Picture

          Racheal

1 Comment

Market Days...

5/1/2014

0 Comments

 
The hectic-ness of market prep days is something I haven't gone through for two years; not sure I actually missed it, but I am actually rather looking forward to starting "my" market up. That doesn't officially start until June, but the other market starts tomorrow.

Today our household has been a-buzz with baking (bread, and grain-free/gluten-free stuff), dishes (hello, me! :D), jam-making (I actually tasted the stuff [really, it gives one a heart-attack to see how much sugar goes into a batch of jam]; pineapple, it is. I think we ought to call it marmalade...), pop corn popping, other cooking stuff, Savannah sewing in the other room...

Daddy is working on getting the new chicken paddock/run/living space worked up today.

Yesterday I was working on market "stuff", but it was a different kind of project. I was making cockade hair-bows. :)
Picture
Picture
Picture
Picture
I was ready to eat... :D
This morning I got our farm web-site up: Third Generation Farm (can you tell I really like Weebly sites?) There should be another post going up sometime later today...

The house smells really good and I got a little bug-eyed making the jam (er, marmalade). I think the reason I was a little dizzy was because I was watching myself stir the concoction and then I'd look up...

But anyway...here's to a great first market for Mom and Savannah tomorrow!!

      Racheal

0 Comments
<<Previous
Forward>>
    New post on The Bee Project! 04/26/18
    Picture

    The Middle Kid

    I chose to title this blog "The Adventures of a Middle Kid" because that is exactly what I'll be detailing (mostly). I chose 'kid' over any other word, like 'girl' (I am the middle girl so it also would have worked) or 'child'
    (since I am no longer exactly a child).

    I am a middle kid and I will always be a middle kid--even when I'm 80!

    Picture
    Picture

    Archives

    April 2019
    March 2019
    January 2019
    December 2018
    July 2018
    May 2018
    April 2018
    March 2018
    February 2018
    January 2018
    December 2017
    November 2017
    October 2017
    September 2017
    July 2017
    June 2017
    May 2017
    April 2017
    March 2017
    February 2017
    January 2017
    December 2016
    November 2016
    October 2016
    September 2016
    August 2016
    July 2016
    June 2016
    May 2016
    April 2016
    March 2016
    February 2016
    January 2016
    December 2015
    November 2015
    October 2015
    September 2015
    August 2015
    July 2015
    June 2015
    May 2015
    April 2015
    March 2015
    February 2015
    January 2015
    December 2014
    November 2014
    October 2014
    September 2014
    August 2014
    July 2014
    June 2014
    May 2014
    April 2014
    March 2014
    February 2014
    January 2014
    December 2013
    November 2013
    October 2013
    September 2013
    August 2013
    July 2013
    June 2013
    May 2013
    April 2013
    March 2013

    Follow
    Picture
    The anti-Christ will not overrun Christ’s church or kingdom.
    Christ will win. He is winning. He has won. --Joe Morecraft, III
    Picture

    Categories

    All
    1942 Truck Restoration
    Accidents
    Agriculture
    Authentic Christianity
    Books
    Caretaking
    Cats
    Cattle
    Chickens
    Church
    Confederates
    Conference
    Cooking
    Costumes
    Cow Cavalry
    Family
    Farmers Market
    Filmmaking
    Food
    Friends
    History
    Holidays
    Horse
    Knitting
    Lyme/Co Infections
    Lyme/Co-Infections
    Mechanics
    Movies
    Music
    Musings
    Musket Echos
    Nonesense
    Pictures
    Politics
    Reenacting
    Rodeo
    Sewing
    Shooting
    Theology/Philosophy
    Video
    War Between The States
    Weather
    Weddings
    Work
    Writing
    WWII

    Picture

    Picture
    Picture

    RSS Feed

    Picture
    Picture
    FREEDOM'S LIGHT FILMS
    Picture
    Picture
    Reformed Reviews
    Picture
    Picture
    Picture
    Picture
    Picture
    www.fold3.com
    Picture
    Picture
    Picture
    Picture
    7 Lb.s of Bacon Mess Band
    Picture
    Picture
Powered by Create your own unique website with customizable templates.